Keto Cheesy Garlic Bread

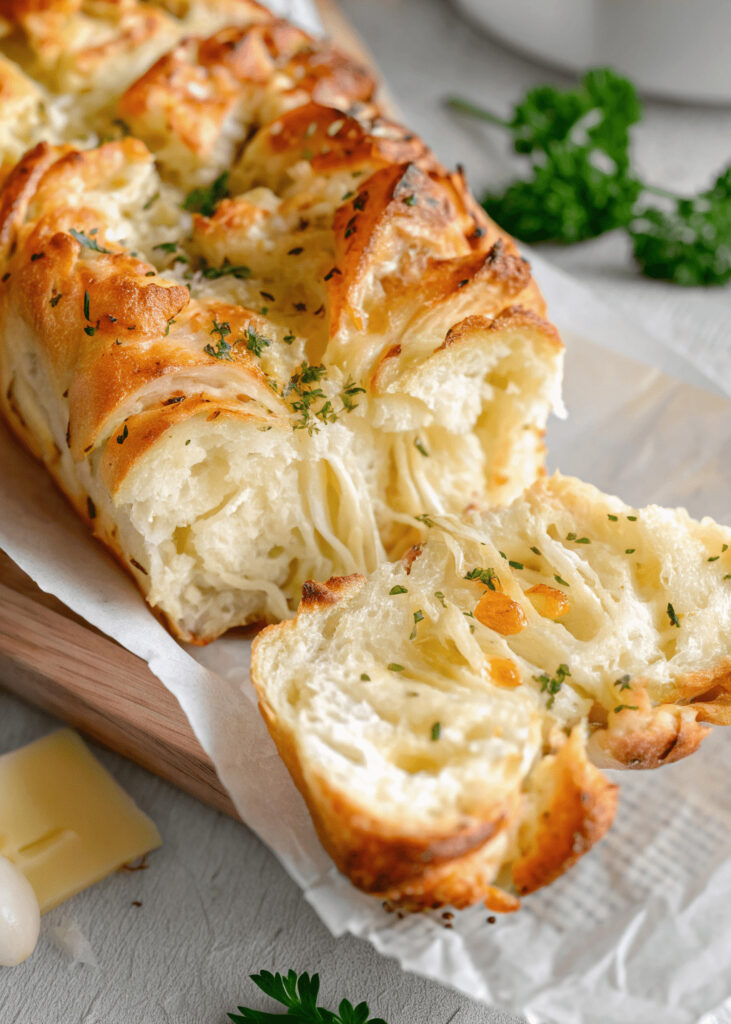
Keto Cheesy Garlic Bread is a low carb version of the classic garlic bread that many people love. Traditional garlic bread is made with regular wheat bread, which contains a lot of carbohydrates. On a keto diet, people try to eat very few carbs and more healthy fats and proteins. So instead of using regular flour, this recipe uses low-carb ingredients like almond flour and mozzarella cheese to create a soft, bread-like base.
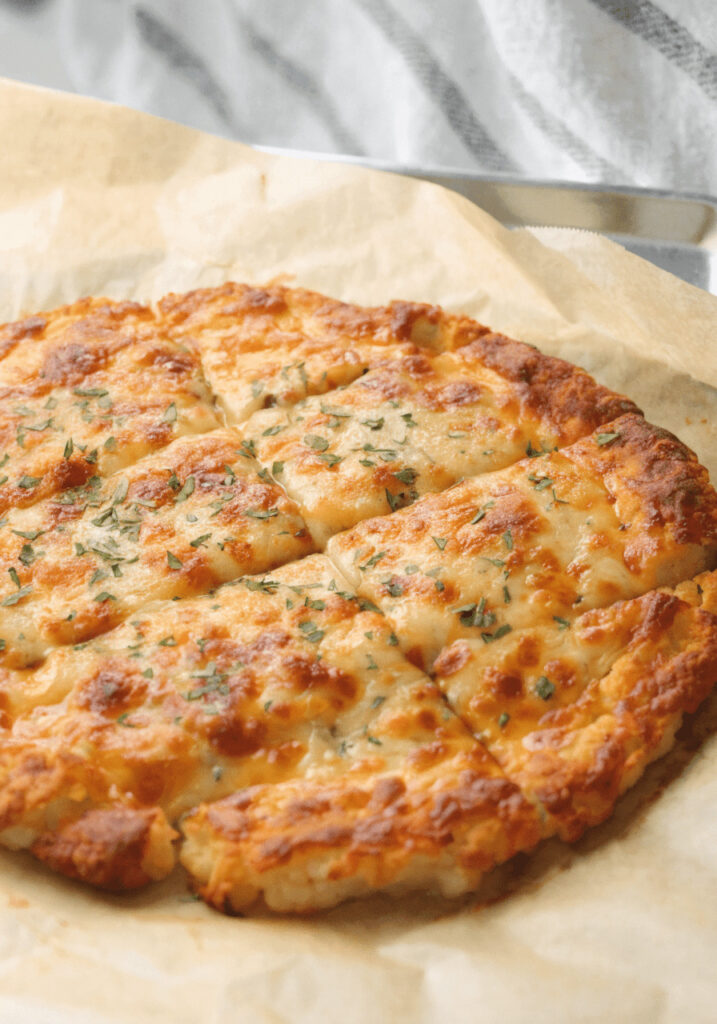
Think of it as a cheesy, garlicky, warm snack that tastes like pizza crust mixed with garlic bread but without all the carbs. It’s crispy on the outside, soft and stretchy on the inside, and packed with buttery garlic flavor. Even if you are not on a keto diet, you will still enjoy this bread because it’s simple, filling, and very tasty.
You Should Try the Keto Cheesy Garlic Bread
You should try Keto Cheesy Garlic Bread because it is easy to make and does not require special baking skills. If you can stir, melt, and bake, you can make this recipe. It’s perfect for busy families, after-school snacks, party appetizers, or even as a side dish with dinner.
Another reason to try it is that it helps you stay on track if you are eating low-carb. Instead of feeling like you are missing out on garlic bread, you can enjoy this version without guilt. It is comforting, cheesy, and full of flavor. Plus, kids love it because it tastes like cheesy pizza bread!
Table of Contents
Ingredients for Keto Cheesy Garlic Bread
Here’s everything you’ll need to Keto Cheesy Garlic Bread:
For the Bread Base:
- 2 cups shredded mozzarella cheese
- 2 ounces cream cheese
- 1 cup almond flour
- 1 large egg
- 1 teaspoon baking powder
For the Garlic Topping:
- 2 tablespoons melted butter
- 2 cloves garlic, minced
- 1 tablespoon chopped parsley fresh or dried
- ½ cup shredded mozzarella or parmesan cheese
How to Make Keto Cheesy Garlic Bread
Step One
First, preheat your oven to 375°F (190°C) and line a baking sheet with parchment paper to prevent sticking, then place the shredded mozzarella and cream cheese in a microwave-safe bowl and heat them in short intervals, stirring in between, until fully melted and smooth, making sure the mixture becomes stretchy and well combined without overheating or burning.
Step Two
Next, add the almond flour, baking powder, and egg into the melted cheese mixture, and stir thoroughly with a spoon or spatula before using your hands if needed to knead everything together, working quickly while the cheese is still warm so the dough becomes smooth, thick, and evenly mixed without lumps.
Step Three
After that, transfer the dough onto the prepared baking sheet and press it down into a rectangle or oval shape about half an inch thick, using slightly damp hands or parchment paper on top to flatten it evenly so it bakes uniformly and develops a nice golden crust.
Step Four
Then, place the shaped dough into the preheated oven and bake for about 10 to 12 minutes, watching carefully as the top turns golden brown and the edges begin to firm up, which means the base is cooked through and ready for the flavorful garlic topping.
Step Five
While the bread base is baking, mix the melted butter, minced garlic, and chopped parsley in a small bowl until well combined, and once the base is lightly golden, remove it from the oven and brush the garlic butter mixture generously across the entire surface before sprinkling extra shredded mozzarella or parmesan cheese over the top.
Step Six
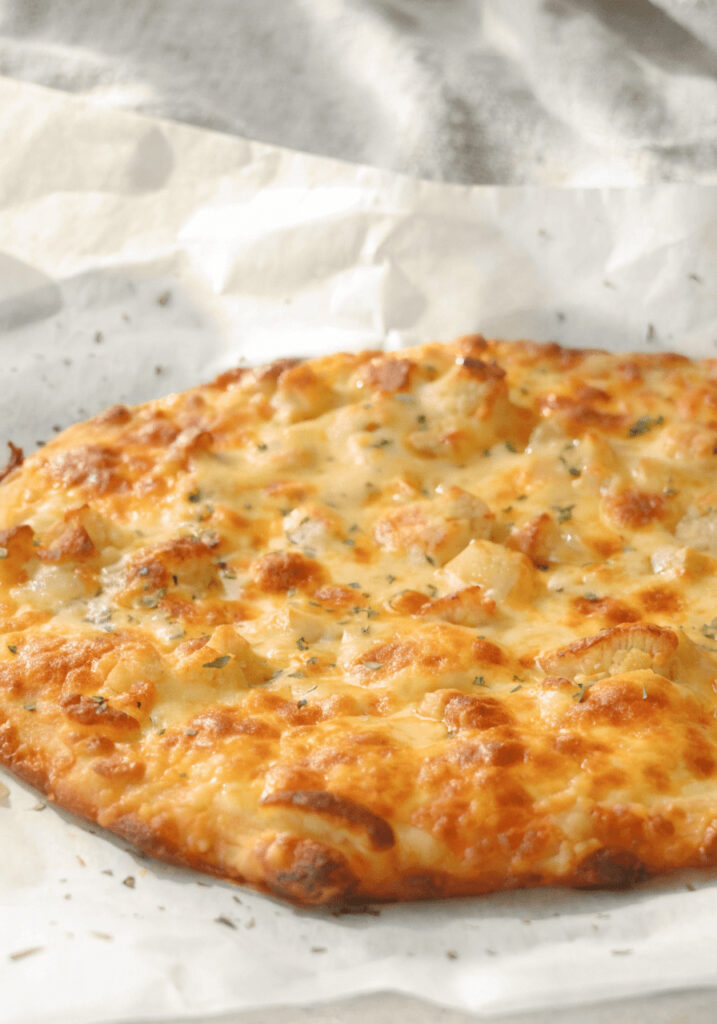
Finally, return the bread to the oven for another 3 to 5 minutes until the cheese on top melts completely and becomes bubbly and slightly golden, then remove it from the oven and allow it to cool for several minutes before slicing into even pieces so it holds its shape and stays perfectly cheesy and delicious.
Kitchen Equipment Needed :
To make this Recipe, you’ll need:
- Mixing bowl
- Microwave-safe bowl
- Spoon or spatula
- Baking sheet
- Parchment paper
- Measuring cups and spoons
- Garlic press optional
- Knife or pizza cutter
- Oven
Serving Suggestion
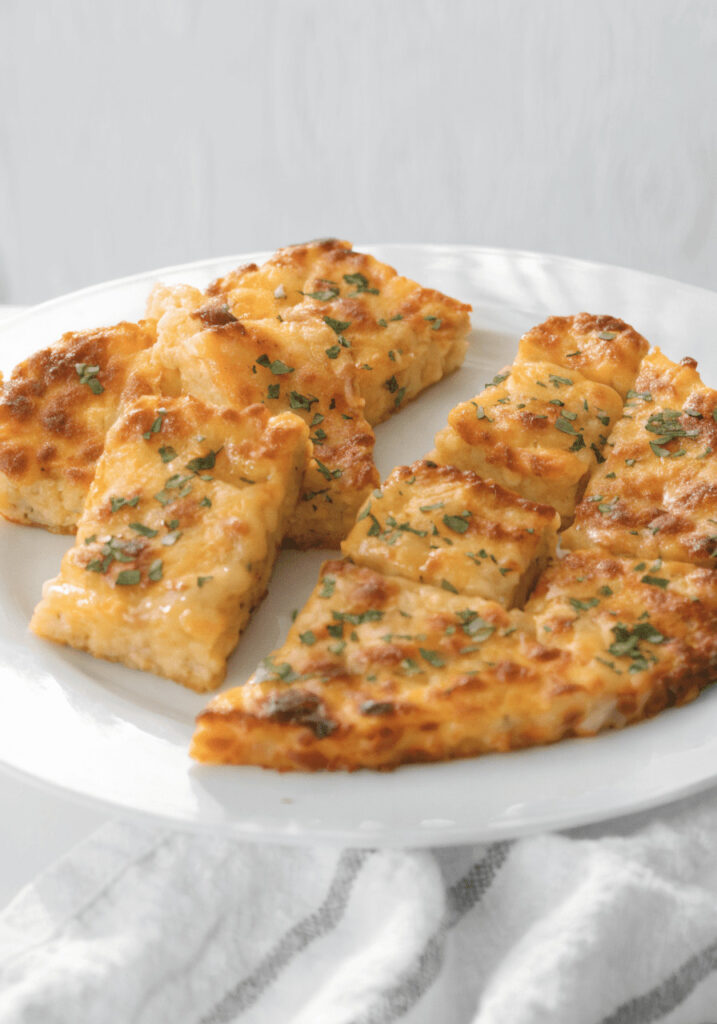
I like making this keto cheesy garlic bread when I want something warm and savory that still fits into a lighter meal plan; it bakes up golden on top with melted cheese and that rich garlic flavor in every bite. It’s perfect as a side for family dinners, especially with soups or salads, and my daughter enjoys it fresh from the oven while it’s still soft and cheesy. I usually serve it alongside a simple green salad or grilled chicken, and for drinks we keep it refreshing with a fruit smoothie or a glass of orange juice to balance the flavors.
Frequently Asked Questions
Does it taste like regular garlic bread ?
It tastes very similar to traditional garlic bread, but it is a bit cheesier and slightly denser.
How do I reheat leftovers ?
Reheat slices in the oven at 350°F (175°C) for 5–7 minutes or in the air fryer for a few minutes to keep them crispy.
Can I freeze Keto Cheesy Garlic Bread ?
Yes, wrap slices individually and freeze for up to 2 months for best quality.
What type of mozzarella works best ?
Low-moisture, part-skim shredded mozzarella works best because it melts well and creates a firm dough.
Keto Cheesy Garlic Bread
Course: Side Dish, Snacks, AppetizersCuisine: American, KetoDifficulty: Easy8
servings10
minutes15
minutes210
kcal25
minutesA crispy, cheesy, low-carb garlic bread made with almond flour and mozzarella cheese, perfect for anyone following a keto lifestyle or looking for a healthier alternative to traditional garlic bread.
Ingredients
2 cups shredded mozzarella cheese
2 ounces cream cheese
1 cup almond flour
1 large egg
1 teaspoon baking powder
2 tablespoons melted butter
2 cloves garlic, minced
1 tablespoon chopped parsley fresh or dried
½ cup shredded mozzarella or parmesan cheese
Directions
- First, preheat your oven to 375°F (190°C) and line a baking sheet with parchment paper to prevent sticking, then place the shredded mozzarella and cream cheese in a microwave-safe bowl and heat them in short intervals, stirring in between, until fully melted and smooth, making sure the mixture becomes stretchy and well combined without overheating or burning.
- Next, add the almond flour, baking powder, and egg into the melted cheese mixture, and stir thoroughly with a spoon or spatula before using your hands if needed to knead everything together, working quickly while the cheese is still warm so the dough becomes smooth, thick, and evenly mixed without lumps.
- After that, transfer the dough onto the prepared baking sheet and press it down into a rectangle or oval shape about half an inch thick, using slightly damp hands or parchment paper on top to flatten it evenly so it bakes uniformly and develops a nice golden crust.
- Then, place the shaped dough into the preheated oven and bake for about 10 to 12 minutes, watching carefully as the top turns golden brown and the edges begin to firm up, which means the base is cooked through and ready for the flavorful garlic topping.
- While the bread base is baking, mix the melted butter, minced garlic, and chopped parsley in a small bowl until well combined, and once the base is lightly golden, remove it from the oven and brush the garlic butter mixture generously across the entire surface before sprinkling extra shredded mozzarella or parmesan cheese over the top.
- Finally, return the bread to the oven for another 3 to 5 minutes until the cheese on top melts completely and becomes bubbly and slightly golden, then remove it from the oven and allow it to cool for several minutes before slicing into even pieces so it holds its shape and stays perfectly cheesy and delicious.
Notes
- Stir the melted cheese well before adding dry ingredients to ensure smooth mixing.
- Use fresh minced garlic for stronger and more natural flavor.
- If the dough becomes too firm, warm it slightly in the microwave for a few seconds.
- Work quickly when mixing the dough so it stays soft and easy to shape.
You can add this post to your favorite Pinterest board!