Homemade Pita Bread

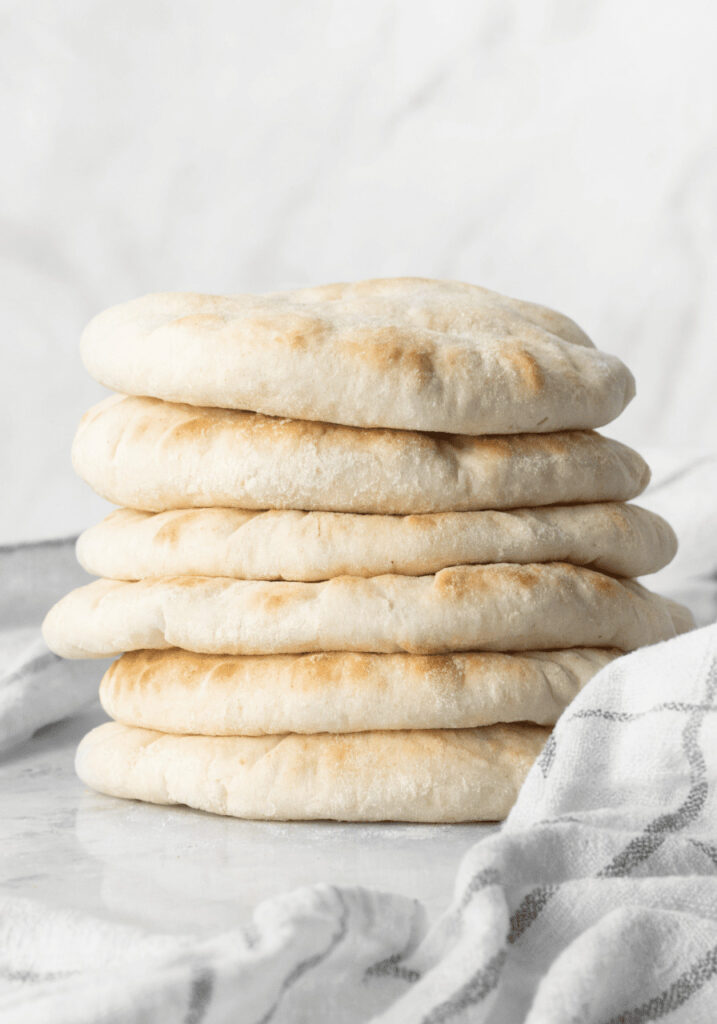
Homemade Pita Bread is a soft, round, flat bread that puffs up in the oven and creates a pocket inside. This pocket is perfect for stuffing with your favorite fillings like chicken, veggies, or cheese. Pita bread is simple to make and uses basic ingredients you may already have in your kitchen. When baked at a high temperature, the dough quickly rises and fills with steam, which makes the famous pocket.
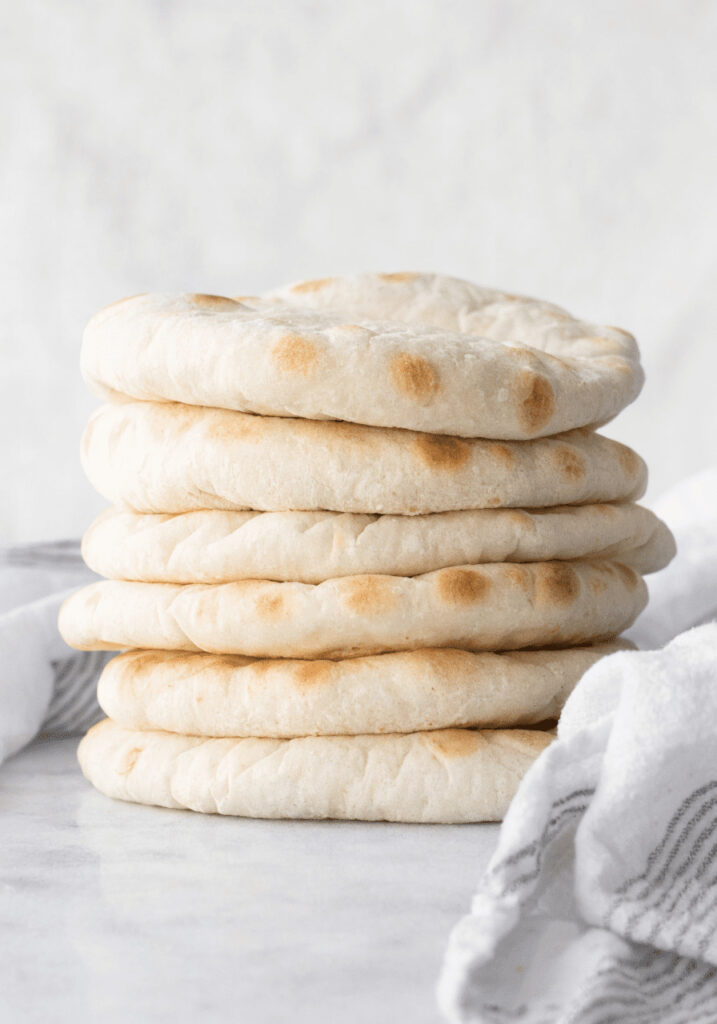
Pita bread is popular in many countries in the Middle East and the Mediterranean region. It has been enjoyed for thousands of years and is still loved today because it is easy, tasty, and very versatile. Unlike regular sandwich bread, pita is flat and soft, which makes it fun to open and fill. When you make it at home, it tastes fresher and softer than store-bought versions.
You Should Try the Homemade Pita Bread
You should try making Homemade Pita Bread because it is easier than you might think. Even if you are new to baking, this recipe is simple to follow. Watching the pita puff up in the oven feels like a little kitchen magic trick! It is also a great recipe to make with family because everyone can help roll the dough or watch it rise.
Another reason to try Homemade Pita Bread is that it saves money and lets you control the ingredients. There are no extra preservatives or hidden ingredients. You can make the bread softer, thicker, or thinner depending on what you like. Once you try homemade pita, you may never want to go back to store-bought again.
Table of Contents
Ingredients for Homemade Pita Bread
Here’s everything you’ll need to Homemade Pita Bread:
- 3 cups all-purpose flour
- 1 cup warm water not too hot
- 2 teaspoons active dry yeast
- 1 teaspoon sugar
- 1 teaspoon salt
- 2 tablespoons olive oil
How to Make Homemade Pita Bread
Step One
Start by placing the warm water in a large bowl, then add the sugar and yeast, stirring gently and letting the mixture sit for about 5 to 10 minutes until it becomes foamy and bubbly, which means the yeast is alive and ready to help the dough rise beautifully.
Step Two
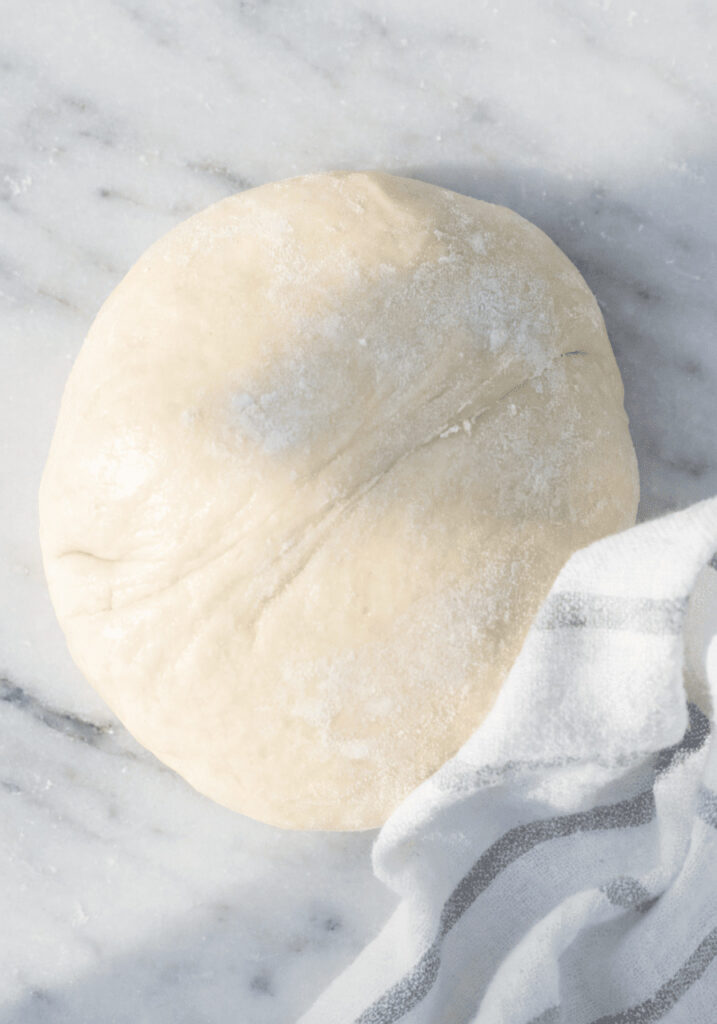
Add the olive oil and salt to the yeast mixture, then slowly mix in the flour one cup at a time, stirring well after each addition until the dough begins to pull away from the sides of the bowl and forms a soft, slightly sticky ball.
Step Three
Transfer the dough onto a lightly floured surface and knead it with your hands for about 8 to 10 minutes, pressing and folding it over itself until it becomes smooth, elastic, and soft, adding a little more flour only if it feels too sticky.
Step Four
Place the dough into a lightly oiled bowl, cover it with a clean towel, and let it rest in a warm place for about 1 hour or until it doubles in size, which means the yeast has worked its magic and filled the dough with air.
Step Five
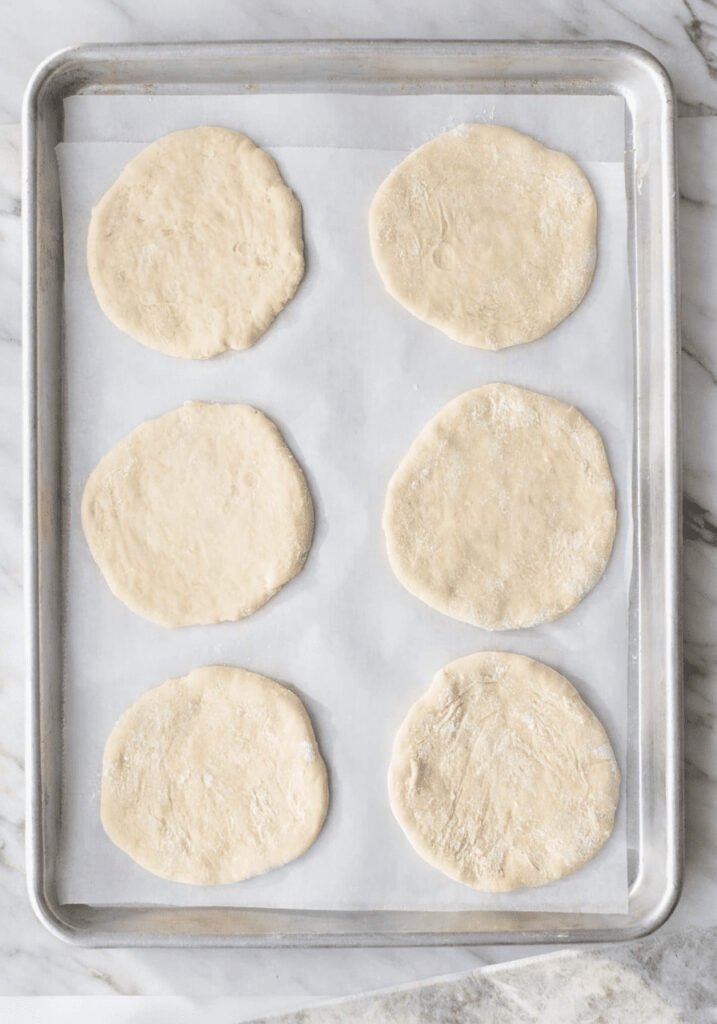
Once risen, gently punch down the dough to remove extra air, divide it into 8 equal pieces, roll each piece into a ball, and let them rest for another 10 minutes before rolling each one into a flat circle about ¼ inch thick.
Step Six
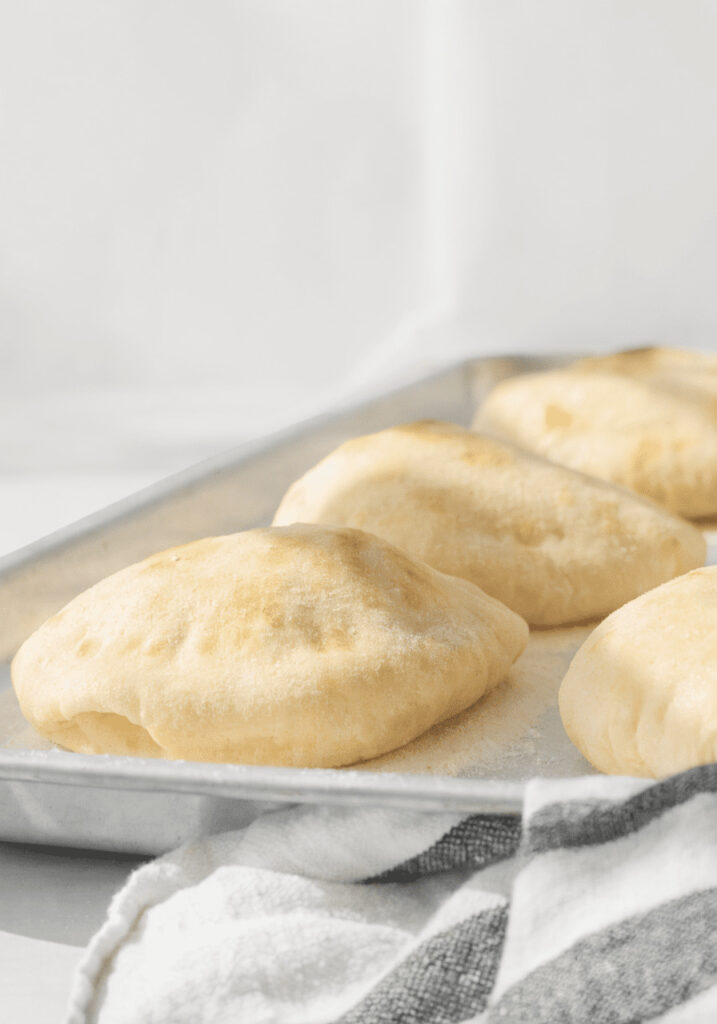
Preheat your oven to 475°F (245°C) and place a baking sheet or pizza stone inside to heat up, then carefully place the rolled dough circles onto the hot surface and bake for 3 to 5 minutes until they puff up and slightly turn golden, removing them quickly and covering them with a clean towel to keep them soft.
Kitchen Equipment Needed :
To make this Recipe, you’ll need:
- Large mixing bowl
- Measuring cups and spoons
- Wooden spoon or spatula
- Clean kitchen towel
- Rolling pin
- Baking sheet or pizza stone
- Oven
- Cooling rack
Serving Suggestion
I love making homemade pita bread when I want something soft, warm, and fresh straight from the pan; watching the dough puff up and form that perfect pocket always feels satisfying. It’s great for family lunches or easy dinners, and my daughter enjoys helping me fill them with chicken, veggies, or a little cheese. I usually serve them with a simple salad or a bowl of hummus on the side, and for drinks we keep it refreshing with a fruit smoothie or a glass of orange juice to complete the meal.
Frequently Asked Questions
Can I use bread flour instead of all-purpose flour ?
Yes, bread flour can make the pita slightly chewier because it has more protein.
Can I cook pita in a frying pan ?
Yes, cook each side in a very hot dry pan for about 1–2 minutes until it puffs.
How long can I store pita at room temperature ?
Up to 2 days in an airtight container.
Can I freeze homemade pita bread ?
Yes, freeze it for up to 3 months with parchment paper between each piece.
Homemade Pita Bread
Course: BreadCuisine: MediterraneanDifficulty: Easy8
servings15
minutes5
minutes170
kcal1
hour25
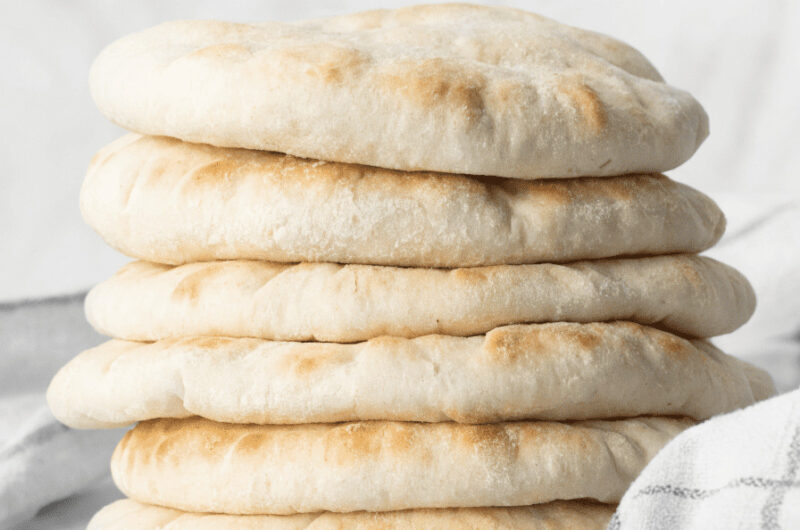
minutesThis Homemade Pita Bread recipe creates soft, fluffy flatbread with a perfect pocket inside. It is easy to make with simple ingredients and tastes fresh and delicious straight from the oven.
Ingredients
3 cups all-purpose flour
1 cup warm water not too hot
2 teaspoons active dry yeast
1 teaspoon sugar
1 teaspoon salt
2 tablespoons olive oil
Directions
- Start by placing the warm water in a large bowl, then add the sugar and yeast, stirring gently and letting the mixture sit for about 5 to 10 minutes until it becomes foamy and bubbly, which means the yeast is alive and ready to help the dough rise beautifully.
- Add the olive oil and salt to the yeast mixture, then slowly mix in the flour one cup at a time, stirring well after each addition until the dough begins to pull away from the sides of the bowl and forms a soft, slightly sticky ball.
- Transfer the dough onto a lightly floured surface and knead it with your hands for about 8 to 10 minutes, pressing and folding it over itself until it becomes smooth, elastic, and soft, adding a little more flour only if it feels too sticky.
- Place the dough into a lightly oiled bowl, cover it with a clean towel, and let it rest in a warm place for about 1 hour or until it doubles in size, which means the yeast has worked its magic and filled the dough with air.
- Once risen, gently punch down the dough to remove extra air, divide it into 8 equal pieces, roll each piece into a ball, and let them rest for another 10 minutes before rolling each one into a flat circle about ¼ inch thick.
- Preheat your oven to 475°F (245°C) and place a baking sheet or pizza stone inside to heat up, then carefully place the rolled dough circles onto the hot surface and bake for 3 to 5 minutes until they puff up and slightly turn golden, removing them quickly and covering them with a clean towel to keep them soft.
Notes
- Knead the dough until it feels smooth and elastic.
- Preheat your baking sheet or pizza stone for best results.
- If pita turns crispy, lightly sprinkle it with water and warm it again.
- Reheat gently to avoid drying them out.
You can add this post to your favorite Pinterest board!