Apple Galette (Flaky & Buttery)

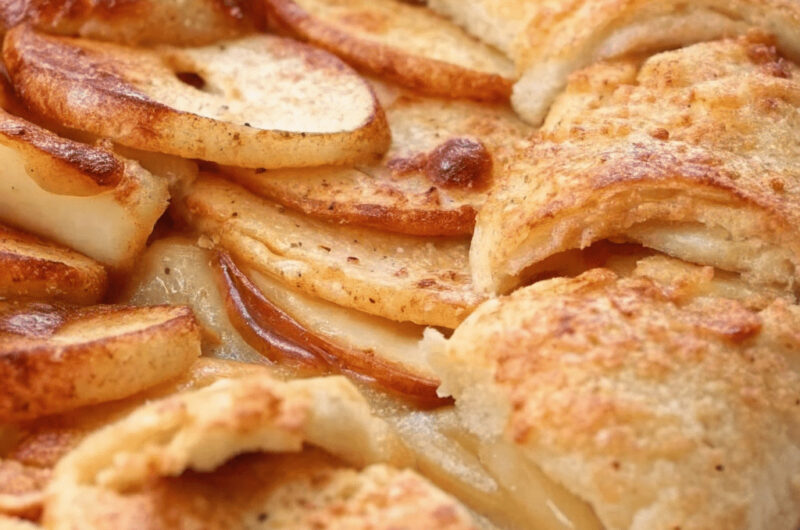
Apple Galette (Flaky & Buttery) is a simple, rustic apple dessert that looks fancy but is very easy to make. A galette is like a pie, but without a pan and without perfectly crimped edges. Instead of worrying about neat shapes, you gently fold the dough around sweet apple slices and bake it until golden brown. The result is a dessert with a crispy, flaky crust and soft, juicy apples in the center.
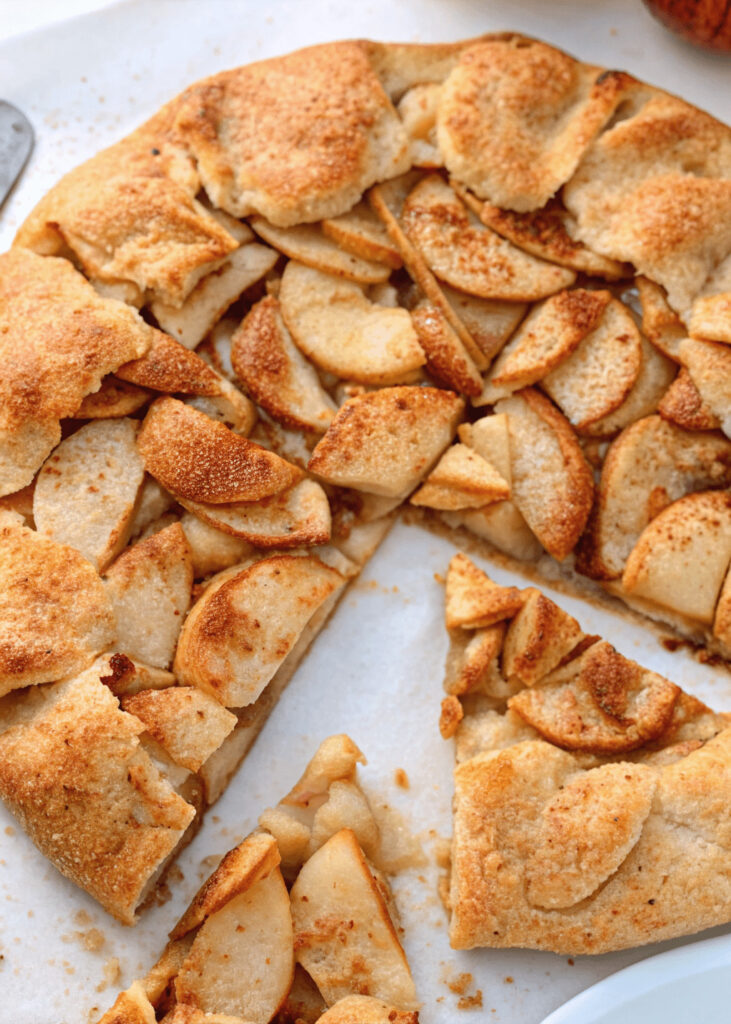
What makes an apple galette special is its effortless, rustic charm. You don’t need any special skills or tools, and there’s no pressure for it to look perfect. In fact, the uneven edges and casually folded crust are part of what makes it so appealing. The buttery crust melts in your mouth, while the apples bake until tender and lightly caramelized. It’s a cozy, homemade dessert that feels comforting and welcoming perfect for both beginners and experienced bakers.
Why You Should Try Apple Galette (Flaky & Buttery)
If you love apple pie but find it a little complicated, this recipe is for you. Apple Galette (Flaky & Buttery) gives you all the flavor of apple pie with much less effort. There is no pie pan to line, no top crust to roll, and no exact shaping required. You simply roll, fill, fold, and bake.
This dessert is also very forgiving. If your dough cracks, you can patch it. If the apples overlap, that is totally fine. Because of its simplicity, this recipe is great for baking with kids or for anyone baking for the first time. Plus, the smell of apples, butter, and cinnamon baking in the oven will make your kitchen feel warm and welcoming.
Table of Contents
Ingredients for Apple Galette (Flaky & Buttery)
Here’s everything you’ll need to make this Apple Galette (Flaky & Buttery)
For the Galette Dough
- 1 ¼ cups all purpose flour
- 1 tablespoon sugar
- ½ teaspoon salt
- ½ cup cold unsalted butter, cut into small cubes
- 3–4 tablespoons ice cold water
For the Apple Filling
- 3 medium apples such as Granny Smith, Honeycrisp, or Fuji
- 2 tablespoons sugar white or brown
- 1 tablespoon lemon juice
- 1 teaspoon cinnamon
- 1 tablespoon all purpose flour or cornstarch
For Finishing
- 1 egg for egg wash
- 1 tablespoon sugar for sprinkling on crust
How to Make Apple Galette (Flaky & Buttery)
Step One
First, make the dough. In a large bowl, mix the flour, sugar, and salt. Add the cold butter cubes and use a pastry cutter or fork to press the butter into the flour. Keep working until the mixture looks like coarse crumbs with small pea-sized bits of butter. These butter pieces are important because they help make the crust flaky.
Step Two
Next, slowly add the ice-cold water, one tablespoon at a time. Gently mix until the dough starts to come together. Do not overmix. When the dough holds together when pressed, shape it into a flat disk, wrap it in plastic wrap, and refrigerate for at least 30 minutes. Chilling the dough helps keep the butter cold, which makes the crust extra flaky.
Step Three
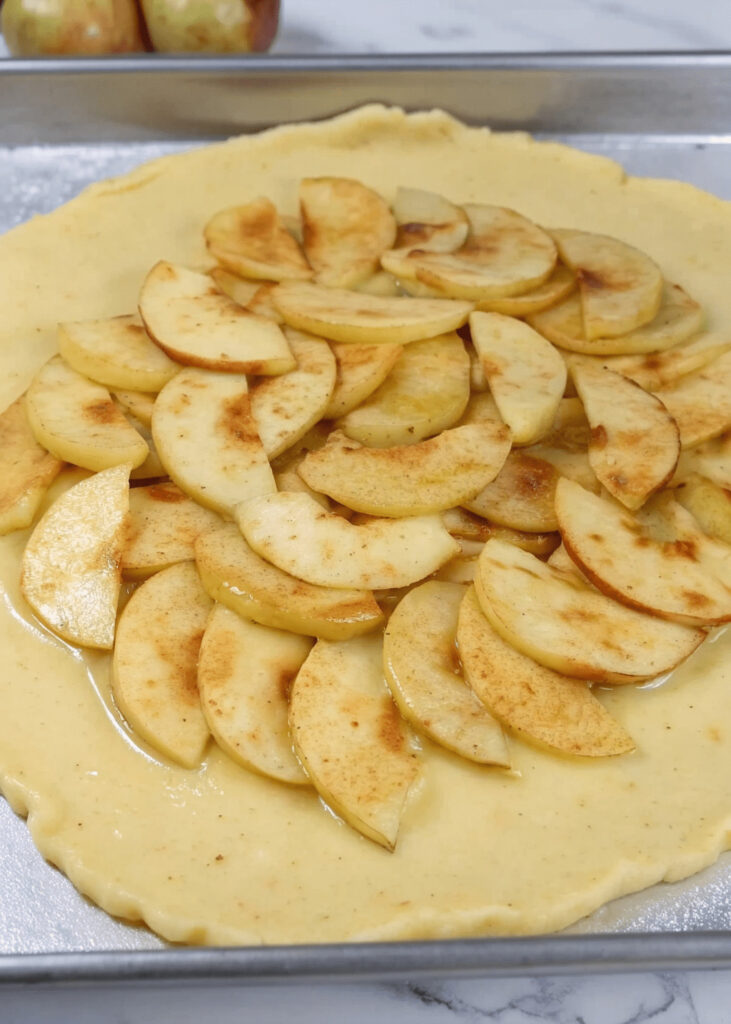
While the dough chills, prepare the apple filling. Peel the apples if you like this is optional, then slice them thinly. Place the apple slices in a bowl and add sugar, lemon juice, cinnamon, and flour. Toss everything together until the apples are well coated. The flour helps thicken the juices as the galette bakes.
Step Four
Preheat your oven to 375°F (190°C) and line a baking sheet with parchment paper. Take the chilled dough out of the refrigerator and place it on a lightly floured surface. Roll it into a circle about 12 inches wide. Do not worry if the edges are uneven that is part of the galette’s rustic look.
Step Five
Carefully transfer the rolled dough onto the prepared baking sheet. Arrange the apple slices in the center of the dough, leaving about 2 inches of space around the edges. Fold the edges of the dough over the apples, gently pleating as you go. The center will remain open, showing the apple filling.
Step Six
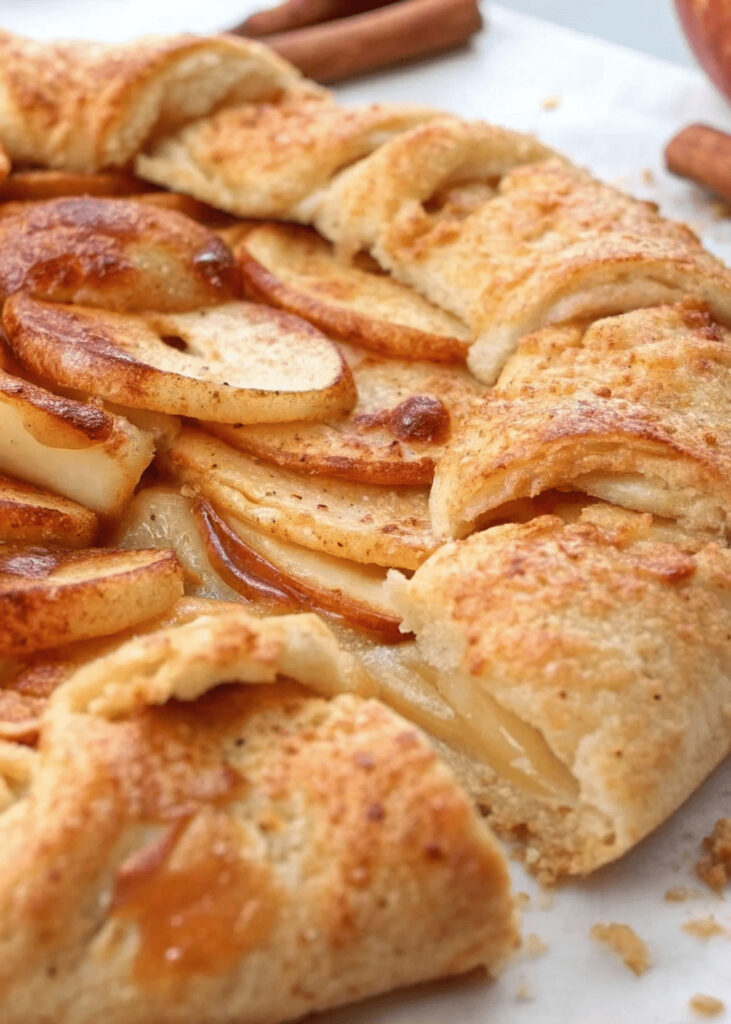
In a small bowl, beat the egg and brush it over the folded crust. Sprinkle a little sugar on top of the crust for extra crunch and sweetness. Bake the galette for 40–45 minutes, or until the crust is golden brown and the apples are soft and bubbly. Let it cool slightly before slicing and serving.
Kitchen Equipment Needed :
Before you start Cooking, gather the following kitchen tools:
- Large mixing bowl
- Measuring cups and spoons
- Pastry cutter or fork
- Rolling pin
- Sharp knife or apple slicer
- Cutting board
- Baking sheet
- Parchment paper
- Small bowl for egg wash
- Pastry brush or spoon
Tips for the Best Apple Galette (Flaky & Buttery)
If the dough feels too sticky, add a little flour while rolling.
Use store bought pie dough if you are short on time.
Slice apples evenly so they cook at the same rate.
Chill the assembled galette for 10 minutes before baking for better shape.
Serving Suggestion
I love eating this delicious Apple Galette (Flaky & Buttery) with a tasty drink like lemonade or fruit juice, and sometimes I like to serve it with milkshakes for my children. Sometimes I enjoy it with tea or coffee so my husband and I can both savor it.
Frequently Asked Questions
Can I use store bought pie dough ?
Yes, store bought dough is a great shortcut and saves time.
Can I freeze apple galette ?
Yes, it can be frozen before or after baking for up to one month.
Why is my galette crust not flaky ?
The butter may have been too warm or the dough overmixed.
How do I keep the galette from getting soggy ?
Adding a little flour or cornstarch to the apples helps absorb juice.
Apple Galette (Flaky & Buttery)
Course: DessertCuisine: American, FrenchDifficulty: Easy8
servings20
minutes45
minutes300
kcal1
hour5
minutesA rustic and easy-to-make apple dessert with a buttery, flaky crust and tender, sweet apples in the center. Perfect for beginners and quick baking.
Ingredients
1 ¼ cups all purpose flour
1 tablespoon sugar
½ teaspoon salt
½ cup cold unsalted butter, cut into small cubes
3–4 tablespoons ice cold water
3 medium apples such as Granny Smith, Honeycrisp, or Fuji
2 tablespoons sugar white or brown
1 tablespoon lemon juice
1 teaspoon cinnamon
1 tablespoon all purpose flour or cornstarch
1 egg for egg wash
1 tablespoon sugar for sprinkling on crust
Directions
- First, make the dough. In a large bowl, mix the flour, sugar, and salt. Add the cold butter cubes and use a pastry cutter or fork to press the butter into the flour. Keep working until the mixture looks like coarse crumbs with small pea-sized bits of butter. These butter pieces are important because they help make the crust flaky.
- Next, slowly add the ice-cold water, one tablespoon at a time. Gently mix until the dough starts to come together. Do not overmix. When the dough holds together when pressed, shape it into a flat disk, wrap it in plastic wrap, and refrigerate for at least 30 minutes. Chilling the dough helps keep the butter cold, which makes the crust extra flaky.
- Preheat your oven to 375°F (190°C) and line a baking sheet with parchment paper. Take the chilled dough out of the refrigerator and place it on a lightly floured surface. Roll it into a circle about 12 inches wide. Do not worry if the edges are uneven that is part of the galette’s rustic look.
- Carefully transfer the rolled dough onto the prepared baking sheet. Arrange the apple slices in the center of the dough, leaving about 2 inches of space around the edges. Fold the edges of the dough over the apples, gently pleating as you go. The center will remain open, showing the apple filling.
- In a small bowl, beat the egg and brush it over the folded crust. Sprinkle a little sugar on top of the crust for extra crunch and sweetness. Bake the galette for 40–45 minutes, or until the crust is golden brown and the apples are soft and bubbly. Let it cool slightly before slicing and serving.
Notes
- Chill the dough before rolling to make it easier to handle.
- Use firm apples like Granny Smith or Honeycrisp so they hold their shape.
- Toss apples with a little flour or cornstarch to prevent soggy filling.
- Brush crust with egg wash for a golden, shiny finish.
You can add this post to your favorite Pinterest board!