Mini Apple Hand Pies

Mini Apple Hand Pies are small, delicious, easy to hold versions of a classic apple pie. Instead of making one big pie, you make little ones that fit right in your hand. They’re perfect for kids, parties, lunchboxes, bake sales, or even quick after-school snacks. Each hand pie has a buttery golden crust with warm, cinnamon-spiced apple filling tucked inside. They smell amazing while baking, and they taste like cozy comfort in every bite.
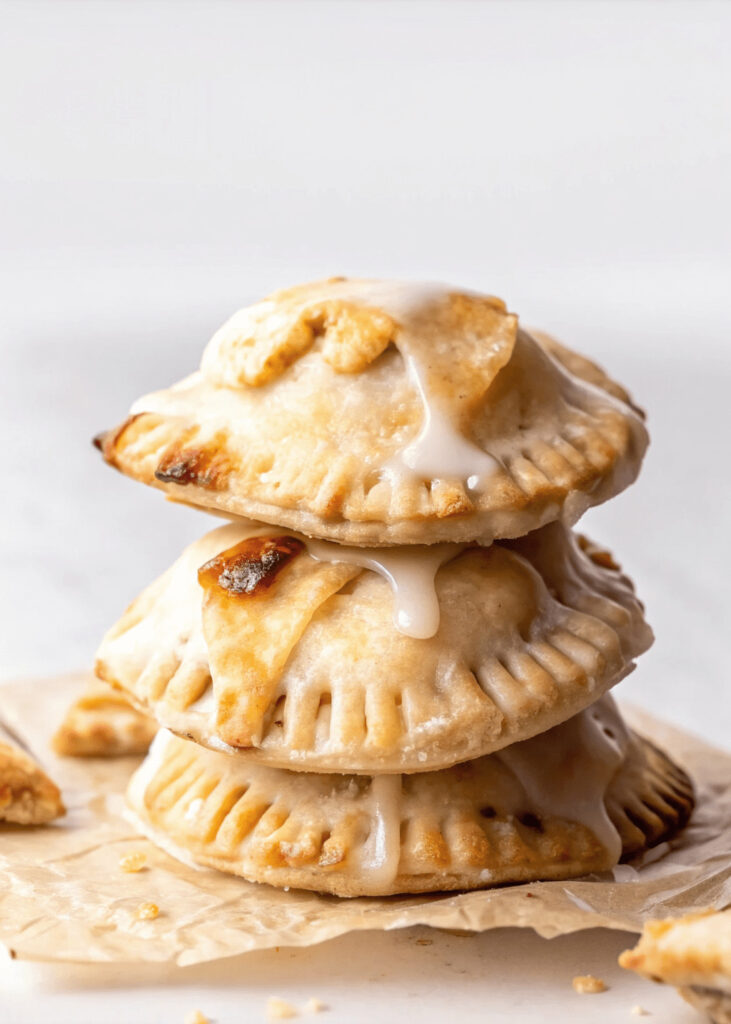
Because they’re small, Mini Apple Hand Pies bake faster than a whole pie and are easier to shape. They also use simple ingredients you may already have at home apples, sugar, cinnamon, and ready made or homemade pie crust. Even if you’re new to baking, this recipe is friendly for beginners and fun for kids to help with. You can decorate the top with little slits, forked edges, or even extra dough cutouts to make them look festive and cute.
Why You Should Try Mini Apple Hand Pies
You should try Mini Apple Hand Pies because they’re quick, convenient, and customizable. You can fill them with classic apple filling or add extras like caramel, nuts, or raisins for extra fun. They’re also great for sharing because each person gets their own little pie. No slicing, no mess just grab one and enjoy. They’re also freezer-friendly, so you can make a bunch and bake them whenever you want a warm treat.
Kids love these because they’re adorable, sweet, and perfectly sized. Grown-ups love them because the flavor is comforting and nostalgic. Whether you’re packing dessert for a picnic, making a Thanksgiving treat, or baking something cozy on a chilly day, Mini Apple Hand Pies always taste like homemade warmth.
Table of Contents
Ingredients for Mini Apple Hand Pies
Here’s everything you’ll need to make this Mini Apple Hand Pies
- 2 cups peeled and chopped apples Granny Smith or Honeycrisp work great
- 2 tablespoons granulated sugar
- 1 tablespoon brown sugar
- 1 teaspoon ground cinnamon
- 1 tablespoon lemon juice
- 1 tablespoon cornstarch
- 1 teaspoon vanilla extract
- 2 ready made pie crusts or homemade dough
- 1 egg for egg wash
- 1 tablespoon milk for egg wash
- Additional sugar for sprinkling
How to Make Mini Apple Hand Pies
Step One
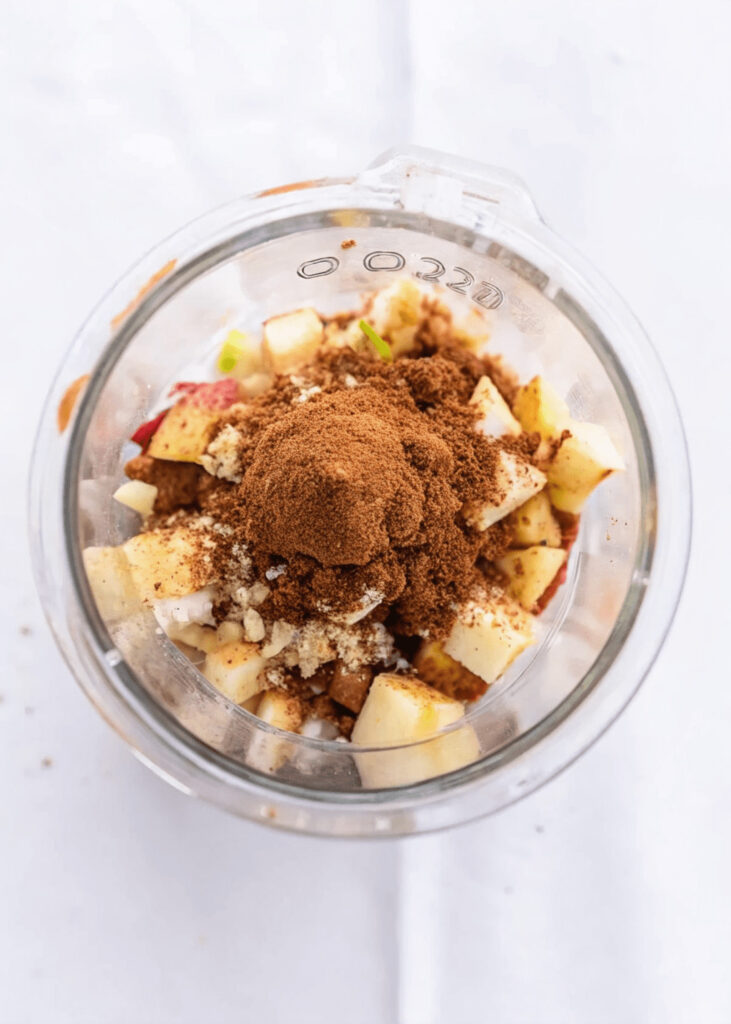
First, prepare the filling: In a medium bowl, combine the chopped apples with the granulated sugar, brown sugar, cinnamon, lemon juice, cornstarch, and vanilla. Stir well until the apples are fully coated and softened. Let it sit for about 5 minutes to allow the flavors to meld.
Step Two
Next, roll out and cut the dough. Place the pie crust on a clean surface. Use a round cutter or a small bowl to cut out circles from the dough. These circles will be the top and bottom of each mini pie. You can re-roll out any leftover dough to make more circles.
Step Three
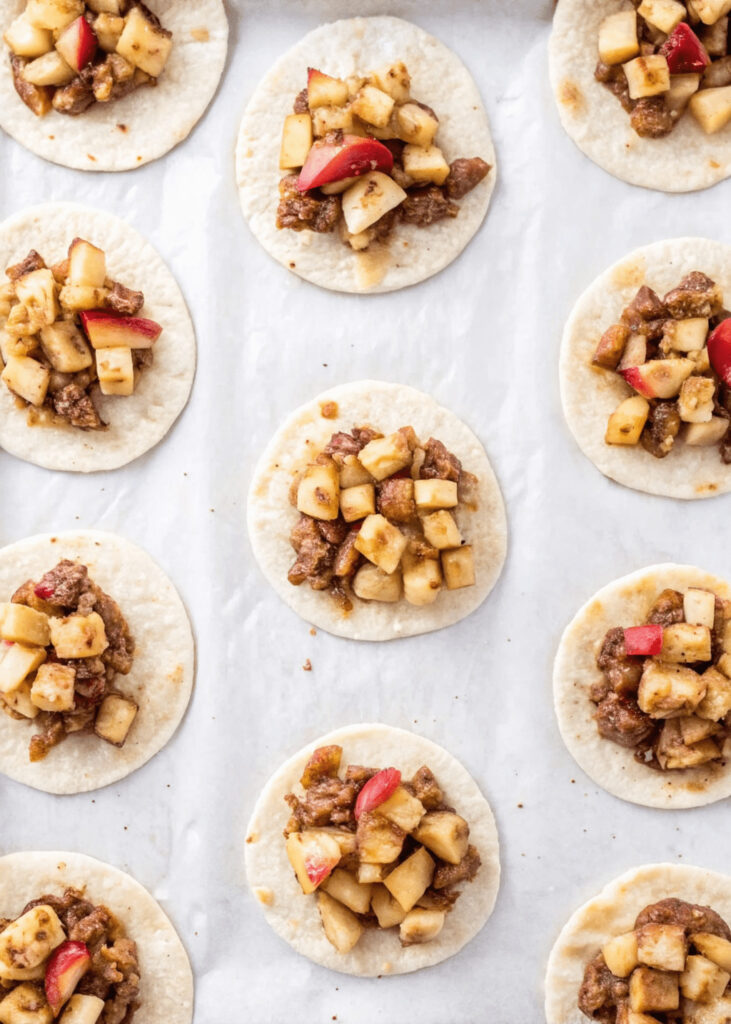
Then, assemble the pies. Place a circle of dough on a baking sheet lined with parchment paper. Add a spoonful of the apple filling in the center don’t overfill the pies, or they will leak. Place another circle of dough on top and gently press the edges together with a fork to seal. Make two or three small slits in the top to allow steam to escape during baking.
Step Four
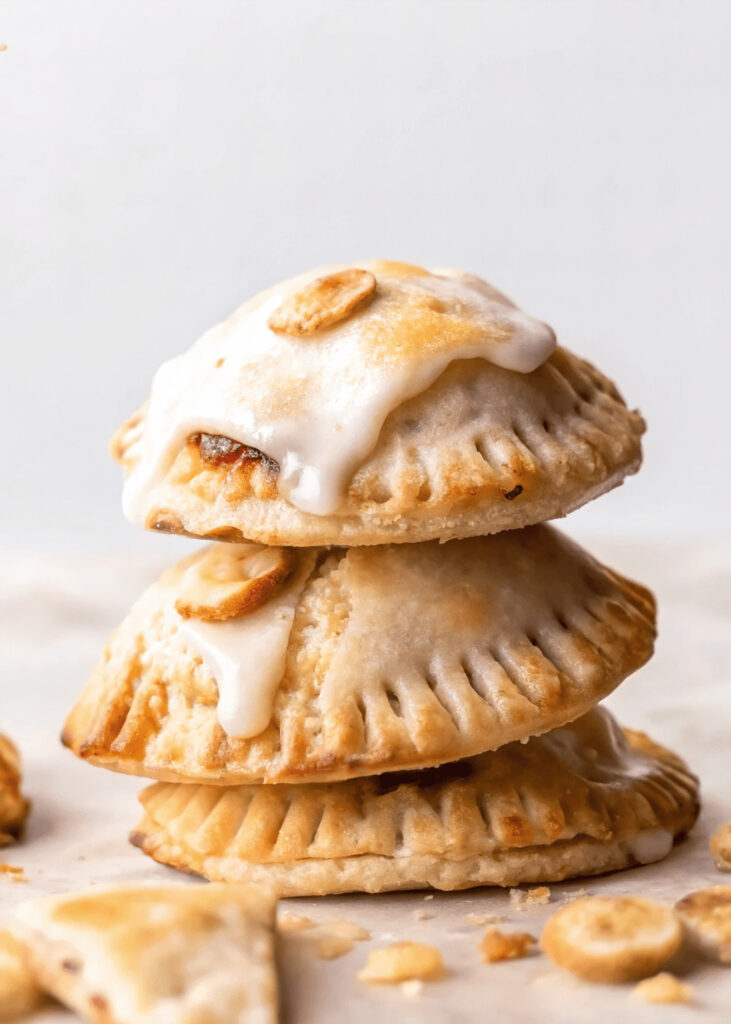
Now it’s time to brush the pies with the egg wash. In a small bowl, whisk together the egg and milk. Lightly brush the tops of the pastries with this mixture. This will make them shiny and golden. Sprinkle a little sugar on top for extra crunch and sweetness.
Step Five
Finally: Baking: Preheat the oven to 190°C (375°F). Bake the pastries for 18-22 minutes, or until the tops are a beautiful golden brown and the edges are slightly crisp. Let them cool for at least 5-10 minutes before serving the filling will be very hot.
Kitchen Equipment Needed :
Before you start Cooking, gather the following kitchen tools:
- Mixing bowl
- Spoon or spatula
- Knife and cutting board
- Round cookie cutter or small bowl
- Baking sheet
- Parchment paper
- Pastry brush
- Fork
- Measuring spoons
- Small bowl for egg wash
Tips for Making Perfect Mini Apple Hand Pies
Use tart apples like Granny Smith for the best flavor balance.
If the filling looks too watery, add a little more cornstarch.
Don’t overfill small pies need small amounts of filling.
Use very cold dough; warm dough gets sticky and hard to shape.
Serving Suggestion
I often serve this dessert for breakfast with warm, delicious drinks like tea, coffee, or hot chocolate. During the day, I serve it with a refreshing fruit juice or any cold drink I have on hand.
Frequently Asked Questions
Can I use frozen apples for the filling ?
Yes, but make sure to thaw and drain them first so the filling isn’t too watery.
Can I add other fruits to the filling ?
Yes! Try pears, cranberries, or even berries for a twist on the classic apple pie.
Can I use a muffin tin to shape the pies ?
Yes, a muffin tin can help keep the pies uniform and make cleanup easier.
Can I add nuts or raisins ?
Yes, chopped nuts or raisins can be added to the filling for extra texture and flavor.
Mini Apple Hand Pies
Course: Dessert, SnacksCuisine: AmericanDifficulty: Easy8
servings20
minutes20
minutes200
kcal40
minutesMini Apple Hand Pies are small, delicious, buttery pastries filled with cinnamon-spiced apple filling. Perfect for kids, parties, or a cozy dessert, these hand-held pies are easy to make and fun to eat.
Ingredients
2 cups peeled and chopped apples Granny Smith or Honeycrisp work great
2 tablespoons granulated sugar
1 tablespoon brown sugar
1 teaspoon ground cinnamon
1 tablespoon lemon juice
1 tablespoon cornstarch
1 teaspoon vanilla extract
2 ready made pie crusts or homemade dough
1 egg for egg wash
1 tablespoon milk for egg wash
Additional sugar for sprinkling
Directions
- First, prepare the filling: In a medium bowl, combine the chopped apples with the granulated sugar, brown sugar, cinnamon, lemon juice, cornstarch, and vanilla. Stir well until the apples are fully coated and softened. Let it sit for about 5 minutes to allow the flavors to meld.
- Next, roll out and cut the dough. Place the pie crust on a clean surface. Use a round cutter or a small bowl to cut out circles from the dough. These circles will be the top and bottom of each mini pie. You can re-roll out any leftover dough to make more circles.
- Then, assemble the pies. Place a circle of dough on a baking sheet lined with parchment paper. Add a spoonful of the apple filling in the center don't overfill the pies, or they will leak. Place another circle of dough on top and gently press the edges together with a fork to seal. Make two or three small slits in the top to allow steam to escape during baking.
- Now it's time to brush the pies with the egg wash. In a small bowl, whisk together the egg and milk. Lightly brush the tops of the pastries with this mixture. This will make them shiny and golden. Sprinkle a little sugar on top for extra crunch and sweetness.
- Finally: Baking: Preheat the oven to 190°C (375°F). Bake the pastries for 18-22 minutes, or until the tops are a beautiful golden brown and the edges are slightly crisp. Let them cool for at least 5-10 minutes before serving the filling will be very hot.
Notes
- Use cold pie crust dough to make handling and shaping easier.
- Don’t overfill the pies too much filling can cause leaks.
- Brush with egg wash for a shiny, golden brown finish.
- Add a pinch of nutmeg or allspice to the filling for a warm, cozy flavor.
You can add this post to your favorite Pinterest board!