Pumpkin Hand Pies

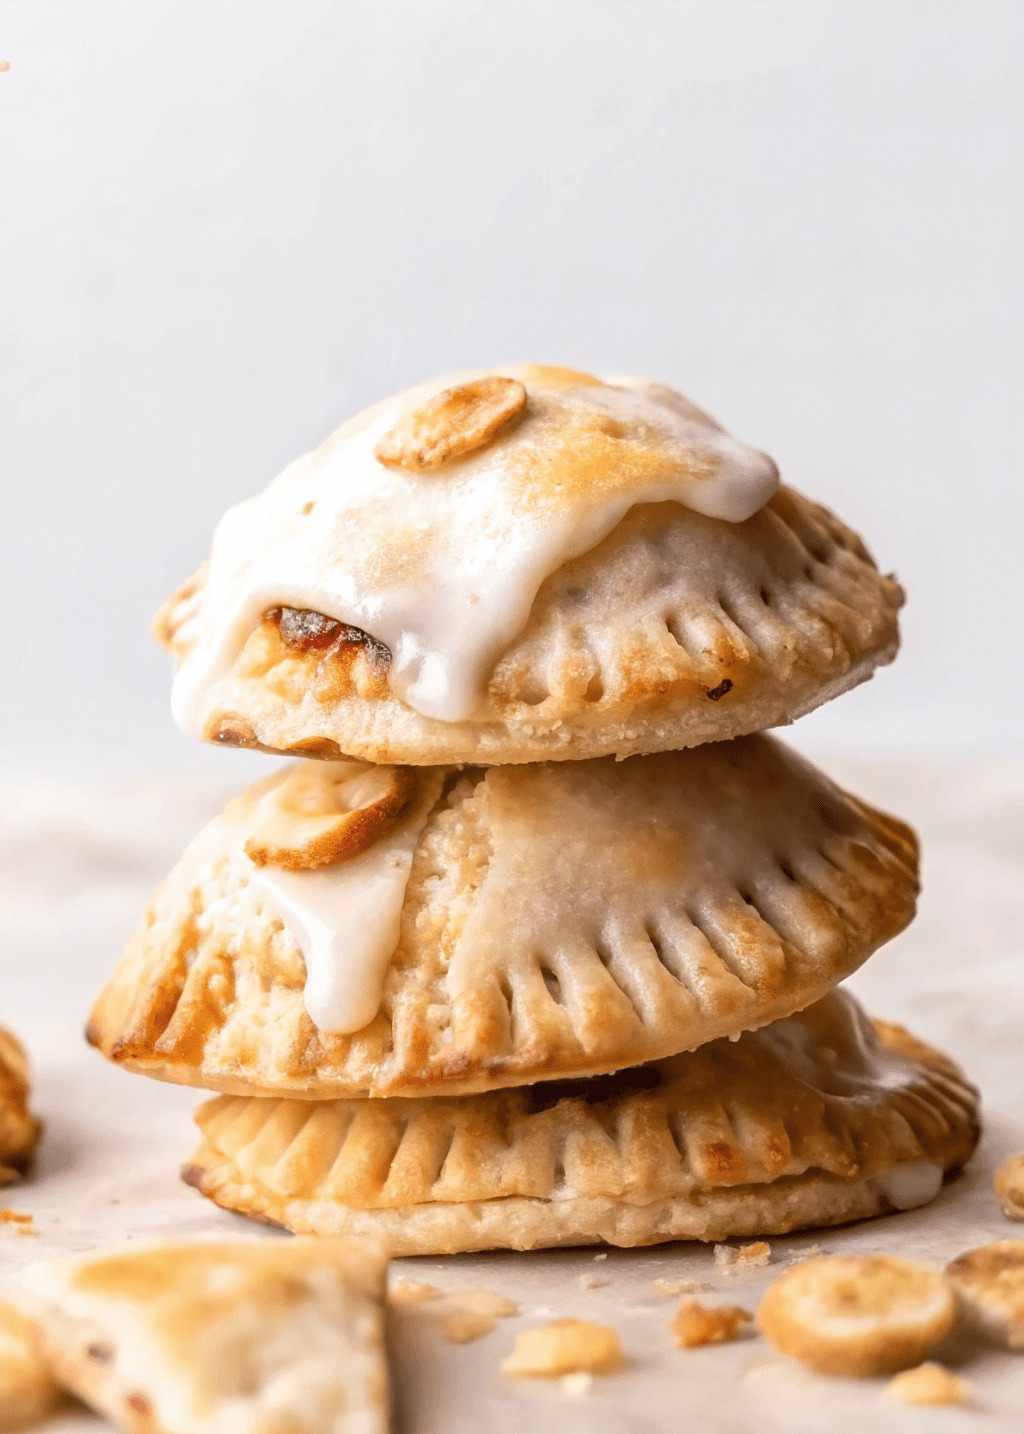
Pumpkin Hand Pies are adorable, golden-brown mini pies filled with a sweet and creamy pumpkin filling. They’re like portable pumpkin pies that fit perfectly in your hand no forks, knives, or plates needed! Each bite gives you that cozy taste of fall with pumpkin spice, cinnamon, and flaky pie crust that melts in your mouth. These little treats are perfect for lunchboxes, holiday parties, or even as a fun weekend baking project with your family.
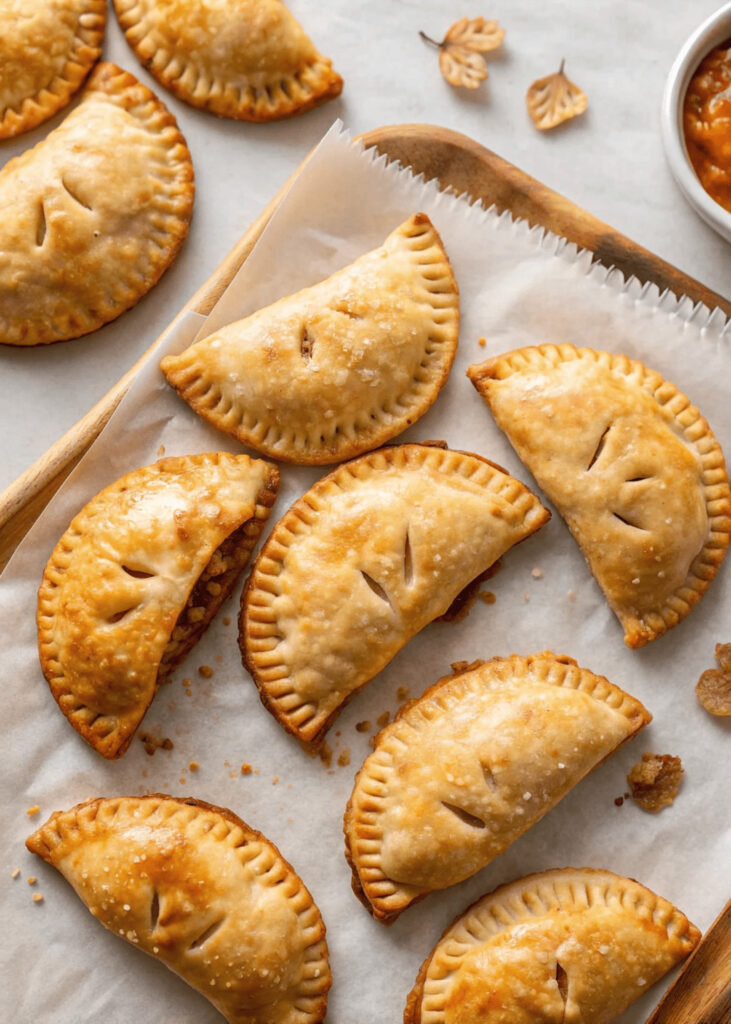
What makes Pumpkin Hand Pies special is how easy and mess-free they are compared to traditional pies. You don’t need to roll out large crusts or worry about cutting perfect slices. Each mini pie is sealed and baked until golden, making it a great beginner-friendly dessert for kids or anyone who loves quick baking.
You Should Try the Pumpkin Hand Pies
You should absolutely try making these Pumpkin Hand Pies because they bring the joy of pumpkin pie in a smaller, cuter, and more convenient form. Imagine the smell of cinnamon and nutmeg filling your kitchen while these golden pockets bake in the oven! The outside is buttery and crisp, while the inside has a warm, spiced pumpkin flavor that feels like a hug in dessert form.
They’re also incredibly fun to make kids love helping cut out shapes, spooning the filling, and sealing the edges with a fork. Whether you’re making them for Thanksgiving, a Halloween party, or a cozy movie night, these hand pies are always a hit. Plus, they store well and can even be frozen for later, so you can enjoy them anytime you crave a taste of fall.
Table of Contents
Ingredients for Pumpkin Hand Pies
Here’s everything you’ll need to make this Pumpkin Hand Pies
- 2 refrigerated pie crusts or homemade if you prefer
- 1 cup canned pumpkin puree
- 3 tablespoons brown sugar
- 2 tablespoons granulated sugar
- 1 teaspoon pumpkin pie spice
- ½ teaspoon cinnamon
- 1 teaspoon vanilla extract
- 1 large egg for brushing the tops
- 1 tablespoon milk for egg wash
- A pinch of salt
- Optional: coarse sugar for sprinkling
How to Make Pumpkin Hand Pies
Step One
The first thing you need to do is preheat your oven: Set the oven to 190°C (375°F) and line a baking sheet with parchment paper. This prevents the pies from sticking and helps them bake evenly.
Step Two
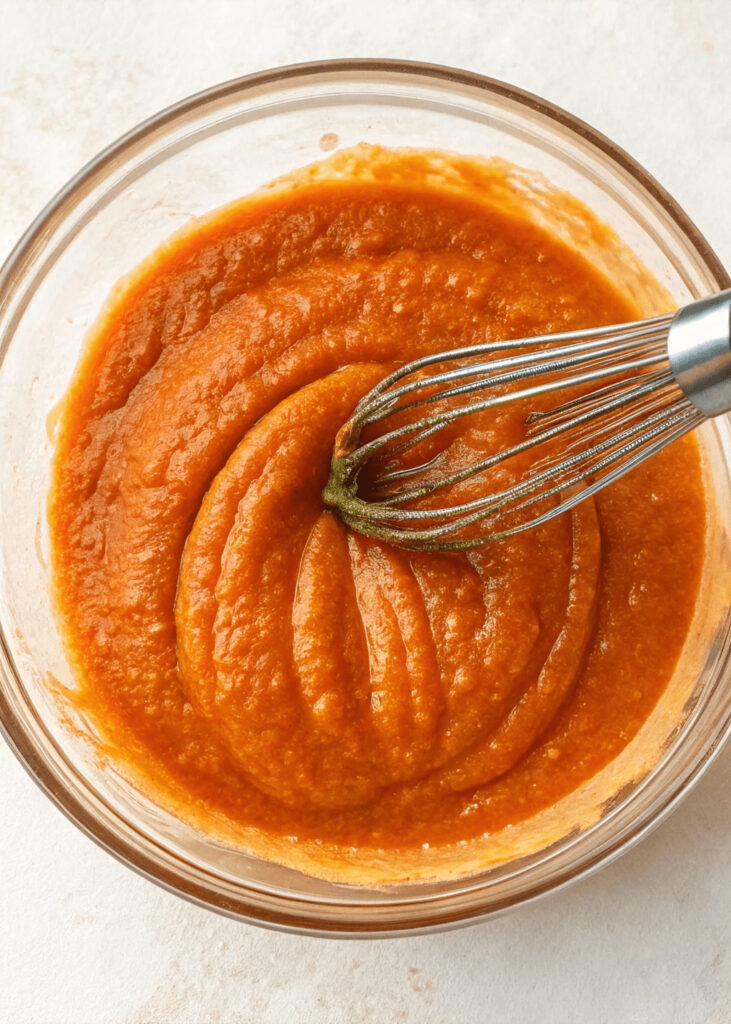
Now, prepare the filling: In a mixing bowl, combine the pumpkin puree, brown sugar, granulated sugar, pumpkin pie spice, cinnamon, vanilla extract, and salt. Stir until smooth and creamy.
Step Three
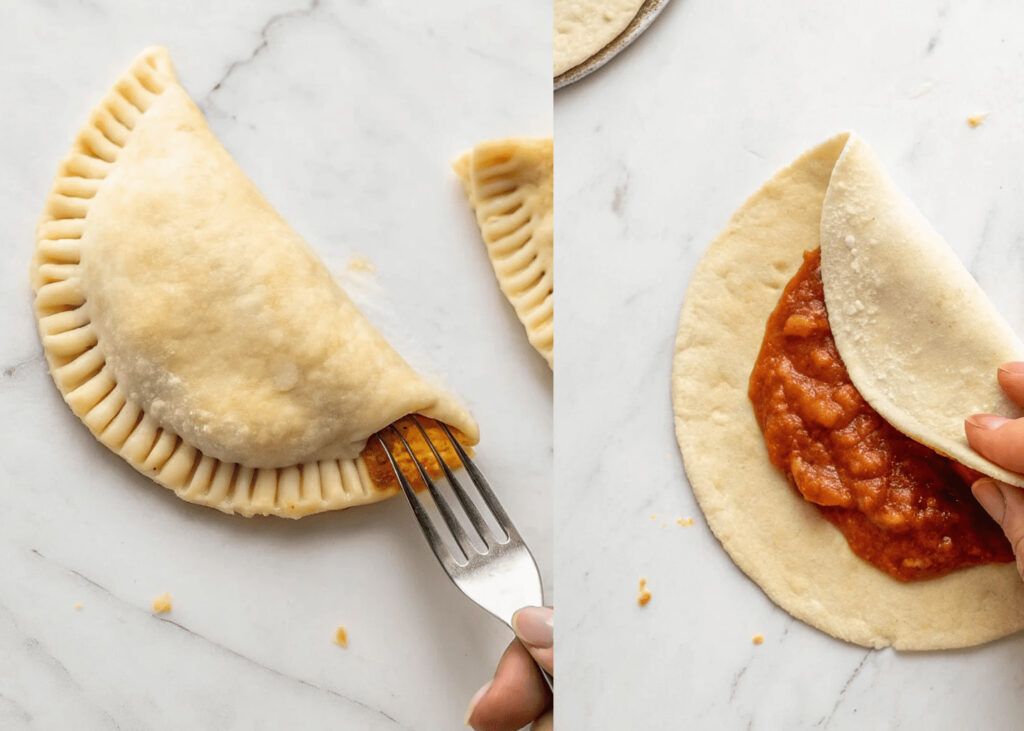
Then roll out the pastry: Sprinkle flour over the surface of the pastry and roll out the pastry. Use a round cookie cutter or the rim of a glass about 3 to 4 inches wide to cut out circles. Add the filling: Place about a tablespoon of the pumpkin mixture in the center of half of the circles. Be careful not to overfill, or the filling may leak out during baking.
Step Four
Now, seal the pastries: Place another circle on top of each filled piece. Press the edges together with a fork to seal them tightly. This gives them attractive, crimped edges.
Step Five
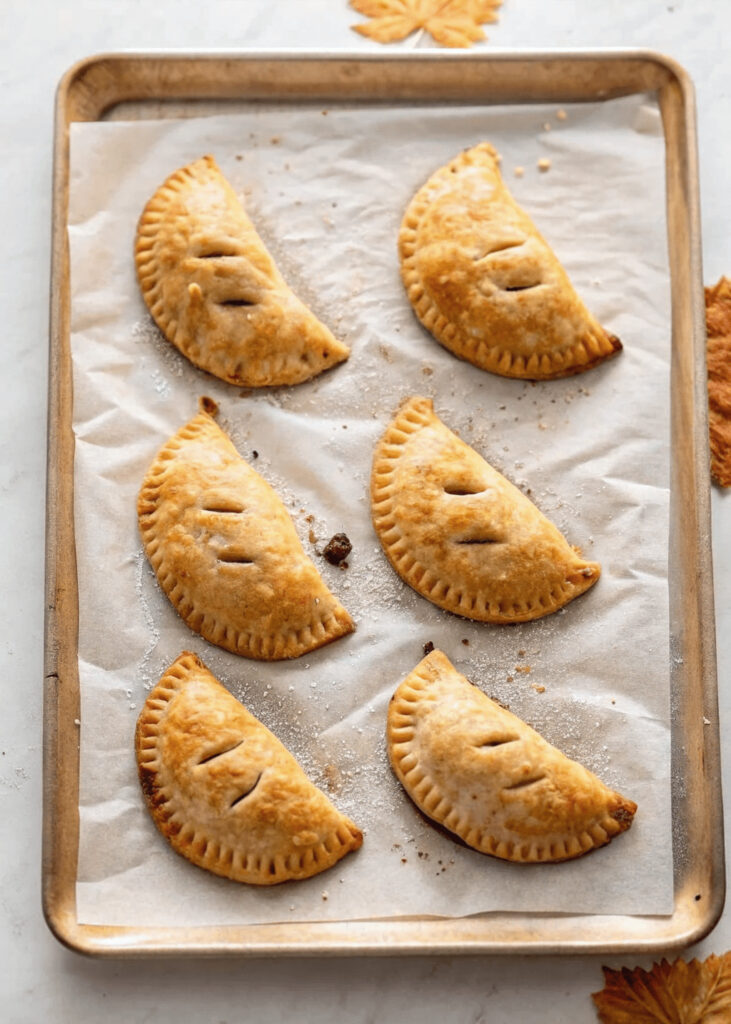
Brush with the egg mixture: In a small bowl, whisk together the egg and milk. Brush the surface of the pastry with this mixture. This helps it bake until golden brown.
Step Six
Sprinkle and bake: You can sprinkle a little granulated sugar on top for a shiny, crisp finish. Bake for 18–22 minutes, or until golden brown and crisp.
Step Seven
Finally, you can cool them before serving: Let the pastry cool for at least 10 minutes on a wire rack. The filling will be hot right out of the oven, so be careful!
Kitchen Equipment Needed :
To make these Pumpkin Hand Pies, you’ll need:
- Mixing bowl
- Measuring spoons and cups
- Rolling pin
- Cookie cutter or round glass
- Fork
- Baking sheet
- Parchment paper
- Pastry brush
- Cooling rack
Tips for Perfect Pumpkin Hand Pies
Don’t overfill: A small spoonful of filling is enough. Too much can make the pies burst open while baking.
Seal tightly: Press the edges firmly with a fork to keep the filling inside.
Use store-bought crusts for ease: They save time and still taste great!
Add shapes: Use cookie cutters shaped like pumpkins, leaves, or hearts for fun designs.
Serving Suggestion
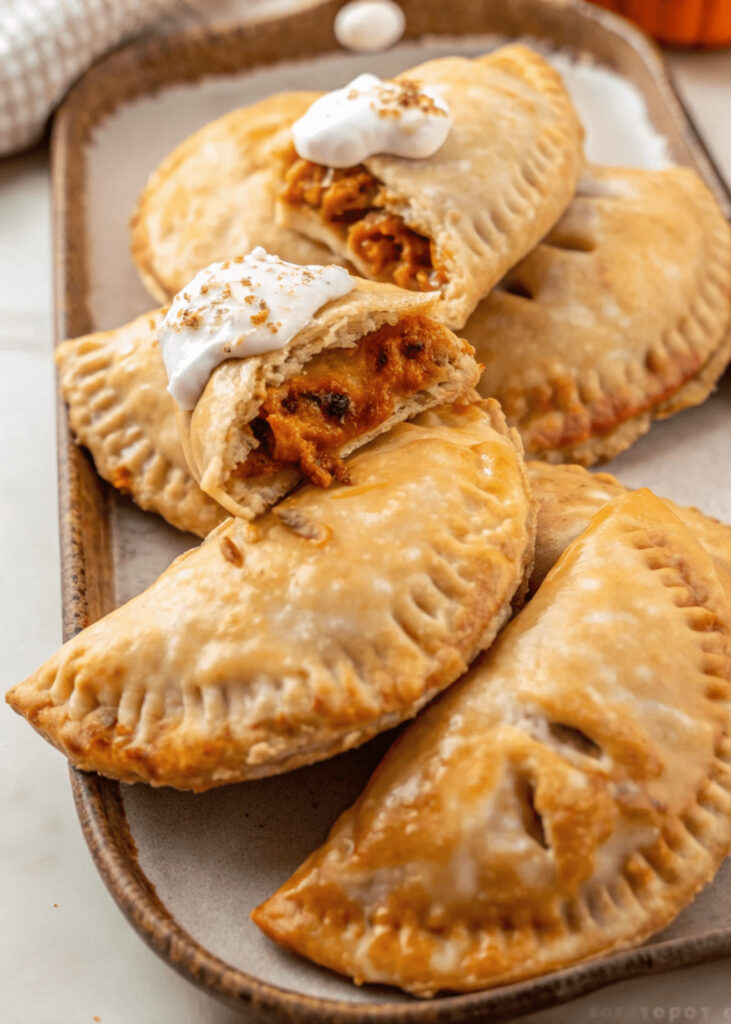
I like to serve these pancakes with hot or cold drinks such as tea, coffee, fruit juice, or milkshakes. Sometimes my family and I take them with us on picnics.
Frequently Asked Question
Can I use homemade pie crust instead of store bought ?
Yes! Homemade pie crust makes the hand pies extra flaky and buttery. If you have time, it’s definitely worth making your own dough.
Can I freeze Pumpkin Hand Pies ?
Absolutely! Freeze them either before or after baking. To bake from frozen, add about 5 extra minutes to the baking time.
How can I make my Pumpkin Hand Pies shiny and golden ?
Brush the tops with an egg wash made from whisked egg and milk before baking. This gives them a beautiful golden color.
How long do Pumpkin Hand Pies last ?
When stored in an airtight container, they’ll last about 2 days at room temperature or up to 5 days in the fridge. You can also **freeze them for up to 2 months
Pumpkin Hand Pies
Course: Dessert, SnacksCuisine: AmericanDifficulty: Easy8
servings20
minutes20
minutes220
kcal40
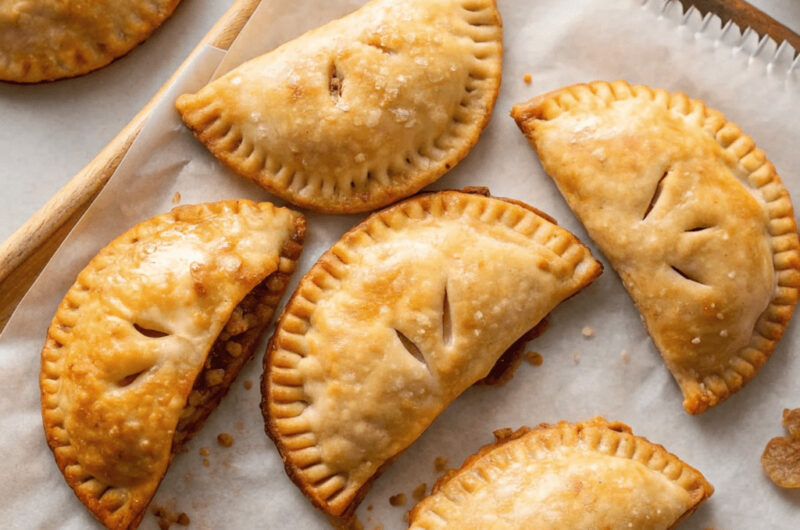
minutesThese Pumpkin Hand Pies are mini, golden-brown pastries filled with sweet, spiced pumpkin filling. They’re easy to make, fun to eat, and perfect for fall gatherings, school snacks, or cozy evenings at home. With flaky crusts and creamy pumpkin centers, these hand pies bring the taste of pumpkin pie in a cute, portable size that everyone will love!
Ingredients
2 refrigerated pie crusts or homemade if you prefer
1 cup canned pumpkin puree
3 tablespoons brown sugar
2 tablespoons granulated sugar
1 teaspoon pumpkin pie spice
½ teaspoon cinnamon
1 teaspoon vanilla extract
1 large egg for brushing the tops
1 tablespoon milk for egg wash
A pinch of salt
Optional: coarse sugar for sprinkling
Directions
- The first thing you need to do is preheat your oven: Set the oven to 190°C (375°F) and line a baking sheet with parchment paper. This prevents the pies from sticking and helps them bake evenly.
- Now, prepare the filling: In a mixing bowl, combine the pumpkin puree, brown sugar, granulated sugar, pumpkin pie spice, cinnamon, vanilla extract, and salt. Stir until smooth and creamy.
- Then roll out the pastry: Sprinkle flour over the surface of the pastry and roll out the pastry. Use a round cookie cutter or the rim of a glass about 3 to 4 inches wide to cut out circles. Add the filling: Place about a tablespoon of the pumpkin mixture in the center of half of the circles. Be careful not to overfill, or the filling may leak out during baking.
- Now, seal the pastries: Place another circle on top of each filled piece. Press the edges together with a fork to seal them tightly. This gives them attractive, crimped edges.
- Brush with the egg mixture: In a small bowl, whisk together the egg and milk. Brush the surface of the pastry with this mixture. This helps it bake until golden brown.
- Sprinkle and bake: You can sprinkle a little granulated sugar on top for a shiny, crisp finish. Bake for 18–22 minutes, or until golden brown and crisp.
- Finally, you can cool them before serving: Let the pastry cool for at least 10 minutes on a wire rack. The filling will be hot right out of the oven, so be careful!
Notes
- Keep the dough cold: Cold dough creates a flakier crust. If it softens while working, chill it in the fridge for 10–15 minutes before continuing.
- Don’t overfill: Use only about one tablespoon of filling per pie. Too much filling can cause the pies to burst while baking.
- Bake until golden: Watch closely toward the end of baking; they’re done when the tops are golden brown and crisp
- Freeze extras:These hand pies freeze well for up to 2 months. Reheat in the oven to crisp them up again
You can add this post to your favorite Pinterest board!