Rice Krispie Treats

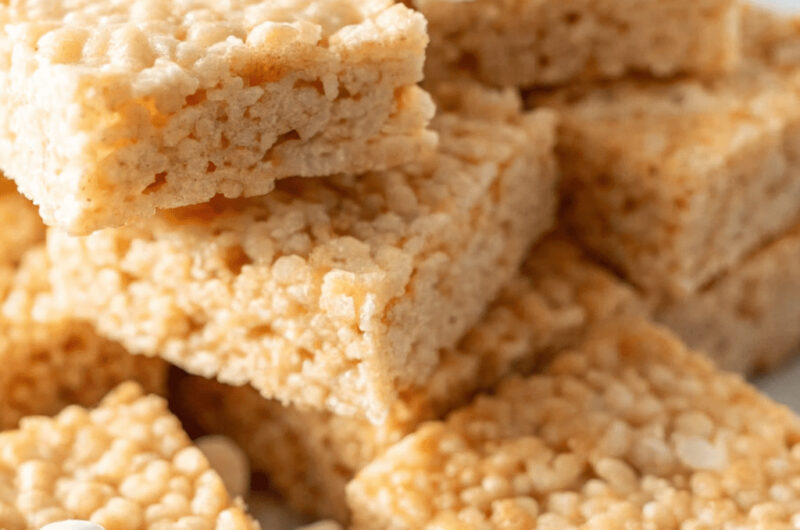
Rice Krispie Treats are one of the easiest and most fun desserts you can make at home. They are sweet, chewy squares made from crispy rice cereal, melted marshmallows, and butter. You don’t need an oven, fancy tools, or lots of time, which is why this recipe is loved by kids, parents, teachers, and bakers of all ages. If you can stir and press, you can make Rice Krispie Treats!
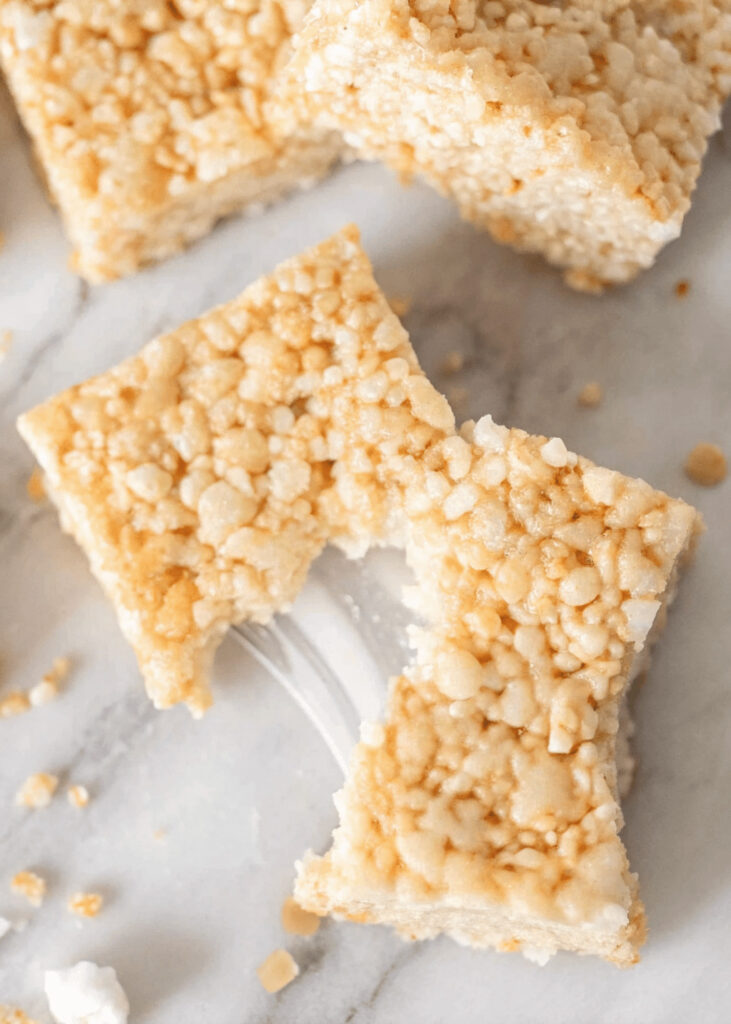
These treats were first made popular because they use simple ingredients that many families already have in their kitchen. They are perfect for school snacks, birthday parties, bake sales, or just a cozy afternoon treat. Best of all, they are very forgivingn if you make a small mistake, they usually still taste great.
You Should Try Rice Krispie Treats
You should try Rice Krispie Treats because they are quick, affordable, and almost impossible to mess up. This recipe is also a great way for kids to learn basic kitchen skills like measuring, stirring, and safely working with warm ingredients (with adult help). In less than 15 minutes, you can turn plain cereal into something exciting and delicious.
Another reason to try this recipe is how customizable it is. You can add chocolate chips, sprinkles, peanut butter, or even colorful candies. Whether you like them extra gooey or more firm, Rice Krispie Treats can be adjusted to match your taste. They are simple, but never boring.
Table of Contents
Ingredients for Rice Krispie Treats
Here’s everything you’ll need to make this Rice Krispie Treats
- 6 cups Rice Krispies cereal
- 4 cups mini marshmallows or about 40 large marshmallows
- 3 tablespoons butter
- ½ teaspoon vanilla extract optional, but tasty
- A small pinch of salt optional, helps balance sweetness
How to Make Rice Krispie Treats
Step One
The first step is to prepare the pan: Line a baking pan with parchment paper or lightly grease it with butter or nonstick cooking spray. This will make removing the dessert easier later.
Step Two
Next, melt the butter: Place a large saucepan on the stovetop over low heat. Add the butter and let it melt slowly, stirring gently to prevent burning.
Step Three
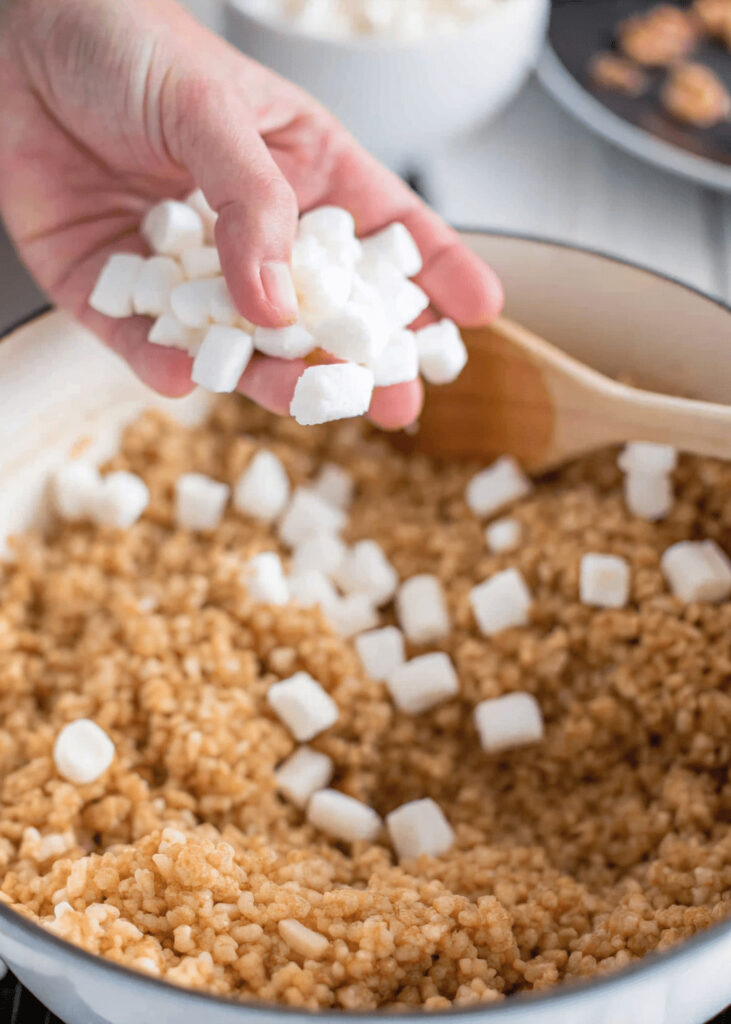
Next, add the marshmallows: Once the butter is completely melted, add the marshmallows to the pan. Stir continuously until the marshmallows are melted and the mixture is smooth and creamy. This step takes a few minutes, so be patient. Add the flavor: Turn off the heat and add the vanilla extract and a pinch of salt (if desired). This adds extra flavor without complicating the dessert.
Step Four
Mix in the rice flakes: Pour the crispy rice flakes into the melted marshmallow mixture. Stir carefully until all the flakes are evenly coated. Take your time so the flakes don’t break.
Step Five
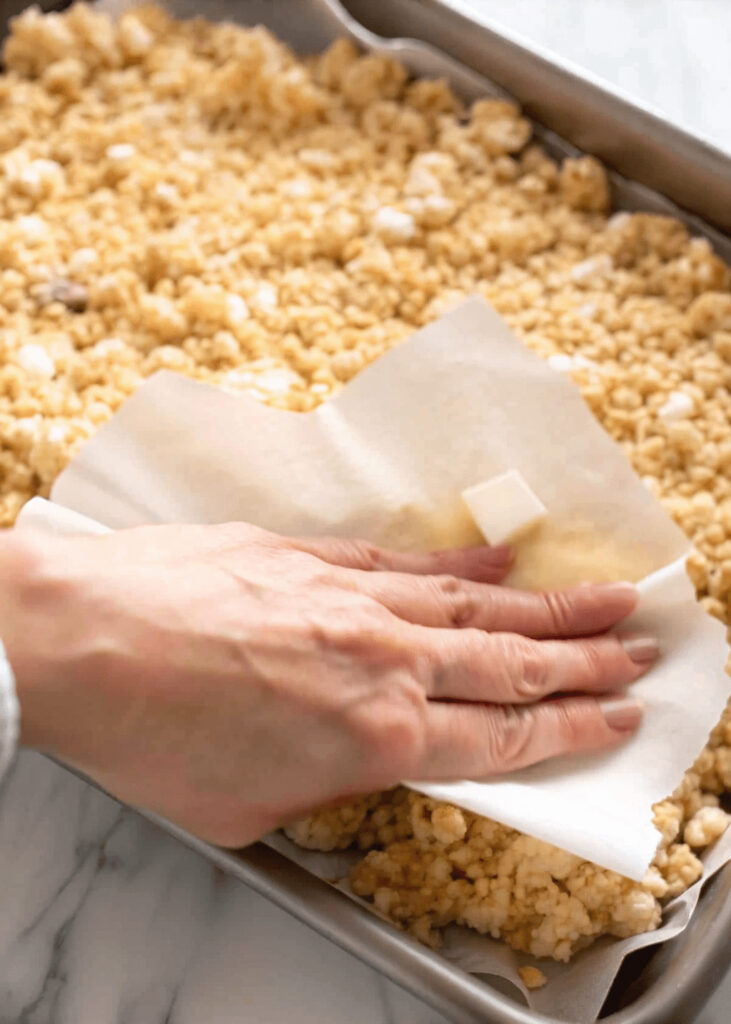
Press the mixture into the prepared pan. Press it gently with a flat spatula or your buttered hands. Don’t press too hard, or the pudding will be dense instead of soft.
Step Six
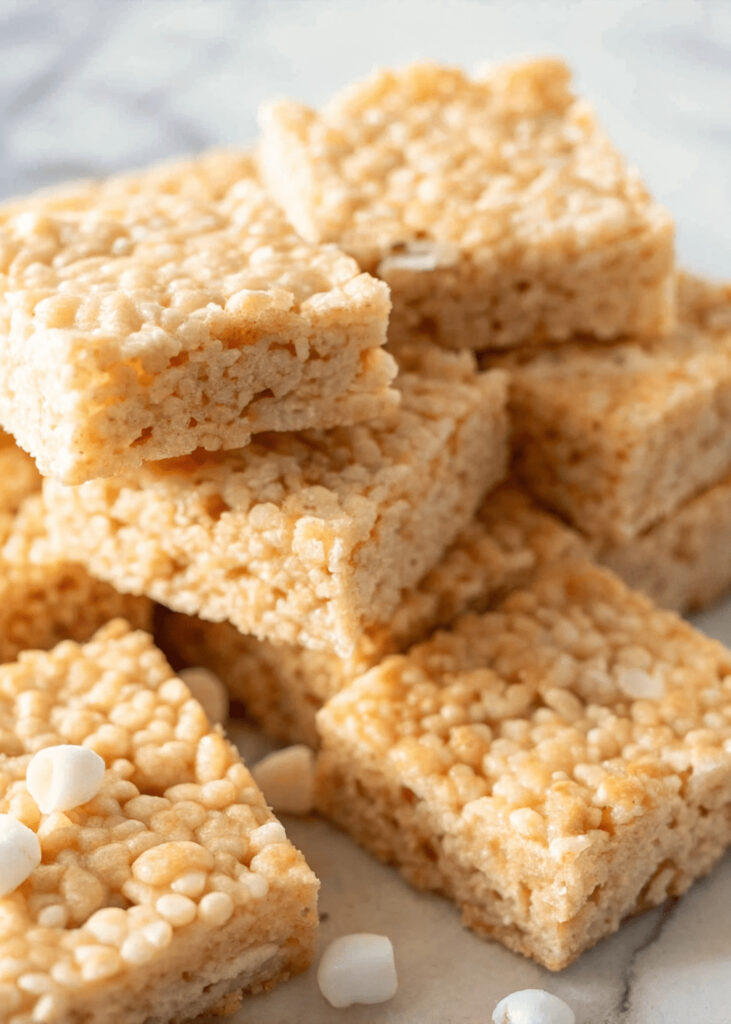
Cool and cut: Let the pudding cool at room temperature for about 20-30 minutes. Once firm, cut it into squares and enjoy.
Kitchen Equipment Needed :
To make this Recipe, you’ll need:
- Large pot or saucepan
- Wooden spoon or heat-safe spatula
- Measuring cups
- 8×8-inch or 9×13 inch baking dish
- Parchment paper or non-stick spray
- Butter knife or spatula for pressing
- Clean hands or wax paper for pressing the treats evenly
Tips for Perfect Rice Krispie Treats
Use low heat to avoid burning the marshmallows. Burnt marshmallows taste bitter.
Butter your spoon or hands to prevent sticking.
For extra gooey treats, add 1 extra cup of marshmallows at the end.
If you’re short on time, microwave the butter and marshmallows instead of using the stove ask an adult for help.
Serving Suggestion
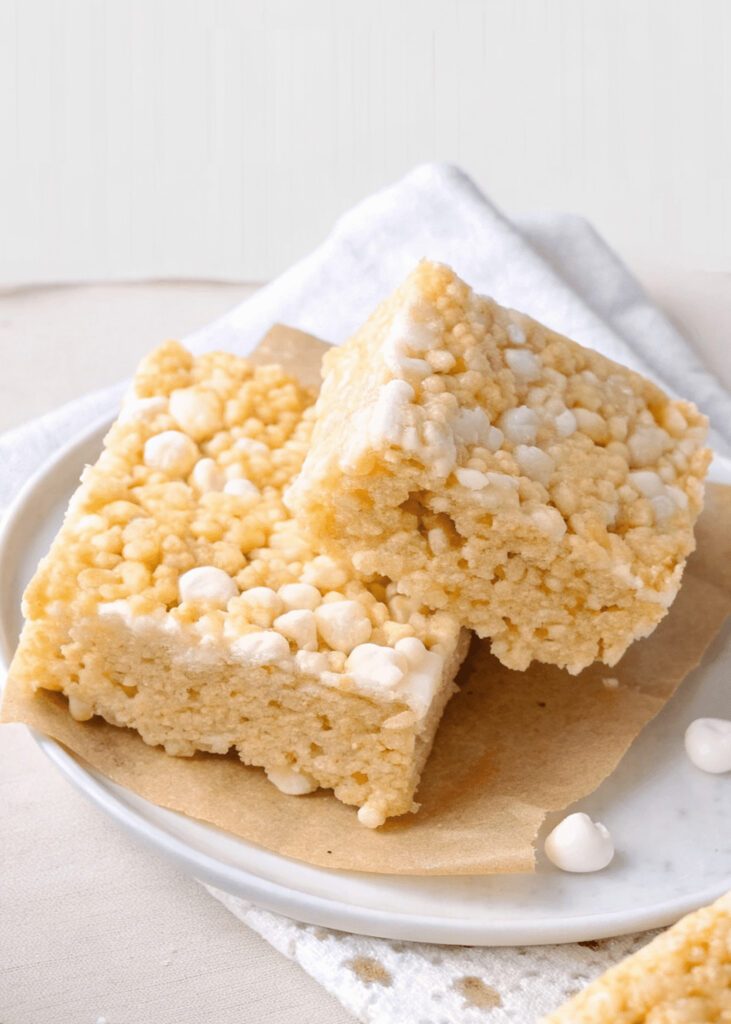
I love to serve this Rice Krispie Treats with several delicious drinks, such as cold milk for my children, hot chocolate, or a milkshake. Sometimes I like to serve it with lemon juice for a refreshing flavor and extra sweetness.
Frequently Asked Question
Can I add chocolate chips ?
Yes, but let the mixture cool slightly before adding them so they don’t melt too much.
How do I keep the treats from sticking to my hands ?
Lightly butter your hands or use wax paper when pressing them into the pan.
Can I use margarine instead of butter ?
Yes, but butter gives the best flavor.
Can I add food coloring ?
Yes, add a few drops when the marshmallows are melted for colorful treats.
Rice Krispie Treats
Course: Dessert, SnacksCuisine: AmericanDifficulty: Easy12
servings10
minutes5
minutes150
kcal15
minutesRice Krispie Treats are quick, no bake squares made with crispy rice cereal, melted marshmallows, and butter. They are chewy, sweet, and perfect for kids, parties, or an easy homemade snack.
Ingredients
6 cups Rice Krispies cereal
4 cups mini marshmallows or about 40 large marshmallows
3 tablespoons butter
½ teaspoon vanilla extract optional, but tasty
A small pinch of salt optional, helps balance sweetness
Directions
- The first step is to prepare the pan: Line a baking pan with parchment paper or lightly grease it with butter or nonstick cooking spray. This will make removing the dessert easier later.
- Next, melt the butter: Place a large saucepan on the stovetop over low heat. Add the butter and let it melt slowly, stirring gently to prevent burning.
- Next, add the marshmallows: Once the butter is completely melted, add the marshmallows to the pan. Stir continuously until the marshmallows are melted and the mixture is smooth and creamy. This step takes a few minutes, so be patient. Add the flavor: Turn off the heat and add the vanilla extract and a pinch of salt if desired. This adds extra flavor without complicating the dessert.
- Mix in the rice flakes: Pour the crispy rice flakes into the melted marshmallow mixture. Stir carefully until all the flakes are evenly coated. Take your time so the flakes don't break.
- Press the mixture into the prepared pan. Press it gently with a flat spatula or your buttered hands. Don't press too hard, or the pudding will be dense instead of soft.
- Cool and cut: Let the pudding cool at room temperature for about 20-30 minutes. Once firm, cut it into squares and enjoy.
Notes
- Use fresh marshmallows for the softest, chewiest treats.
- Add an extra cup of marshmallows for extra gooey treats.
- Let the treats cool slightly before cutting for clean edges.
- Let the treats cool slightly before cutting for clean edges.
You can add this post to your favorite Pinterest board!