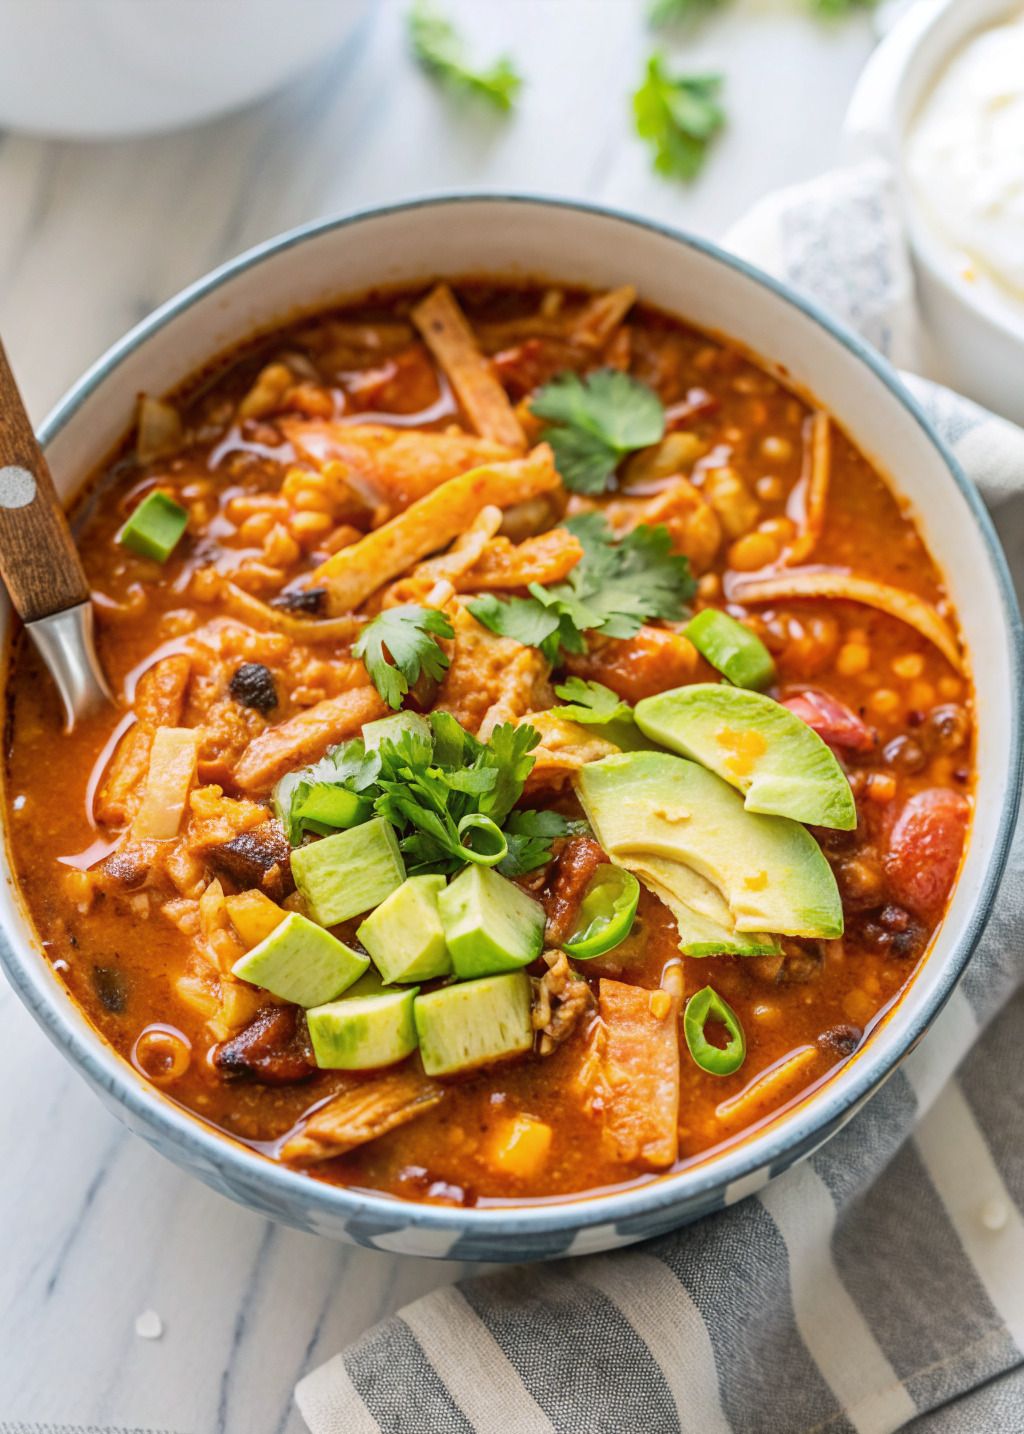
One-Pot Garlic Butter Chicken and Rice

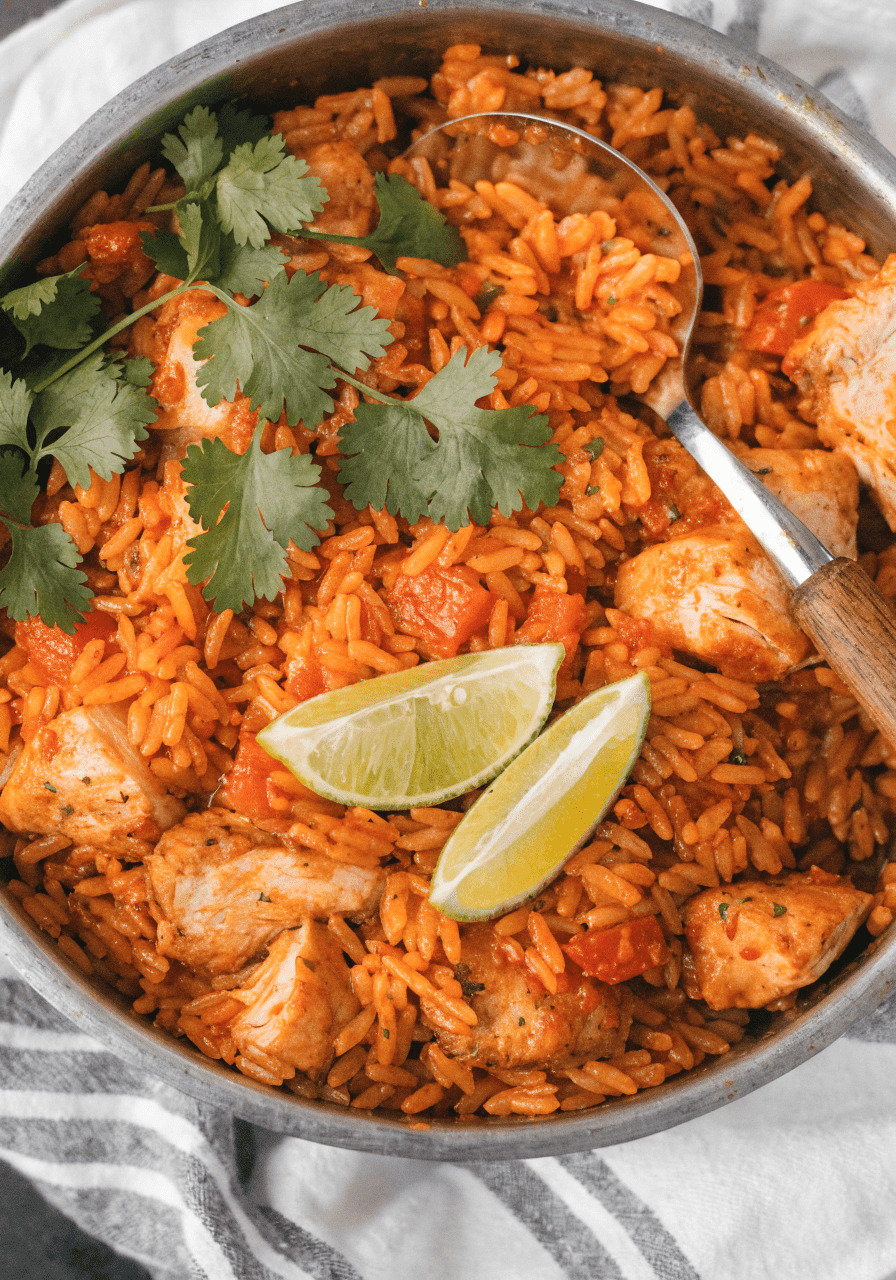
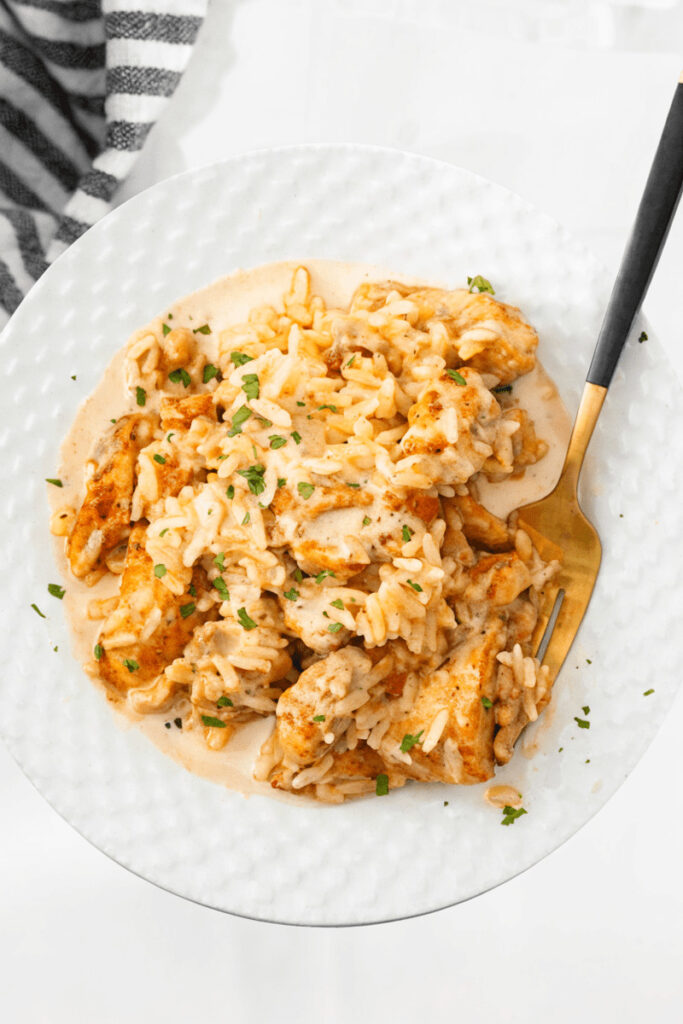
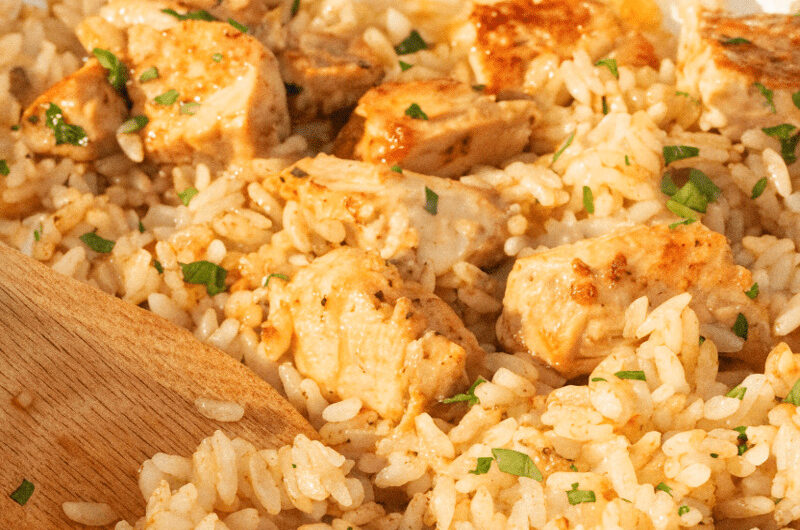
One-Pot Garlic Butter Chicken and Rice is a warm, cozy meal made by cooking juicy chicken and fluffy rice together in the same pot. The chicken is flavored with garlic and butter, which makes it rich, tasty, and comforting. As everything cooks together, the rice soaks up the buttery chicken juices and becomes extra delicious. The best part? You only use one pot, which means fewer dishes to wash!
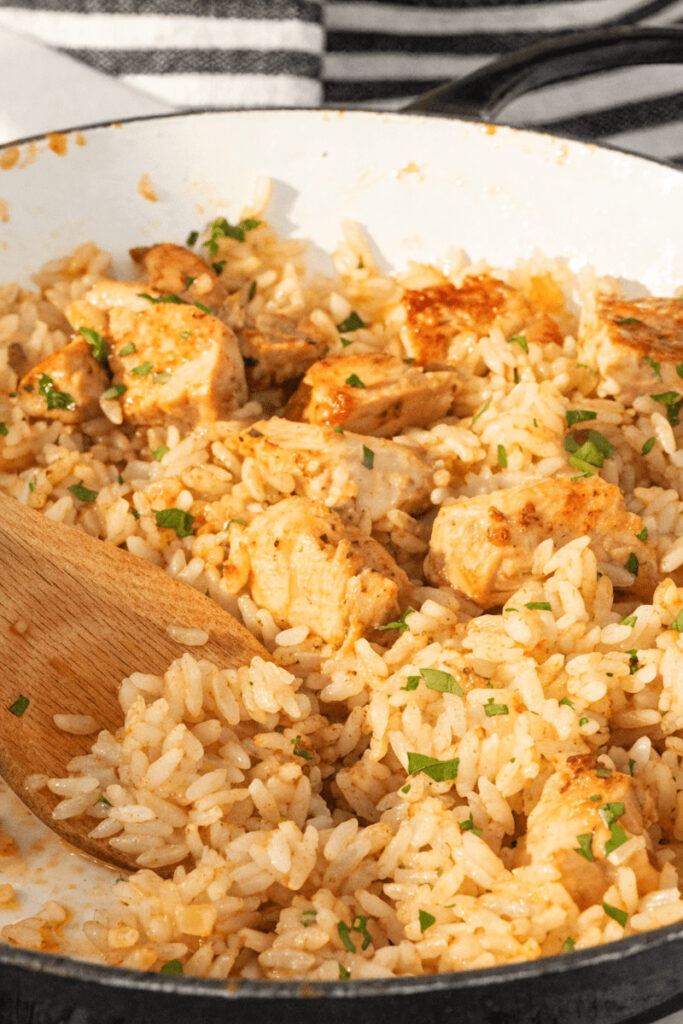
This recipe is perfect for busy families, beginners in the kitchen, or even kids learning to cook with an adult’s help. It’s simple, filling, and made with everyday ingredients. Because everything cooks in one pot, the flavors blend together beautifully, making each bite soft, buttery, and full of garlic goodness.
You Should Try the One-Pot Garlic Butter Chicken and Rice
You should try One-Pot Garlic Butter Chicken and Rice because it’s easy, quick, and super satisfying. It doesn’t require fancy cooking skills or special tools. If you can stir and measure, you can help make this meal! It’s also a great recipe to make on a weeknight when everyone is hungry and you don’t want to spend hours in the kitchen.
Another reason to try this recipe is that it’s customizable. You can add vegetables, change the spices, or use different types of rice. It’s also budget-friendly and makes great leftovers. Once you try it, it might become one of your favorite comfort meals.
Table of Contents
Ingredients for One-Pot Garlic Butter Chicken and Rice
Here’s everything you’ll need to One-Pot Garlic Butter Chicken and Rice:
- 4 boneless, skinless chicken thighs or chicken breasts
- 2 tablespoons butter
- 4 cloves garlic, minced
- 1 small onion, finely chopped
- 1 cup long-grain white rice
- 2 cups chicken broth
- 1 teaspoon salt
- ½ teaspoon black pepper
- 1 teaspoon dried parsley optional
- ½ teaspoon paprika optional
- 1 tablespoon olive oil
How to Make One-Pot Garlic Butter Chicken and Rice
Step One
Begin by patting the chicken pieces dry with paper towels so they brown properly instead of steaming, then season them evenly on both sides with salt, black pepper, and paprika to ensure every bite is full of flavor and well balanced.
Step Two
Place a large pot or deep skillet over medium heat, add the olive oil and half of the butter, and once the butter has melted and starts to gently bubble, carefully lay the chicken into the pot and cook it for several minutes on each side until a golden crust forms, remembering that it does not need to be fully cooked at this stage since it will finish cooking later with the rice.
Step Three
After removing the browned chicken from the pot and setting it aside, add the remaining butter along with the chopped onion, sautéing it slowly until soft and slightly translucent before stirring in the minced garlic and cooking just until fragrant, being careful not to let it burn because burnt garlic can taste bitter.
Step Four
Stir the uncooked rice into the buttery onion and garlic mixture and cook it for a minute or two so each grain becomes lightly toasted and coated in flavor, then carefully pour in the chicken broth while scraping the bottom of the pot to release any browned bits that will add extra richness to the dish.
Step Five
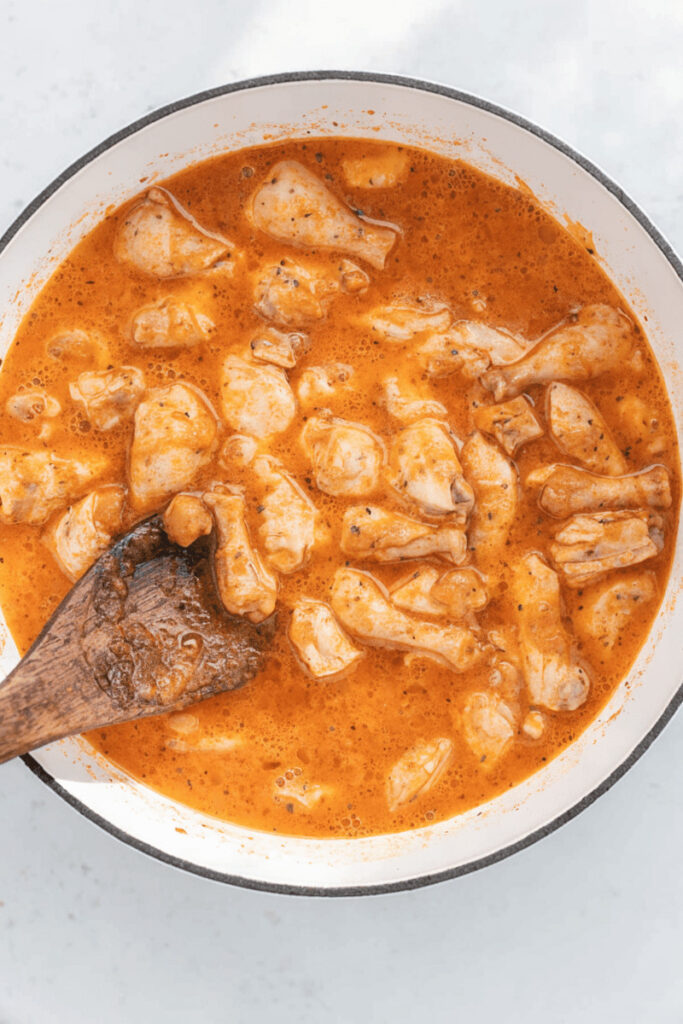
Nestle the browned chicken pieces back on top of the rice, cover the pot with a tight-fitting lid, reduce the heat to low, and allow everything to simmer gently so the rice absorbs the broth and the chicken finishes cooking through while staying tender and juicy.
Step Six
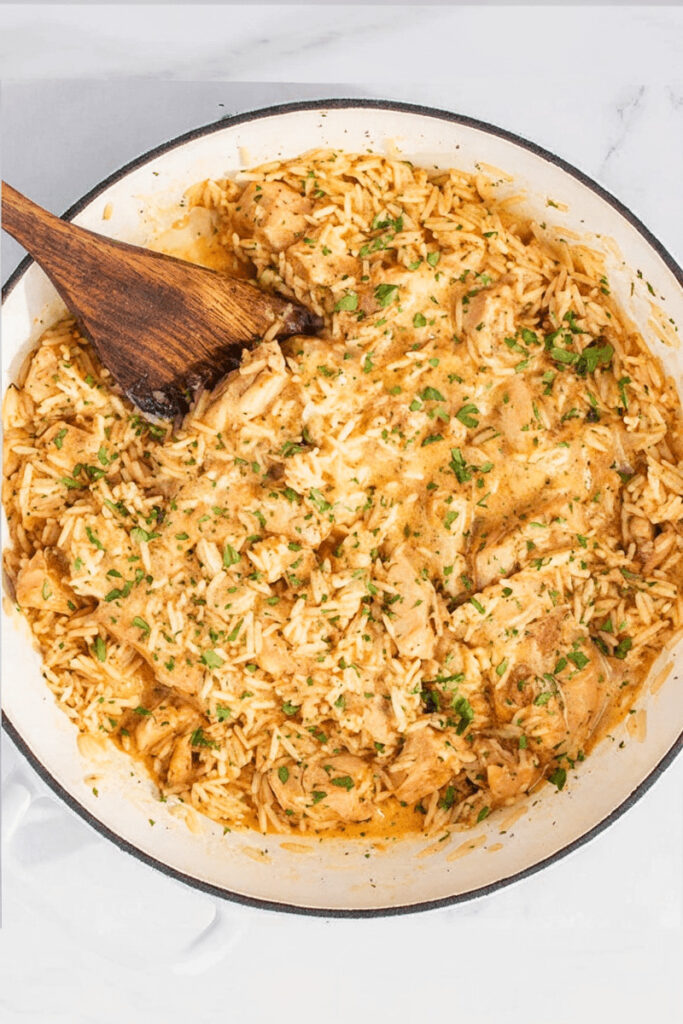
Once the liquid has been absorbed and the rice is soft, turn off the heat and let the pot rest covered for a few minutes to finish steaming, then remove the lid, fluff the rice gently with a fork to keep it light and separate, and serve warm with a sprinkle of dried parsley if desired.
Kitchen Equipment Needed :
To make this Recipe, you’ll need:
- Large pot or deep skillet with lid
- Cutting board
- Sharp knife
- Measuring cups
- Measuring spoons
- Wooden spoon or spatula
- Fork for fluffing rice
- Tongs for turning chicken
Serving Suggestion
I like making this one-pot garlic butter chicken and rice when I want a full meal without a lot of cleanup. It’s perfect for busy family evenings, and my daughter enjoys how the rice soaks up all the buttery garlic flavor. I usually serve it with a simple green salad or some steamed vegetables on the side to keep things balanced. For drinks, we keep it easy with lemon water, orange juice, or a fresh fruit smoothie. Warm, comforting, and practical, this is one of those meals that makes dinner feel effortless.
Frequently Asked Questions
Can I use chicken breasts instead of chicken thighs ?
Yes, you can use chicken breasts if you prefer, but be careful not to overcook them because they can dry out faster than thighs.
Can I use brown rice instead of white rice ?
Yes, but brown rice takes longer to cook and will need extra broth to soften properly.
Can I add vegetables to this dish ?
Yes, vegetables like peas, carrots, spinach, or broccoli can be added during the last 5–10 minutes of cooking.
How long can I store leftovers in the fridge ?
Leftovers can be stored in an airtight container in the refrigerator for up to 3–4 days.
Can I freeze One-Pot Garlic Butter Chicken and Rice ?
Yes, you can freeze it in freezer-safe containers for up to 2 months.
One-Pot Garlic Butter Chicken and Rice
Course: Main CourseCuisine: AmericanDifficulty: Easy4
servings15
minutes30
minutes450
kcal45
minutesOne-Pot Garlic Butter Chicken and Rice is a warm, comforting meal made by cooking juicy chicken and fluffy rice together in a single pot with garlic, butter, and broth. It’s easy to prepare, full of flavor, and perfect for busy weeknights when you want something simple and satisfying without a lot of cleanup.
Ingredients
4 boneless, skinless chicken thighs or chicken breasts
2 tablespoons butter
4 cloves garlic, minced
1 small onion, finely chopped
1 cup long-grain white rice
2 cups chicken broth
1 teaspoon salt
½ teaspoon black pepper
1 teaspoon dried parsley optional
½ teaspoon paprika optional
1 tablespoon olive oil
Directions
- Begin by patting the chicken pieces dry with paper towels so they brown properly instead of steaming, then season them evenly on both sides with salt, black pepper, and paprika to ensure every bite is full of flavor and well balanced.
- Place a large pot or deep skillet over medium heat, add the olive oil and half of the butter, and once the butter has melted and starts to gently bubble, carefully lay the chicken into the pot and cook it for several minutes on each side until a golden crust forms, remembering that it does not need to be fully cooked at this stage since it will finish cooking later with the rice.
- After removing the browned chicken from the pot and setting it aside, add the remaining butter along with the chopped onion, sautéing it slowly until soft and slightly translucent before stirring in the minced garlic and cooking just until fragrant, being careful not to let it burn because burnt garlic can taste bitter.
- Stir the uncooked rice into the buttery onion and garlic mixture and cook it for a minute or two so each grain becomes lightly toasted and coated in flavor, then carefully pour in the chicken broth while scraping the bottom of the pot to release any browned bits that will add extra richness to the dish.
- Nestle the browned chicken pieces back on top of the rice, cover the pot with a tight-fitting lid, reduce the heat to low, and allow everything to simmer gently so the rice absorbs the broth and the chicken finishes cooking through while staying tender and juicy.
- Once the liquid has been absorbed and the rice is soft, turn off the heat and let the pot rest covered for a few minutes to finish steaming, then remove the lid, fluff the rice gently with a fork to keep it light and separate, and serve warm with a sprinkle of dried parsley if desired.
Notes
- Don’t skip browning the chicken because it adds extra flavor.
- Avoid stirring too much once the broth is added to keep the rice fluffy.
- Add frozen peas or carrots for extra color and nutrition.
- If the rice looks dry, add a splash of warm broth and cook a little longer.
You can add this post to your favorite Pinterest board!

![[wpzoom_rcb_post id="9822"]](https://www.emilyathome.com/wp-content/uploads/2025/11/Corned-Beef-and-Cabbage-Soup-3.jpg)