Boston Cream Pie Cheesecake

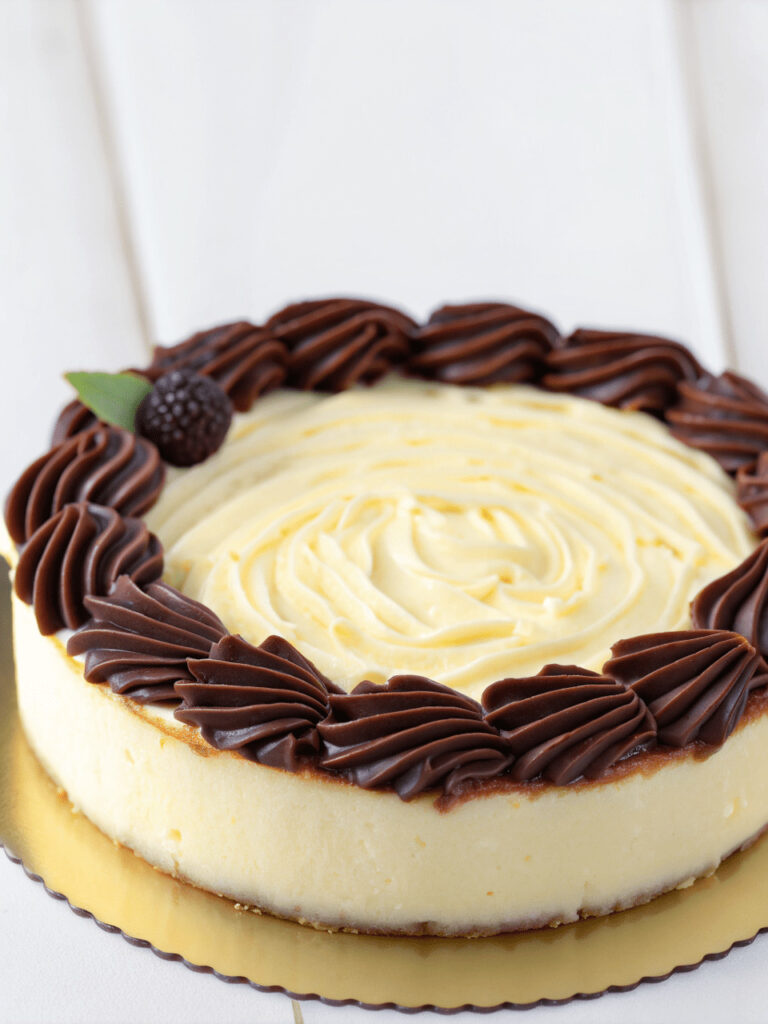
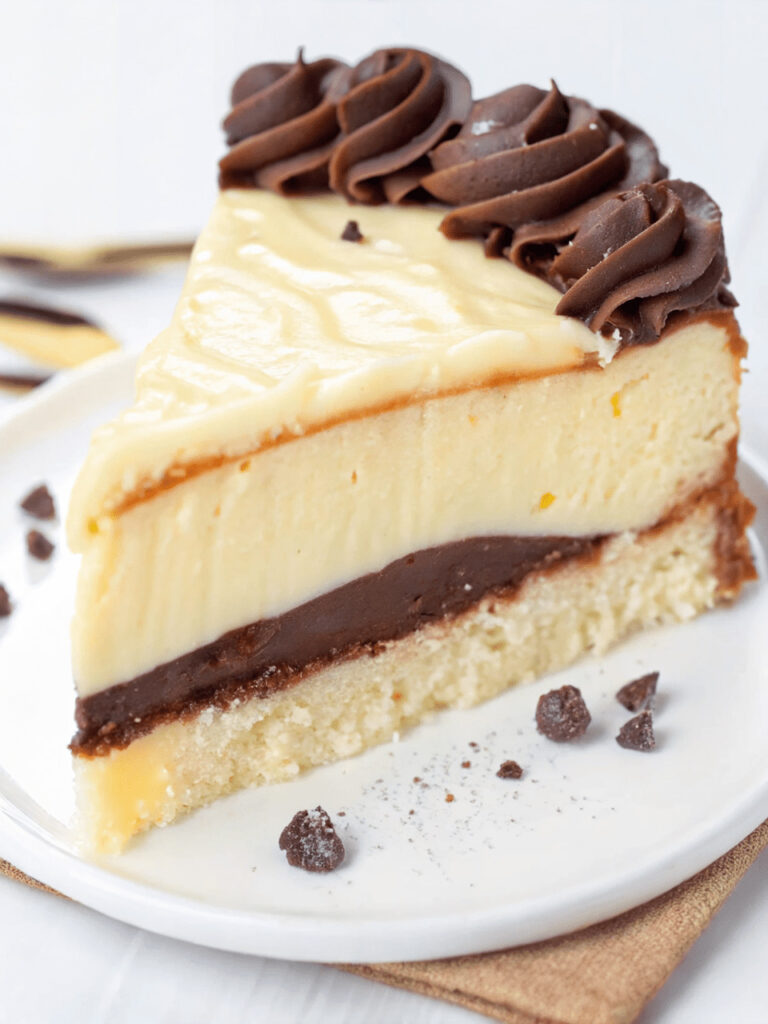
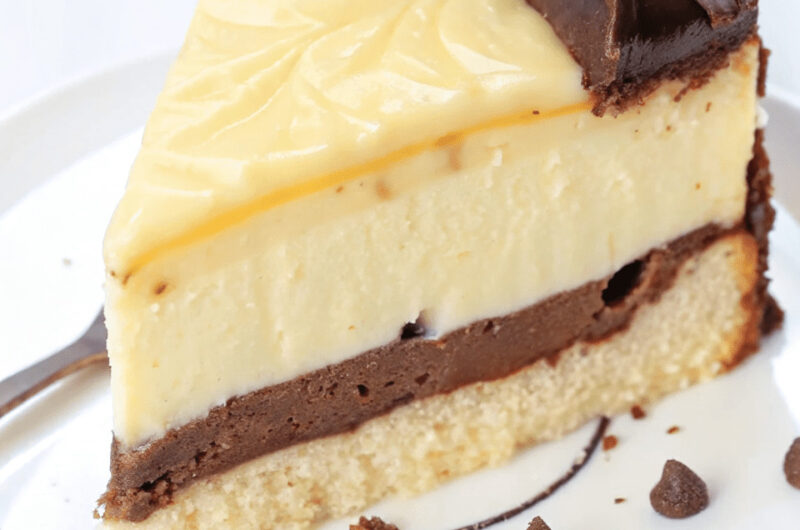
Boston Cream Pie Cheesecake is a delicious dessert that combines two classic treats: creamy cheesecake and the iconic Boston cream pie. Imagine a smooth, velvety cheesecake topped with a thick, rich layer of vanilla cream and finished with a glossy chocolate ganache. Every bite is smooth, sweet, and perfectly chocolatey. It’s perfect for birthdays, holidays, or any time you want to impress your family and friends with something special.
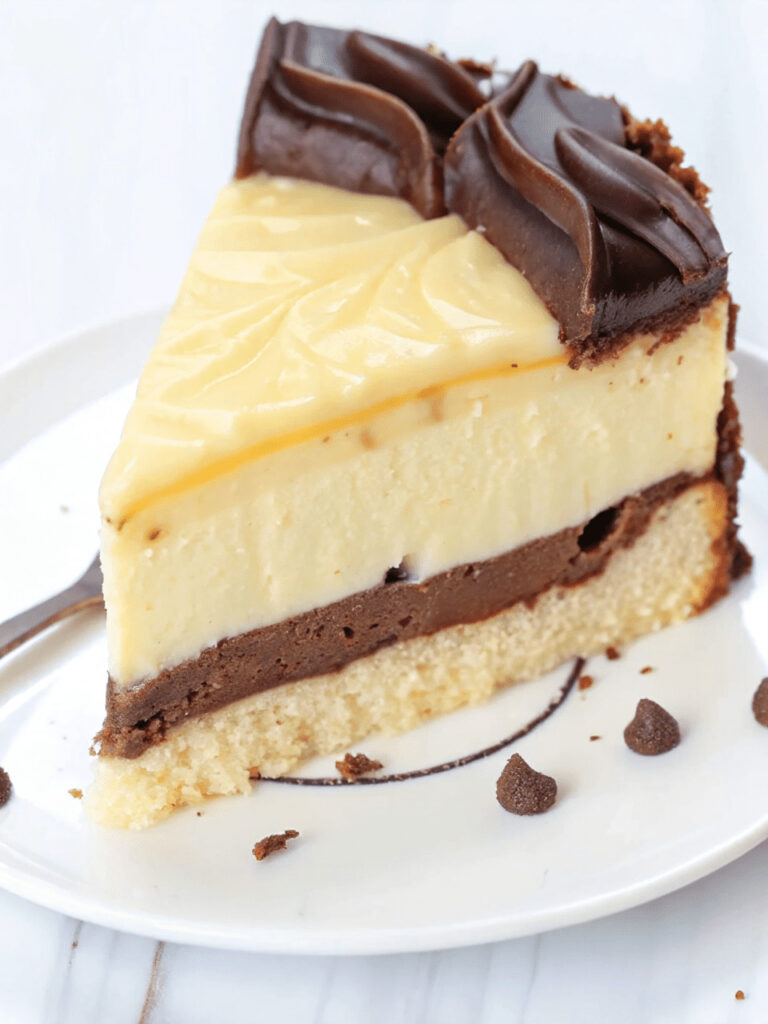
This cheesecake combines the best of both worlds cheesecake and Boston cream pie into one amazing dessert! Whether you’re a novice baker or a seasoned pro, this recipe is easy to follow and fun to make.
You Have to Try This Boston Cream Pie Cheesecake
If you love creamy, decadent, and flavorful desserts, you absolutely have to try making this Boston Cream Pie Cheesecake at home. It’s not just a dessert; it’s an experience. The smooth cheesecake layer sits beautifully on a crunchy graham cracker crust, while the creamy filling melts in your mouth. Then comes the finishing touch the glossy chocolate ganache making it look like it came straight from a fancy bakery.
This recipe is great for sharing at family gatherings or parties, and it’s also perfect for enjoying as a special treat on the weekend. Kids and adults alike will love it, and you’ll feel proud when everyone asks for seconds. Plus, it’s a fun dessert to make because you can prepare each layer step by step and watch it all come together to create a masterpiece.
Table of Contents
Ingredients for Boston Cream Pie Cheesecake
Here’s everything you’ll need to make this Boston Cream Pie Cheesecake
For the Graham Cracker Crust:
- 1 ½ cups graham cracker crumbs
- ¼ cup granulated sugar
- 6 tablespoons unsalted butter, melted
For the Cheesecake Filling:
- 24 oz 3 packages cream cheese, softened
- 1 cup granulated sugar
- 1 teaspoon vanilla extract
- 3 large eggs
- ½ cup sour cream
- ¼ cup heavy cream
For the Pastry Cream Topping:
- 2 cups milk
- ½ cup granulated sugar
- 4 egg yolks
- ¼ cup cornstarch
- 2 tablespoons unsalted butter
- 1 teaspoon vanilla extract
For the Chocolate Ganache:
- ¾ cup heavy cream
- 6 oz semisweet chocolate, chopped
How to Make Boston Cream Pie Cheesecake
Step One
First, prepare the crust: Preheat your oven to 163°C (325°F). In a bowl, combine the graham cracker crumbs, sugar, and melted butter until the mixture resembles wet sand. Press the mixture evenly into the bottom of a cheesecake pan. Bake for about 10 minutes, then let it cool completely.
Step Two
Now, make the cheesecake filling: In a large bowl, beat the softened cream cheese until smooth and creamy. Add the sugar and vanilla extract, then mix well. Add the eggs one at a time, mixing slowly after each addition. Stir in the sour cream and heavy cream until smooth. Pour the filling over the cooled crust.
Step Three
Then, wrap the bottom of the pan in foil and place it on a baking sheet filled with a little water a water bath helps prevent cracking. Bake for 55-65 minutes, until the center is almost set. Turn off the oven, leave the door slightly ajar, and let it rest inside for another hour. Then remove it and let it cool completely before refrigerating for at least 4 hours preferably overnight.
Step Four
To make the pastry cream: In a saucepan, heat the milk over medium heat until warm but not boiling. In another bowl, whisk the egg yolks, sugar, and cornstarch until smooth. Slowly pour in the warm milk, whisking continuously. Return the mixture to the saucepan and cook over medium heat until it thickens to a pudding-like consistency. Remove from the heat, stir in the butter and vanilla, and let it cool completely before spreading it over the cooled cheesecake.
Step Five
Then make the chocolate ganache: In a small saucepan or microwave safe bowl, heat the heavy cream until it just begins to steam. Pour it over the chopped chocolate and let it sit for 2-3 minutes, then stir until smooth and glossy. Let it cool slightly before pouring it over the pastry cream layer.
Step Six
Finally, chill and serve: Place the cheesecake in the refrigerator for at least two hours before serving. This helps all the layers set beautifully. Slice using a clean, warm knife for perfect portions every time.
Kitchen Equipment Needed :
To make these Boston Cream Pie Cheesecake, you’ll need:
- 9-inch springform pan
- Mixing bowls medium and large
- Electric mixer or hand whisk
- Rubber spatula
- Saucepan
- Whisk
- Measuring cups and spoons
- Baking sheet
- Aluminum foil
- Cooling rack
- Small microwave safe bowl for chocolate ganache
- Refrigerator space for chilling
Tips for Perfect Boston Cream Pie Cheesecake
Use full-fat cream cheese for the creamiest texture.
Don’t overmix the batter this keeps your cheesecake smooth.
A water bath helps prevent cracks in the cheesecake.
Chill the cheesecake overnight for the best flavor.
Serving Suggestion
I think this cake is satisfying and rich on its own, but sometimes I like to serve it with warm coffee or tea, and on a sunny day I like to serve it with a glass of Smoothie or lemonade as well.
Frequently Asked Question
Can I use store bought graham cracker crust instead of making my own ?
Yes, you can. A pre made crust saves time, though homemade crust tends to be thicker and holds up better under the cheesecake layers.
How long does Boston Cream Pie Cheesecake last in the fridge ?
Stored in an airtight container, it stays fresh for up to 5 days in the refrigerator.
Can I freeze Boston Cream Pie Cheesecake ?
Yes! Freeze individual slices wrapped tightly in plastic wrap and foil for up to 2 months. Thaw overnight in the refrigerator before serving.
What can I use instead of sour cream in the filling ?
You can substitute Greek yogurt or plain yogurt in equal amounts for a lighter option.
Boston Cream Pie Cheesecake
Course: DessertCuisine: AmericanDifficulty: Medium12
servings30
minutes1
hour5
minutes520
kcal5
hours30
minutesThis Boston Cream Pie Cheesecake combines the best of two classics—a rich, creamy cheesecake layered with silky vanilla custard and topped with glossy chocolate ganache. It’s smooth, indulgent, and perfect for parties, holidays, or whenever you want to treat yourself to a bakery-style dessert at home.
Ingredients
1 ½ cups graham cracker crumbs
¼ cup granulated sugar
6 tablespoons unsalted butter, melted
24 oz 3 packages cream cheese, softened
1 cup granulated sugar
1 teaspoon vanilla extract
3 large eggs
½ cup sour cream
¼ cup heavy cream
2 cups milk
½ cup granulated sugar
4 egg yolks
¼ cup cornstarch
2 tablespoons unsalted butter
1 teaspoon vanilla extract
¾ cup heavy cream
6 oz semisweet chocolate, chopped
Directions
- First, prepare the crust: Preheat your oven to 163°C (325°F). In a bowl, combine the graham cracker crumbs, sugar, and melted butter until the mixture resembles wet sand. Press the mixture evenly into the bottom of a cheesecake pan. Bake for about 10 minutes, then let it cool completely.
- Now, make the cheesecake filling: In a large bowl, beat the softened cream cheese until smooth and creamy. Add the sugar and vanilla extract, then mix well. Add the eggs one at a time, mixing slowly after each addition. Stir in the sour cream and heavy cream until smooth. Pour the filling over the cooled crust.
- Then, wrap the bottom of the pan in foil and place it on a baking sheet filled with a little water a water bath helps prevent cracking. Bake for 55-65 minutes, until the center is almost set. Turn off the oven, leave the door slightly ajar, and let it rest inside for another hour. Then remove it and let it cool completely before refrigerating for at least 4 hours preferably overnight.
- To make the pastry cream: In a saucepan, heat the milk over medium heat until warm but not boiling. In another bowl, whisk the egg yolks, sugar, and cornstarch until smooth. Slowly pour in the warm milk, whisking continuously. Return the mixture to the saucepan and cook over medium heat until it thickens to a pudding-like consistency. Remove from the heat, stir in the butter and vanilla, and let it cool completely before spreading it over the cooled cheesecake.
- Then make the chocolate ganache: In a small saucepan or microwave safe bowl, heat the heavy cream until it just begins to steam. Pour it over the chopped chocolate and let it sit for 2-3 minutes, then stir until smooth and glossy. Let it cool slightly before pouring it over the pastry cream layer.
- Finally, chill and serve: Place the cheesecake in the refrigerator for at least two hours before serving. This helps all the layers set beautifully. Slice using a clean, warm knife for perfect portions every time.
Notes
- Don’t overmix the cheesecake batter to avoid air bubbles and cracks.
- Wrap the springform pan in foil to prevent water from leaking into the cheesecake.
- Cool the cheesecake slowly in the oven with the door slightly open to prevent sinking.
- Let the pastry cream cool completely before spreading to avoid melting the cheesecake.
You can add this post to your favorite Pinterest board!