Pumpkin Cheesecake Bars

Pumpkin Cheesecake Bars are a delightful dessert that perfectly captures the warm flavors of fall. Imagine the creamy, tangy goodness of a classic cheesecake combined with the cozy spice and sweetness of pumpkin pie all stacked on a buttery graham cracker crust. Each bite offers a smooth, velvety texture with a gentle kick of cinnamon, nutmeg, and cloves. These bars are a crowd-pleaser for family gatherings, holiday parties, or simply as an afternoon treat with a warm cup of cocoa or coffee.
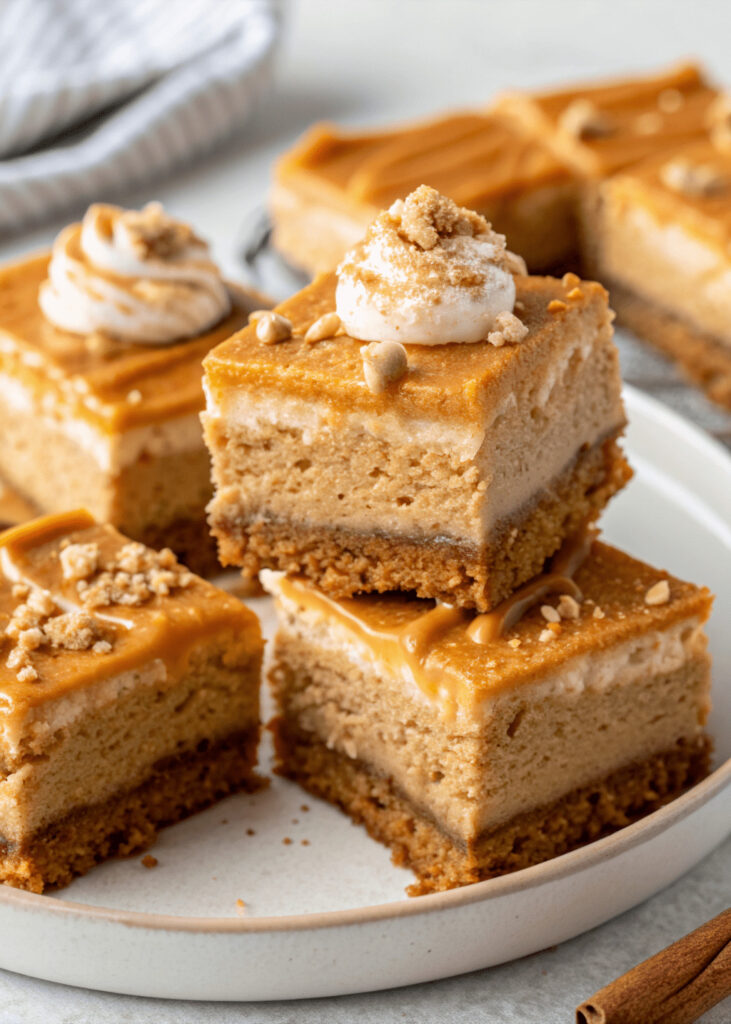
What makes Pumpkin Cheesecake Bars truly special is their balance of flavors and ease of serving. Unlike a traditional cheesecake, which can take hours to bake and cool, these bars are baked in a simple rectangular pan and cut into neat squares. They’re easier to make, transport, and share, but still have that irresistible creamy cheesecake flavor everyone loves. Whether you’re a beginner baker or just want something impressive without too much fuss, this recipe is a perfect choice.
You Should Try the Pumpkin Cheesecake Bars
If you’ve ever wanted a dessert that feels like fall in every bite, Pumpkin Cheesecake Bars are it! They’re sweet but not too heavy, and the mix of pumpkin spice and cream cheese creates the perfect combination of comfort and elegance. These bars are ideal for Thanksgiving dessert tables, classroom treats, or even as a homemade gift wrapped in pretty paper.
Another reason to try these bars is how simple they are to prepare. You don’t need any fancy baking skills or special tools just a few everyday ingredients and a bit of patience while they chill. Kids can even help mix the filling or sprinkle the spices! Once you make these bars once, you’ll want to bake them again and again because they taste even better the next day.
Table of Contents
Ingredients Pumpkin Cheesecake Bars
Here’s everything you’ll need to make this Pumpkin Cheesecake Bars
For the Crust
- 1 ½ cups graham cracker crumbs
- ¼ cup granulated sugar
- ½ cup melted butter
- ½ teaspoon cinnamon
For the Cheesecake Filling
- 16 oz 2 packages cream cheese, softened
- ¾ cup granulated sugar
- 2 large eggs
- 1 teaspoon vanilla extract
- 1 cup canned pumpkin puree
- 1 teaspoon ground cinnamon
- ½ teaspoon ground nutmeg
- ¼ teaspoon ground cloves
- ¼ teaspoon salt
Optional Topping
- Whipped cream or a light dusting of cinnamon sugar
How to Make Pumpkin Cheesecake Bars
Step One
The first thing you need to do is preheat the oven. Preheat the oven to 160°C (325°F). Line a 9 x 13-inch baking pan with parchment paper, leaving some overhanging the edges for easier lifting.
Step Two
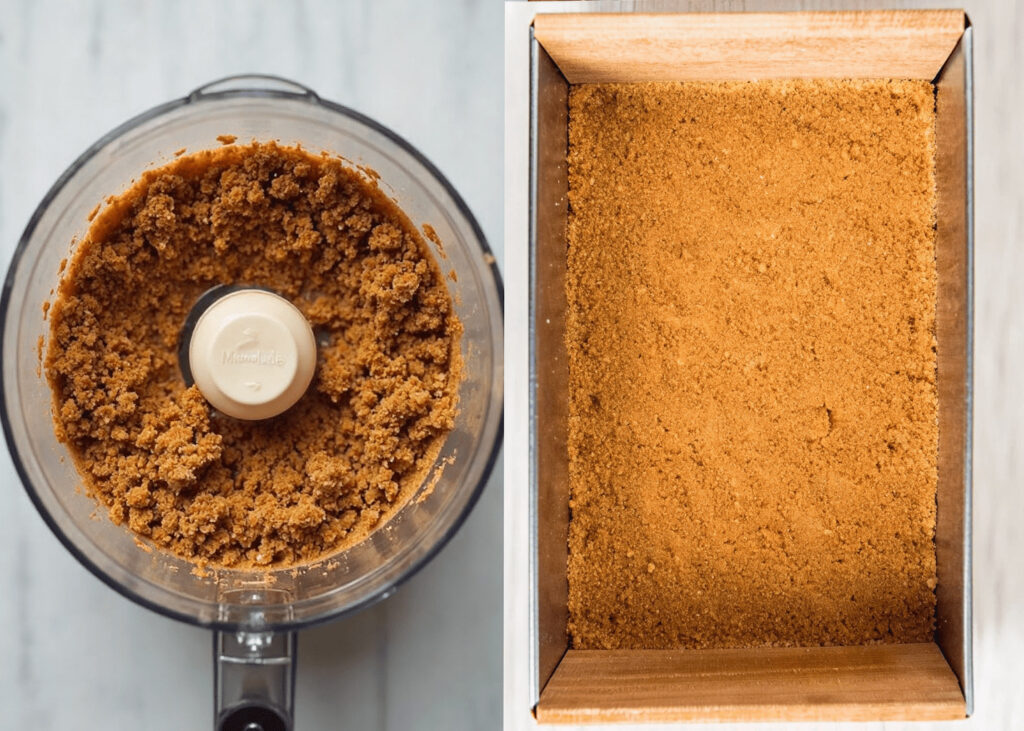
Now, prepare the crust. In a medium bowl, combine the graham cracker crumbs, sugar, melted butter, and cinnamon. Stir until evenly blended and the crumbs resemble wet sand. Press this mixture firmly into the bottom of the prepared baking pan. Bake the crust for 8-10 minutes, then remove it and set it aside to cool slightly.
Step Three
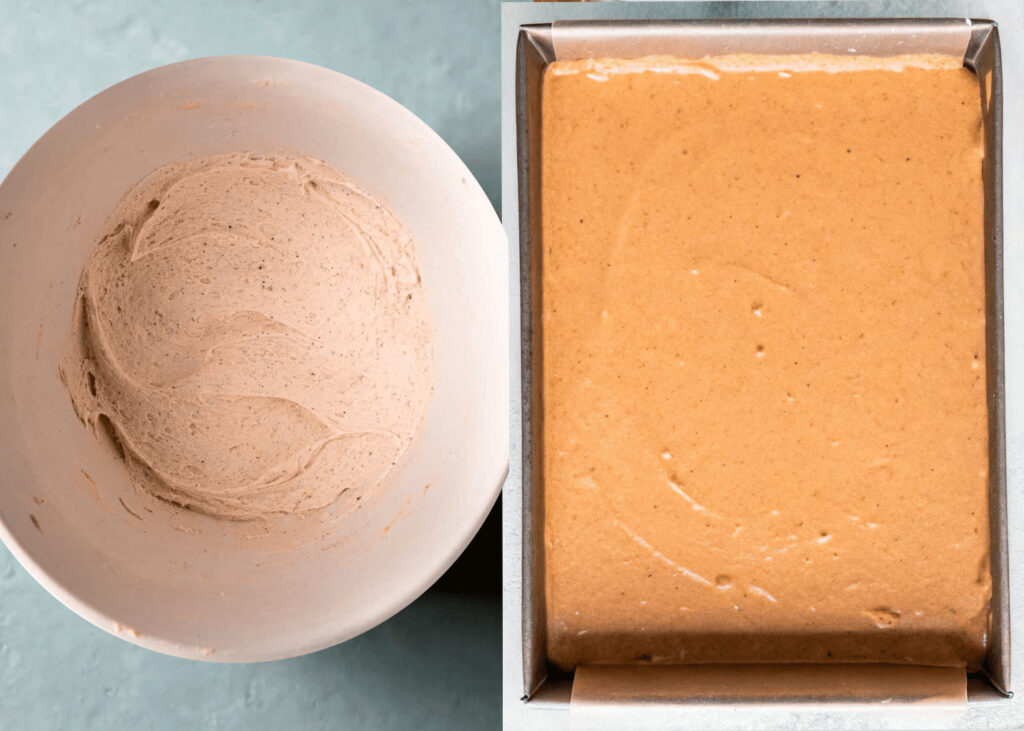
Next, prepare the cheesecake layer. In a large bowl, beat the softened cream cheese until smooth and fluffy. Add the sugar, eggs, and vanilla extract, and mix until creamy and free of lumps. Stir in the pumpkin and spices. Set half of the cream cheese mixture aside. In the remaining half, add the pumpkin puree, cinnamon, nutmeg, cloves, and salt. Stir gently until the ingredients are well blended and the filling takes on a beautiful orange color.
Step Four
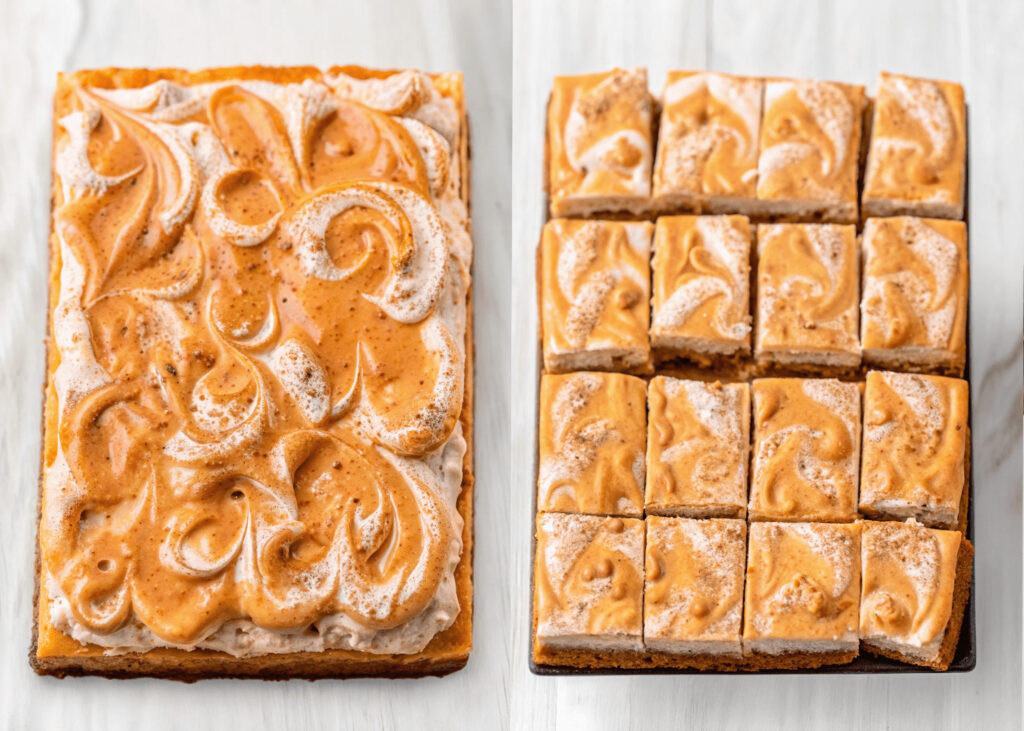
Now, try layering the fillings: Pour half of the regular cheesecake mixture onto the cooled crust and spread evenly. Then, place the pumpkin cheesecake mixture on top, spreading it gently with a flat spatula. You can gently smooth the two layers together with a knife to create a marbled effect if desired.
Step Five
Now, it’s time to bake the bars: Bake for 35-40 minutes, or until the center is firm and jiggles slightly when the pan is shaken. Avoid overbaking, as this can cause cracking.
Step Six
Don’t forget to chill: Let the bars cool completely on a wire rack, then refrigerate for at least 4 hours preferably overnight. This step helps the flavors blend beautifully and gives the bars a perfectly creamy texture.
Step Seven
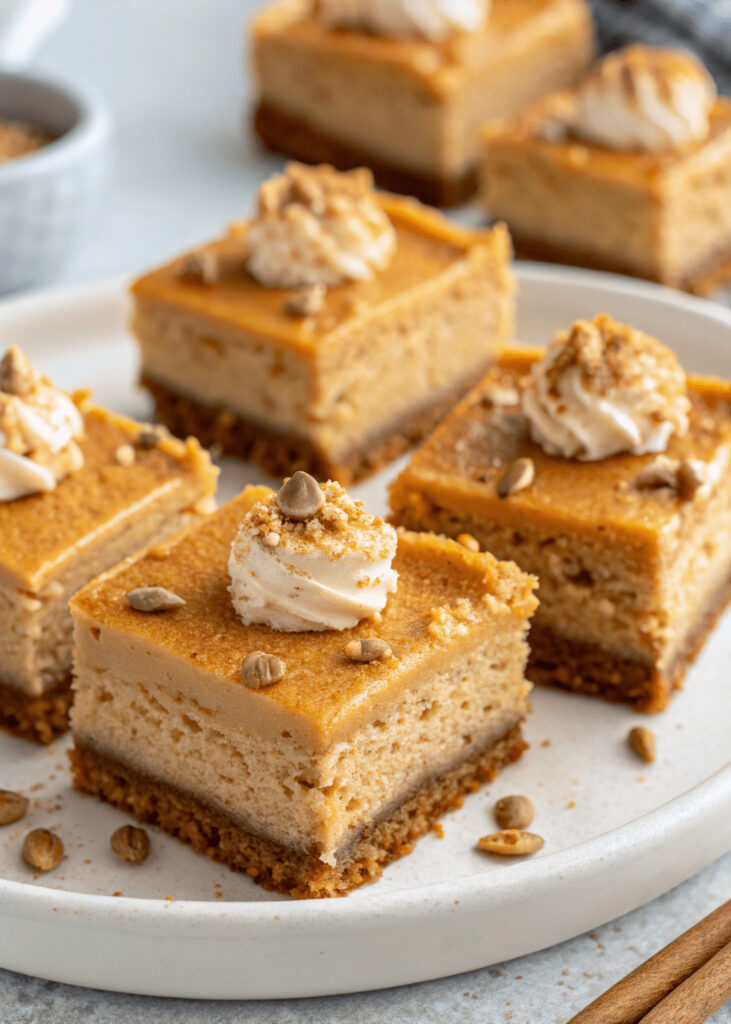
Finally, slice the cheesecake and serve. Use parchment paper to lift the cooled cheesecake out of the pan. Cut it into equal squares or rectangles, decorate it with whipped cream as desired, then serve it cold.
Kitchen Equipment Needed :
Before you start baking, gather the following kitchen tools:
- 9×13-inch baking pan
- Mixing bowls large and medium
- Electric mixer or hand whisk
- Rubber spatula
- Measuring cups and spoons
- Parchment paper
- Knife for cutting bars
- Cooling rack
Tips for Perfect Pumpkin Cheesecake Bars
Don’t skip the chilling step it makes slicing easier.
Try gently swirling the two layers with a knife for a pretty marbled design.
Line your pan with parchment paper for easy removal.
Add a touch of brown sugar to the crust for extra flavor.
Serving Suggestion
I think these bars are suitable for hot and cold drinks. As for me, sometimes I like to serve them with hot drinks like tea or hot chocolate coffee for my children, and sometimes I like to serve them with cold drinks like smoothies or lemonade, especially if the weather is hot.
Frequently Asked Question
Can I make Pumpkin Cheesecake Bars without a crust ?
Yes, you can! If you prefer a crustless version, simply pour the cheesecake mixture directly into a lined baking pan and bake as usual. It will still be delicious, just a little softer in texture.
How long should I chill the cheesecake bars before cutting them ?
Chill for at least 4 hours, but overnight is ideal. This allows the flavors to develop and the texture to become perfectly creamy.
Can I freeze Pumpkin Cheesecake Bars ?
Yes, wrap each bar tightly in plastic wrap and store in a freezer-safe bag. They can last up to 2 months. Thaw overnight in the fridge before serving.
Can I make this recipe gluten free ?
Absolutely. Just use gluten free graham crackers or cookies for the crust, and ensure all other ingredients are certified gluten-free.
Pumpkin Cheesecake Bars
Course: DessertCuisine: AmericanDifficulty: Easy16
servings20
minutes40
minutes280
kcal5
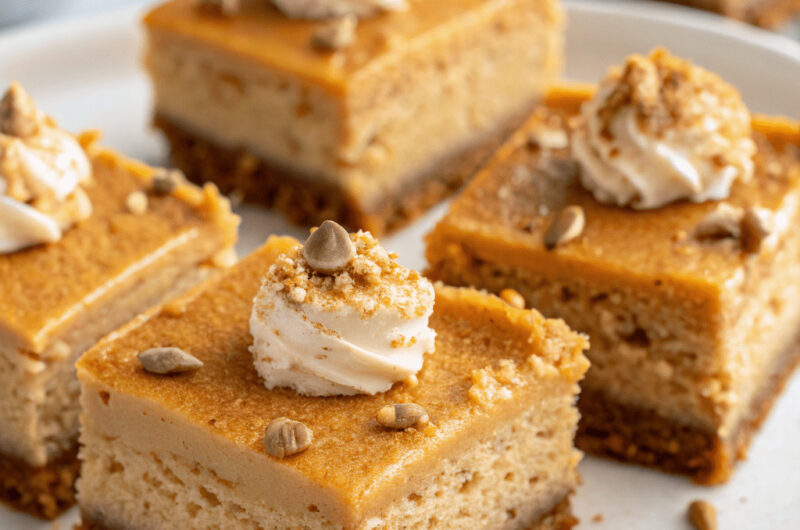
hoursThese Pumpkin Cheesecake Bars combine creamy cheesecake with rich pumpkin spice flavor on a buttery graham cracker crust. They’re smooth, sweet, and perfectly spiced — an easy, crowd-pleasing dessert that’s perfect for fall gatherings, holidays, or any cozy day at home.
Ingredients
1 ½ cups graham cracker crumbs
¼ cup granulated sugar
½ cup melted butter
½ teaspoon cinnamon
16 oz 2 packages cream cheese, softened
¾ cup granulated sugar
2 large eggs
1 teaspoon vanilla extract
1 cup canned pumpkin puree
1 teaspoon ground cinnamon
½ teaspoon ground nutmeg
¼ teaspoon ground cloves
¼ teaspoon salt
Whipped cream or a light dusting of cinnamon sugar
Directions
- The first thing you need to do is preheat the oven. Preheat the oven to 160°C (325°F). Line a 9 x 13-inch baking pan with parchment paper, leaving some overhanging the edges for easier lifting.
- Now, prepare the crust. In a medium bowl, combine the graham cracker crumbs, sugar, melted butter, and cinnamon. Stir until evenly blended and the crumbs resemble wet sand. Press this mixture firmly into the bottom of the prepared baking pan. Bake the crust for 8-10 minutes, then remove it and set it aside to cool slightly.
- Next, prepare the cheesecake layer. In a large bowl, beat the softened cream cheese until smooth and fluffy. Add the sugar, eggs, and vanilla extract, and mix until creamy and free of lumps. Stir in the pumpkin and spices. Set half of the cream cheese mixture aside. In the remaining half, add the pumpkin puree, cinnamon, nutmeg, cloves, and salt. Stir gently until the ingredients are well blended and the filling takes on a beautiful orange color.
- Now, try layering the fillings: Pour half of the regular cheesecake mixture onto the cooled crust and spread evenly. Then, place the pumpkin cheesecake mixture on top, spreading it gently with a flat spatula. You can gently smooth the two layers together with a knife to create a marbled effect if desired.
- Now, it's time to bake the bars: Bake for 35-40 minutes, or until the center is firm and jiggles slightly when the pan is shaken. Avoid overbaking, as this can cause cracking.
- Don't forget to chill: Let the bars cool completely on a wire rack, then refrigerate for at least 4 hours preferably overnight. This step helps the flavors blend beautifully and gives the bars a perfectly creamy texture.
- Finally, slice the cheesecake and serve. Use parchment paper to lift the cooled cheesecake out of the pan. Cut it into equal squares or rectangles, decorate it with whipped cream as desired, then serve it cold.
Notes
- Don’t overmix the batter Overmixing adds too much air, which can cause cracks during baking.
- Cool completely before chilling This helps prevent condensation and keeps the top smooth.
- Add a caramel drizzle A thin layer of caramel adds a rich, festive touch.
- Use an electric mixer It gives a creamier consistency than mixing by hand.
You can add this post to your favorite Pinterest board!