Creamy Cheesecake Brownies

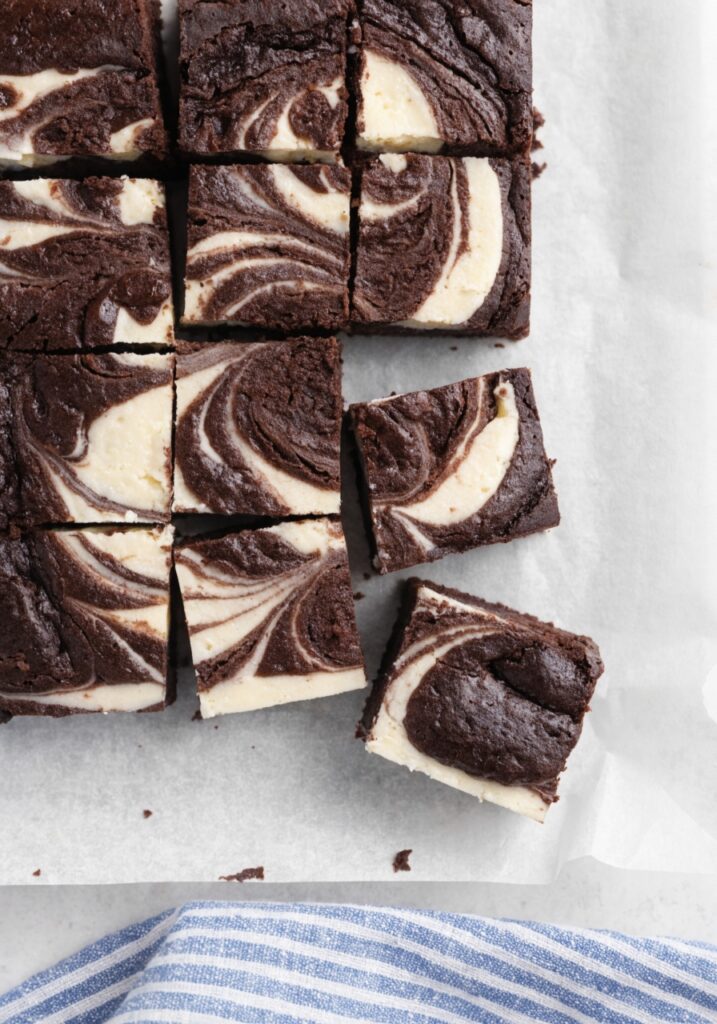
If you’re a sweet tooth and a cheesecake lover, you’re in for an unforgettable treat. Creamy Cheesecake Brownies are the perfect dessert combination: a soft, chocolatey brownie base, topped with a creamy, tangy cheesecake layer. Don’t miss out on celebrating with this delicious cheesecake! Impress your guests and yourself with this simple yet delicious dessert!
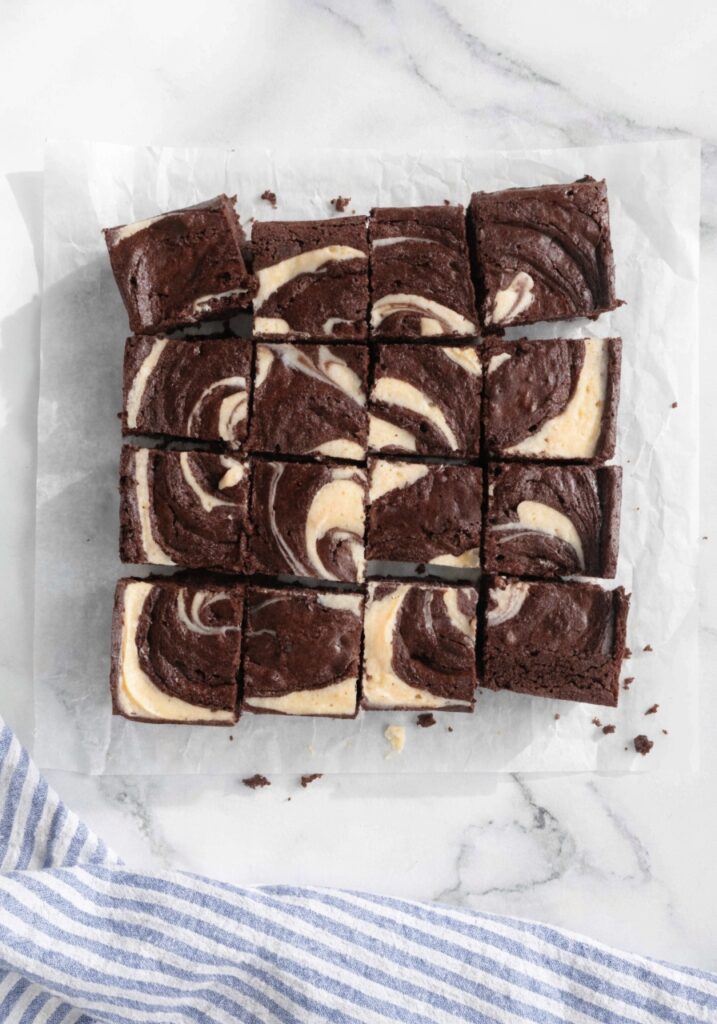
They are also versatile. You can add extras like fruit, caramel, or chocolate chips to customize them for special occasions. And the best part? You don’t have to be a professional baker to make them
You Should Try the Creamy Cheesecake Brownies
If you’ve never had Creamy Cheesecake Brownies before, you’re missing out on one of life’s simplest pleasures. The contrast between the dense, moist brownie layer and the creamy cheesecake topping is something you need to taste to fully appreciate. These brownies make a wonderful addition to birthdays, potlucks, picnics, or just a cozy weekend treat at home.
Table of Contents
Ingredients for Creamy Cheesecake Brownies
For the Brownie Layer:
- 1 cup unsalted butter, melted
- 2 cups granulated sugar
- 4 large eggs
- 1 teaspoon vanilla extract
- 1 cup all-purpose flour
- 1/2 cup unsweetened cocoa powder
- 1/4 teaspoon baking powder
- 1/4 teaspoon salt
For the Cheesecake Layer:
- 8 oz cream cheese, softened
- 1/4 cup granulated sugar
- 1 large egg
- 1/2 teaspoon vanilla extract
How to Make Creamy Cheesecake Brownies
Step One
You can start by preheating your oven – preheat your oven to 175°C (350°F). Cover your baking sheet with baking paper for easy removal later.
Step Two
Second, prepare the brownie batter – in a large mixing bowl, whisk together the melted butter, white sugar, and brown sugar until smooth. Add the eggs and vanilla extract, and mix well until fully combined. In another bowl, combine the flour, cocoa powder, baking powder, and salt. Gradually add the dry mixture to the wet mixture, stirring continuously until no traces of flour remain.
Step Three
Now, prepare the cheesecake batter – in another bowl, beat the cream cheese with the sugar until smooth and creamy. Add the eggs and vanilla extract, and mix well until fully combined. Avoid overmixing to maintain a light texture. Then, try to assemble the brownie – pour about two-thirds of the brownie batter into the prepared pan. Spread the cheesecake batter evenly over the top. Spread the remaining brownie batter over the top in small amounts, then use a butter knife to gently spread the layers for a marbled look.
Step Four
Now it’s time to bake: Place the pan in the preheated oven and bake for 35-40 minutes, or until the edges are set and the center is no longer wobbly. Avoid overbaking, as this can dry out the brownies.
Step Five
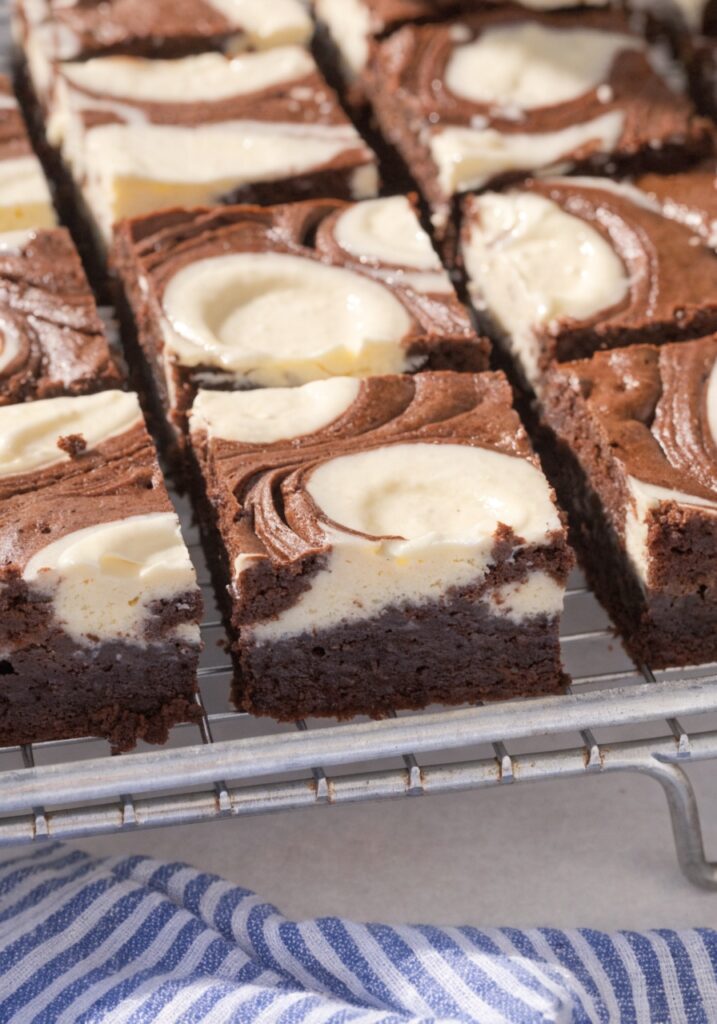
Finally, cool and slice them: Let the brownies cool in the pan for at least 30 minutes before transferring them to a wire rack. For neat slices, refrigerate them for an hour before slicing.
Kitchen Equipment Needed :
To prepare these delicious Creamy Cheesecake Brownies, you’ll only need a few basic kitchen tools.
- Large mixing bowls
- Electric mixer or whisk
- Measuring cups and spoons
- Rubber spatula
- Baking pan
- Parchment paper
- Cooling rack
- Small saucepan if melting butter on stove
Pro Tips for Perfect Creamy Cheesecake Brownies
Don’t over-swirl too much mixing will blend the layers instead of giving a pretty marble effect.
If you want an extra chocolatey taste, add chocolate chips to the brownie batter.
Always let the brownies cool before slicing; it helps keep the layers neat.
Serving Suggestions
I love serving this recipe with cold drinks like smoothies or cold coffee. For my little ones, I serve it with a glass of cold milk. Whenever my friend visits, she always asks me to make her this cheesecake with a drink, so I do.
Frequently Asked Questions
How do I know when the brownies are done baking ?
The edges should be set, and the center should have a slight jiggle. A toothpick inserted should come out with a few moist crumbs, not wet batter.
Can I make these without eggs?
Yes. You can substitute eggs with unsweetened applesauce, yogurt, or flax eggs. The texture might be slightly different but still delicious.
Can I freeze Creamy Cheesecake Brownies ?
Yes! Wrap each brownie tightly in plastic wrap, place them in a freezer bag, and freeze for up to 3 months.
Can I use dark chocolate instead of cocoa powder ?
Yes, melt it with butter for the brownie base, but you may need to adjust sugar levels.
Creamy Cheesecake Brownies
Course: DessertCuisine: AmericanDifficulty: Easy12
servings15
minutes35
minutes280
kcal50
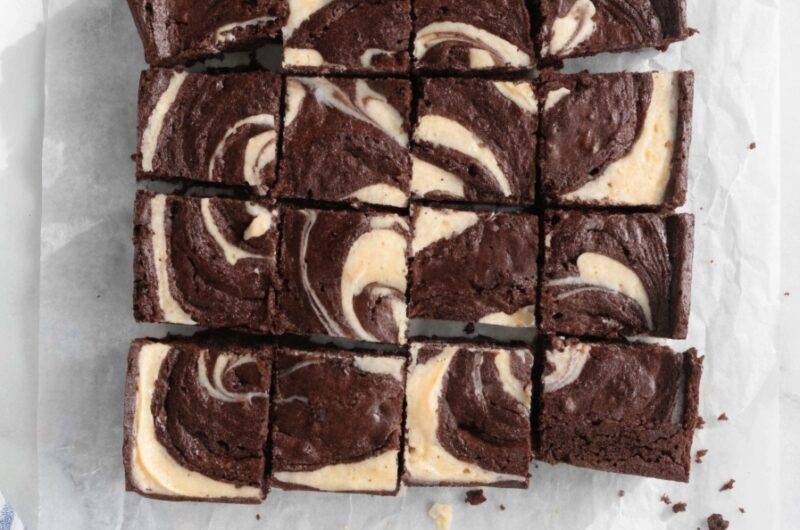
minutesCreamy Cheesecake Brownies are the perfect mix of rich, fudgy chocolate brownies and smooth, tangy cheesecake. With a beautiful swirl on top and a melt-in-your-mouth texture, these brownies are both stunning and delicious — ideal for parties, holidays, or anytime you want an extra special dessert!
Ingredients
1 cup unsalted butter, melted
2 cups granulated sugar
4 large eggs
1 teaspoon vanilla extract
1 cup all-purpose flour
1/2 cup unsweetened cocoa powder
1/4 teaspoon baking powder
1/4 teaspoon salt
8 oz cream cheese, softened
1/4 cup granulated sugar
1 large egg
1/2 teaspoon vanilla extract
Directions
- You can start by preheating your oven - preheat your oven to 175°C (350°F). Cover your baking sheet with baking paper for easy removal later.
- Second, prepare the brownie batter - in a large mixing bowl, whisk together the melted butter, white sugar, and brown sugar until smooth. Add the eggs and vanilla extract, and mix well until fully combined. In another bowl, combine the flour, cocoa powder, baking powder, and salt. Gradually add the dry mixture to the wet mixture, stirring continuously until no traces of flour remain.
- Now, prepare the cheesecake batter - in another bowl, beat the cream cheese with the sugar until smooth and creamy. Add the eggs and vanilla extract, and mix well until fully combined. Avoid overmixing to maintain a light texture. Then, try to assemble the brownie - pour about two-thirds of the brownie batter into the prepared pan. Spread the cheesecake batter evenly over the top. Spread the remaining brownie batter over the top in small amounts, then use a butter knife to gently spread the layers for a marbled look.
- Now it's time to bake: Place the pan in the preheated oven and bake for 35-40 minutes, or until the edges are set and the center is no longer wobbly. Avoid overbaking, as this can dry out the brownies.
- Finally, cool and slice them: Let the brownies cool in the pan for at least 30 minutes before transferring them to a wire rack. For neat slices, refrigerate them for an hour before slicing.
Notes
- Avoid overbaking The brownies should still be slightly jiggly in the center when removed from the oven.
- Add espresso powder A pinch deepens the chocolate flavor without making it taste like coffee.
- Let it rest overnight The flavors develop beautifully if chilled overnight.
- Experiment with toppings Add caramel drizzle, crushed cookies, or berries before serving.
You can add this post to your favorite Pinterest board!