Classic Victoria Sponge Cake

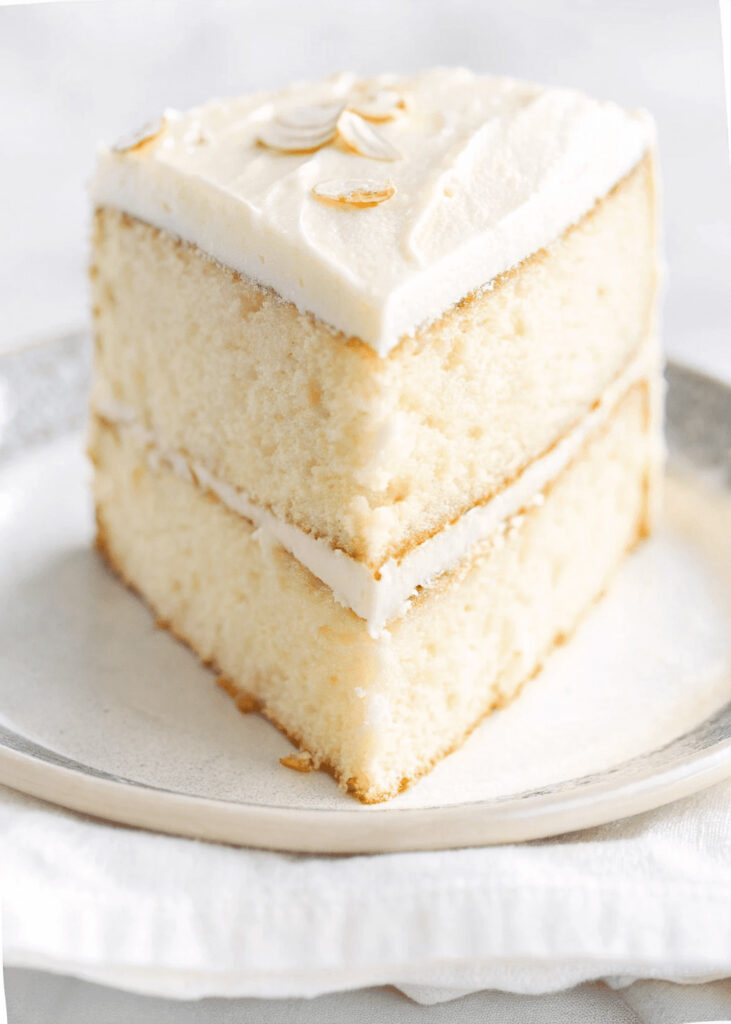
Classic Victoria Sponge Cake is a soft, light, and fluffy cake that comes from England. It is named after Queen Victoria, who loved enjoying a slice of this simple cake with her afternoon tea. Because of her love for it, the cake became famous and is now a traditional British dessert that many families bake at home.

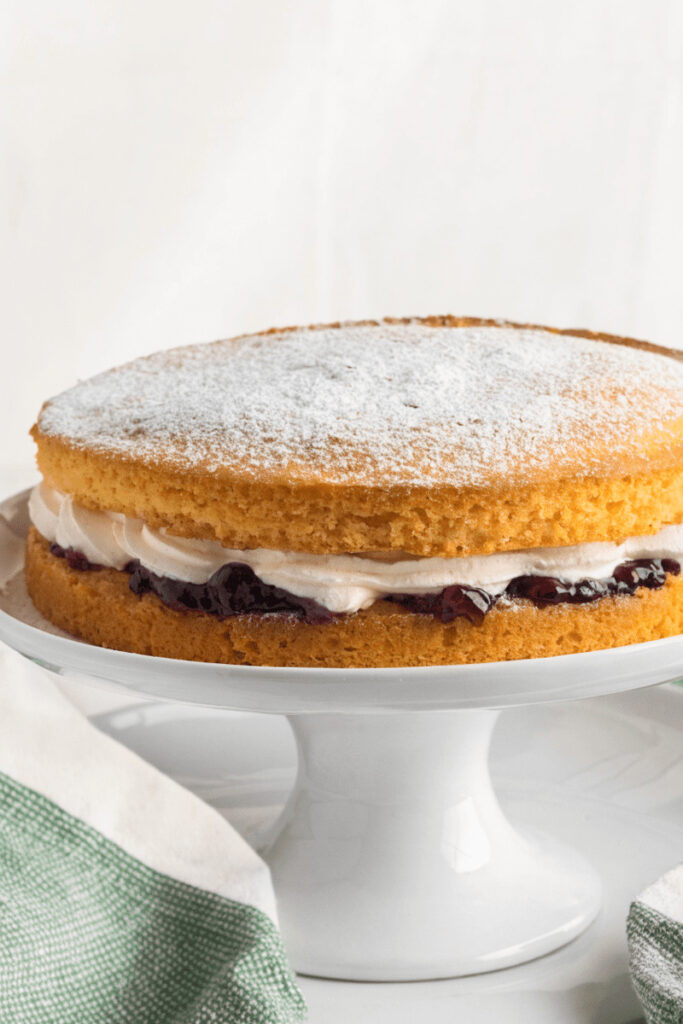
A Victoria Sponge Cake is made with very basic ingredients: butter, sugar, eggs, and flour. These are mixed together to create a soft sponge. After baking, two cake layers are sandwiched together with sweet jam and whipped cream or sometimes buttercream. A light dusting of powdered sugar on top makes it look beautiful and elegant, even though it is very easy to make.
Why You Should Try the Classic Victoria Sponge Cake
You should try the Classic Victoria Sponge Cake because it is simple, delicious, and perfect for beginners. Even if you are only 10 years old, you can understand this recipe and help make it with an adult. It does not require fancy tools or complicated steps, and the ingredients are easy to find in most kitchens.
Another reason to try it is that it tastes amazing without being too heavy. The sponge is soft and buttery, the jam adds fruity sweetness, and the cream makes it smooth and creamy. It is perfect for birthdays, tea parties, school events, or just a cozy weekend treat at home. Once you try it, you might want to bake it again and again!
Table of Contents
Ingredients for Classic Victoria Sponge Cake
Here’s everything you’ll need to Classic Victoria Sponge Cake:
For the Cake:
- 1 cup (225g) unsalted butter, softened
- 1 cup (225g) granulated sugar
- 4 large eggs
- 2 cups (225g) self-rising flour
- 1 teaspoon vanilla extract
- 2 tablespoons milk
For the Filling:
- ½ cup strawberry or raspberry jam
- 1 cup heavy whipping cream
- 2 tablespoons powdered sugar
For Decoration:
- Extra powdered sugar for dusting
How to Make Classic Victoria Sponge Cake
Step One
First, preheat your oven to 350°F (175°C). Grease two 8-inch round cake pans with butter and line the bottoms with parchment paper so the cakes will not stick. This step is very important because it helps the cakes come out easily after baking.
Step Two
In a large mixing bowl, beat the softened butter and sugar together until the mixture becomes pale and fluffy. This usually takes about 3–5 minutes with an electric mixer. If you do not have one, you can use a wooden spoon, but it will take a little longer. Creaming the butter and sugar well makes the cake light and airy.
Step Three
Next, add the eggs one at a time, mixing well after each egg. If the mixture looks slightly curdled, do not worry. That is normal. Add the vanilla extract and stir gently. Slowly fold in the self-rising flour using a spatula. Mix carefully so you do not knock out too much air. Add the milk and stir just until the batter is smooth and soft.
Step Four
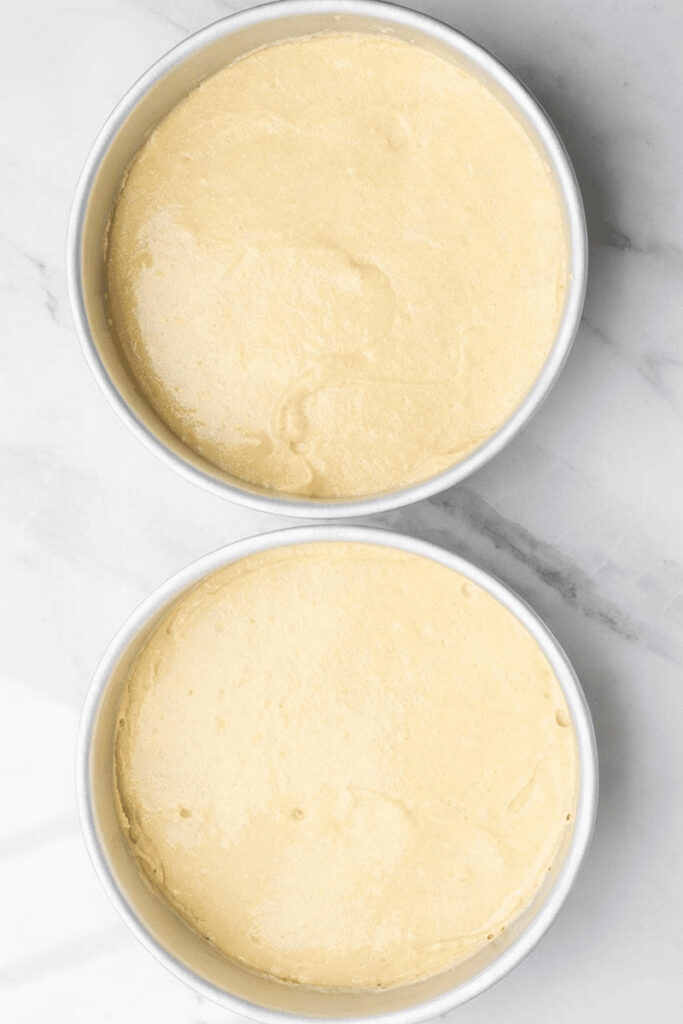
Divide the batter evenly between the two prepared cake pans. Use a spoon or spatula to smooth the tops. Place the pans in the oven and bake for about 20–25 minutes, or until the cakes are golden on top and a toothpick inserted in the center comes out clean.
Step Five
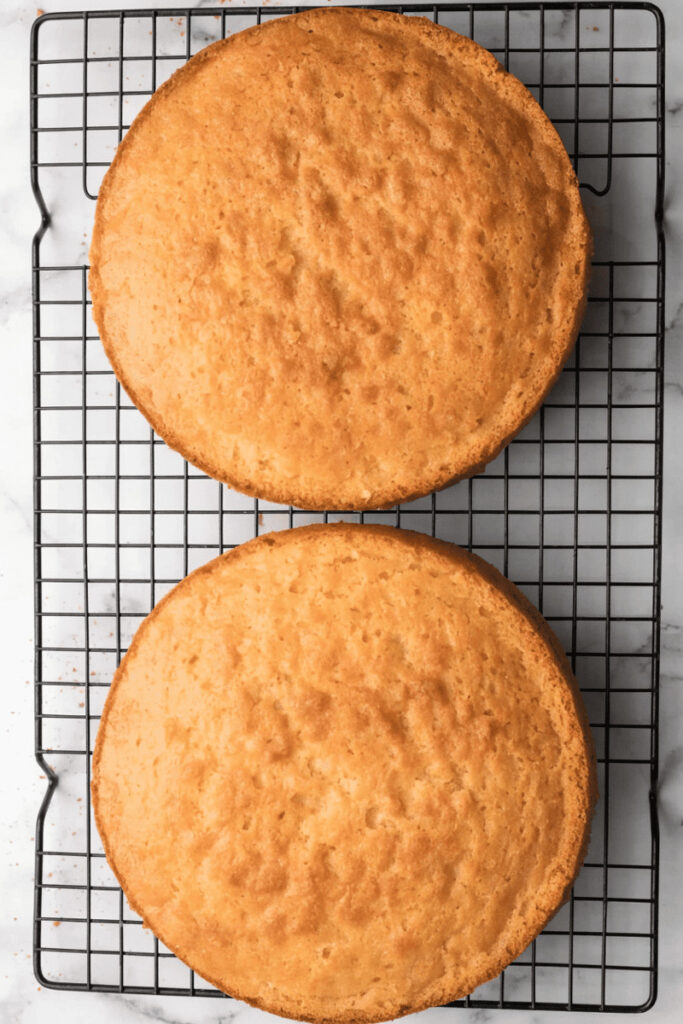
Once baked, remove the cakes from the oven and let them cool in the pans for 10 minutes. Then carefully turn them out onto a wire rack and allow them to cool completely. It is very important that the cakes are fully cool before adding the filling.
Step Six
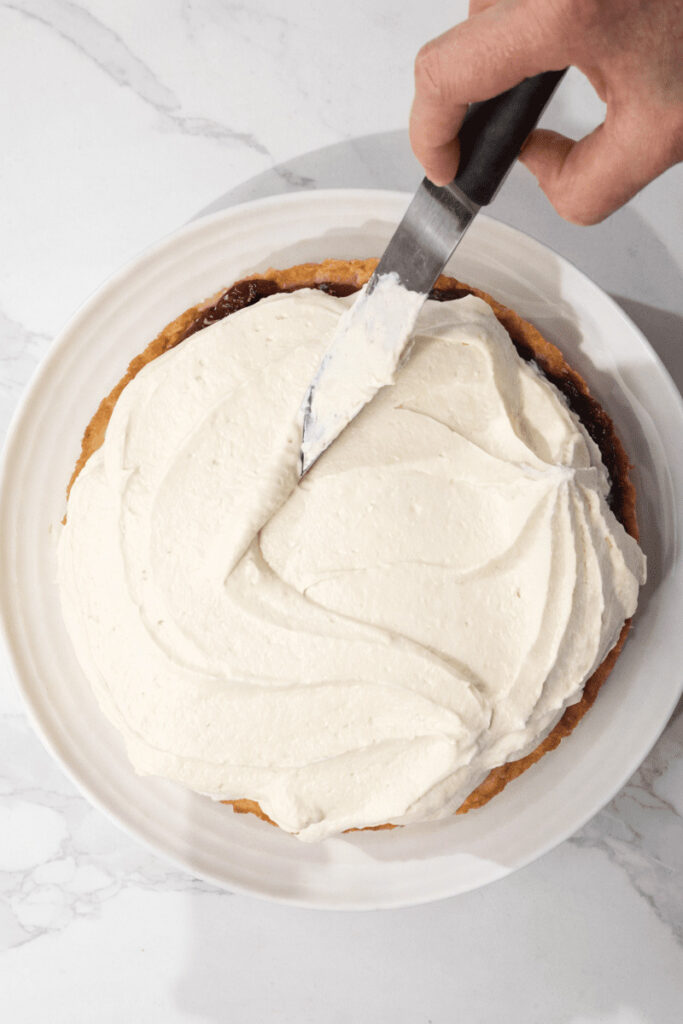
To prepare the filling, whip the heavy cream with powdered sugar until soft peaks form. Spread the jam evenly over one cake layer. Then gently spread the whipped cream on top of the jam. Place the second cake layer on top and lightly press down. Finish by dusting powdered sugar over the top.
Kitchen Equipment Needed :
To make this Recipe, you’ll need:
- Two 8-inch round cake pans
- Mixing bowls
- Electric mixer or wooden spoon
- Spatula
- Measuring cups and spoons
- Cooling rack
- Sieve for powdered sugar
- Knife or offset spatula
Serving Suggestion
I like making this classic Victoria sponge cake when I want a dessert that feels timeless and simple. It’s perfect for family afternoons or when I have guests over for tea, and my daughter loves the soft layers with jam and cream in the middle. I usually serve it sliced and fresh, and it pairs beautifully with tea, coffee, or a fresh fruit smoothie. Light, delicate, and easy to share, this cake always feels elegant without being complicated.
Frequently Asked Questions
Can I use all-purpose flour instead of self-rising flour ?
Yes, just add 2 teaspoons of baking powder to every 2 cups of all-purpose flour to help the cake rise properly.
How do I make my sponge extra fluffy ?
Cream the butter and sugar very well until pale and fluffy, and avoid overmixing after adding the flour.
How should I store the cake ?
Keep it in an airtight container in the refrigerator for up to 2–3 days if it contains cream.
Can I freeze Victoria Sponge Cake ?
You can freeze the plain sponge layers without filling for up to 2 months. Wrap them tightly before freezing.
Classic Victoria Sponge Cake
Course: DessertCuisine: BritishDifficulty: Easy8
servings20
minutes25
minutes350
kcal45
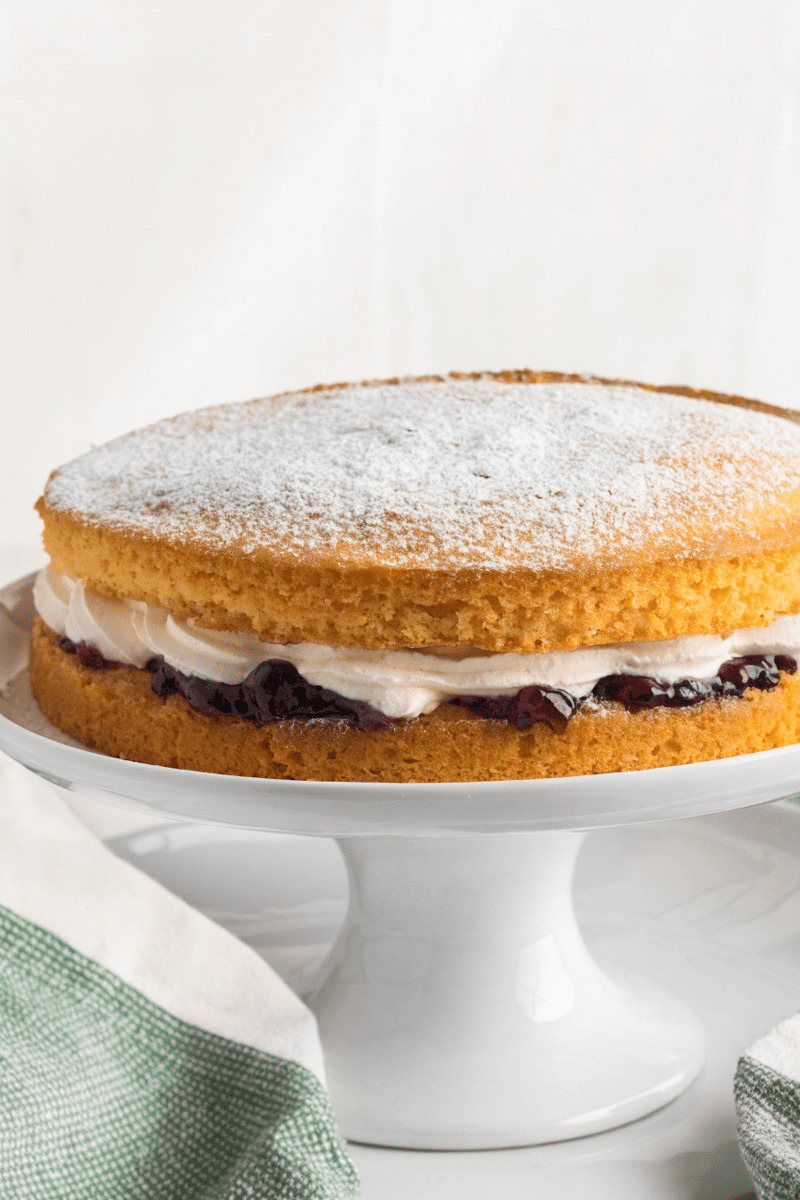
minutesClassic Victoria Sponge Cake is a soft and fluffy British cake made with butter, sugar, eggs, and flour. It is filled with sweet jam and whipped cream, then lightly dusted with powdered sugar. This simple yet elegant cake is perfect for tea time, birthdays, or any special occasion.
Ingredients
1 cup (225g) unsalted butter, softened
1 cup (225g) granulated sugar
4 large eggs
2 cups (225g) self-rising flour
1 teaspoon vanilla extract
2 tablespoons milk
½ cup strawberry or raspberry jam
1 cup heavy whipping cream
2 tablespoons powdered sugar
Extra powdered sugar for dusting
Directions
- First, preheat your oven to 350°F (175°C). Grease two 8-inch round cake pans with butter and line the bottoms with parchment paper so the cakes will not stick. This step is very important because it helps the cakes come out easily after baking.
- In a large mixing bowl, beat the softened butter and sugar together until the mixture becomes pale and fluffy. This usually takes about 3–5 minutes with an electric mixer. If you do not have one, you can use a wooden spoon, but it will take a little longer. Creaming the butter and sugar well makes the cake light and airy.
- Next, add the eggs one at a time, mixing well after each egg. If the mixture looks slightly curdled, do not worry. That is normal. Add the vanilla extract and stir gently. Slowly fold in the self-rising flour using a spatula. Mix carefully so you do not knock out too much air. Add the milk and stir just until the batter is smooth and soft.
- Divide the batter evenly between the two prepared cake pans. Use a spoon or spatula to smooth the tops. Place the pans in the oven and bake for about 20–25 minutes, or until the cakes are golden on top and a toothpick inserted in the center comes out clean.
- Once baked, remove the cakes from the oven and let them cool in the pans for 10 minutes. Then carefully turn them out onto a wire rack and allow them to cool completely. It is very important that the cakes are fully cool before adding the filling.
- To prepare the filling, whip the heavy cream with powdered sugar until soft peaks form. Spread the jam evenly over one cake layer. Then gently spread the whipped cream on top of the jam. Place the second cake layer on top and lightly press down. Finish by dusting powdered sugar over the top.
Notes
- Do not overmix after adding flour, or the cake may become dense.
- Avoid opening the oven door during the first 20 minutes of baking.
- Preheat your oven fully before baking.
- Store leftovers in an airtight container in the fridge.
You can add this post to your favorite Pinterest board!