Easy No-Bake Crème Brûlée

Easy No-Bake Crème Brûlée is a creamy, smooth dessert that tastes fancy but is actually very simple to make. Traditional crème brûlée is a classic French dessert made with cream, egg yolks, sugar, and vanilla. It is baked slowly in the oven and then topped with sugar that is melted into a crispy, glass-like layer. But in this easy version, we skip the oven completely! That means no baking, no water baths, and no stress.
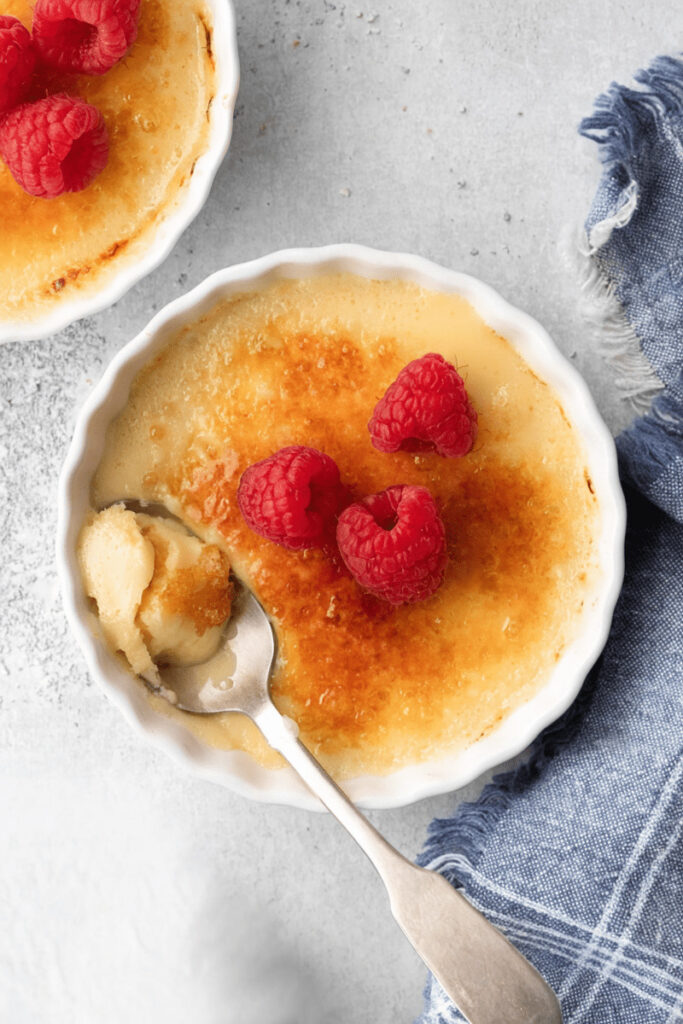
Instead of baking, we use a simple thickening method to create a rich and silky custard. Then we chill it in the refrigerator until it becomes firm and creamy. At the end, we add the famous crunchy sugar topping. When you tap it with a spoon, it cracks just like the traditional version! It’s a perfect dessert for beginners, busy families, or anyone who wants something impressive without complicated steps.
You Should Try the Easy No-Bake Crème Brûlée
You should try this Easy No-Bake Crème Brûlée because it feels like a restaurant dessert but is easy enough for a kid to help make. It only needs a few simple ingredients that you might already have at home. It is sweet, creamy, and topped with crunchy caramelized sugar which makes it extra fun to eat.
Another great reason to try this recipe is that it’s perfect for special occasions like birthdays, holidays, or family dinners. You can make it ahead of time and store it in the fridge until you’re ready to serve, which means less stress and more time to enjoy with your loved ones. And let’s be honest when guests hear the words crème brûlée, they’ll instantly think you’re a true dessert expert!
Table of Contents
Ingredients for Easy No-Bake Crème Brûlée
Here’s everything you’ll need to Easy No-Bake Crème Brûlée:
- 2 cups heavy cream
- 1 cup whole milk
- ½ cup granulated sugar
- 3 tablespoons cornstarch
- 4 large egg yolks
- 2 teaspoons pure vanilla extract
- 4–6 tablespoons sugar for the caramelized topping
How to Make Easy No-Bake Crème Brûlée
Step One
First, pour the heavy cream and whole milk into a medium saucepan and warm them slowly over medium heat, stirring gently from time to time so the mixture heats evenly and does not burn on the bottom, and continue heating just until you see small bubbles forming around the edges without allowing the liquid to come to a full boil.
Step Two
While the cream is warming, whisk together the egg yolks, sugar, and cornstarch in a separate bowl until the mixture becomes smooth, slightly thick, and pale in color, making sure there are no lumps because this step helps create a silky and creamy custard texture later.
Step Three
Next, carefully temper the eggs by slowly pouring a small amount of the warm cream mixture into the egg mixture while whisking constantly, continuing this gradual process until about half of the warm liquid has been added so the eggs gently warm up without scrambling.
Step Four
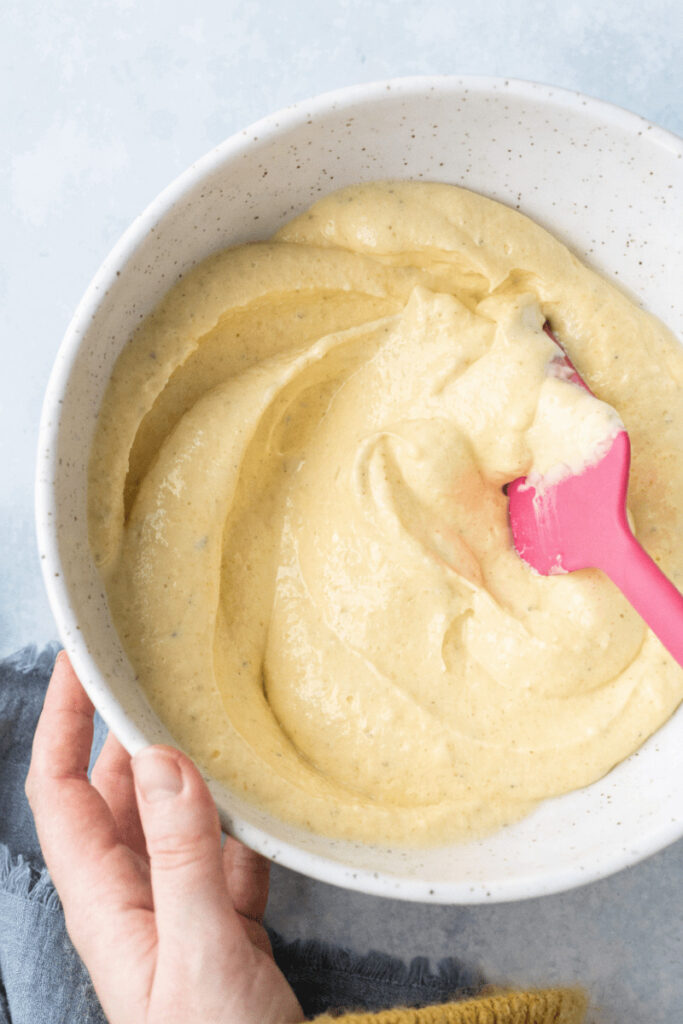
After tempering, pour everything back into the saucepan and cook over medium-low heat while stirring continuously and scraping along the bottom and sides of the pan, allowing the mixture to slowly thicken until it reaches a pudding-like consistency that coats the back of a spoon.
Step Five
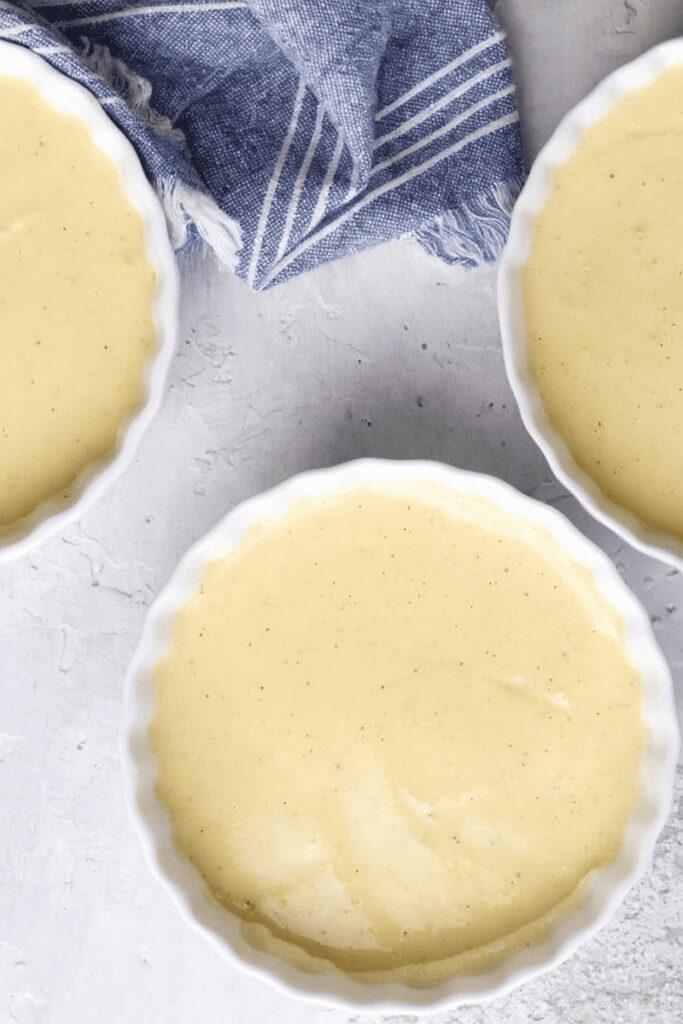
Once thickened, remove the custard from the heat and stir in the vanilla extract until fully combined, then strain the mixture through a fine mesh sieve if desired for extra smoothness before pouring it evenly into ramekins and smoothing the tops with a spoon.
Step Six
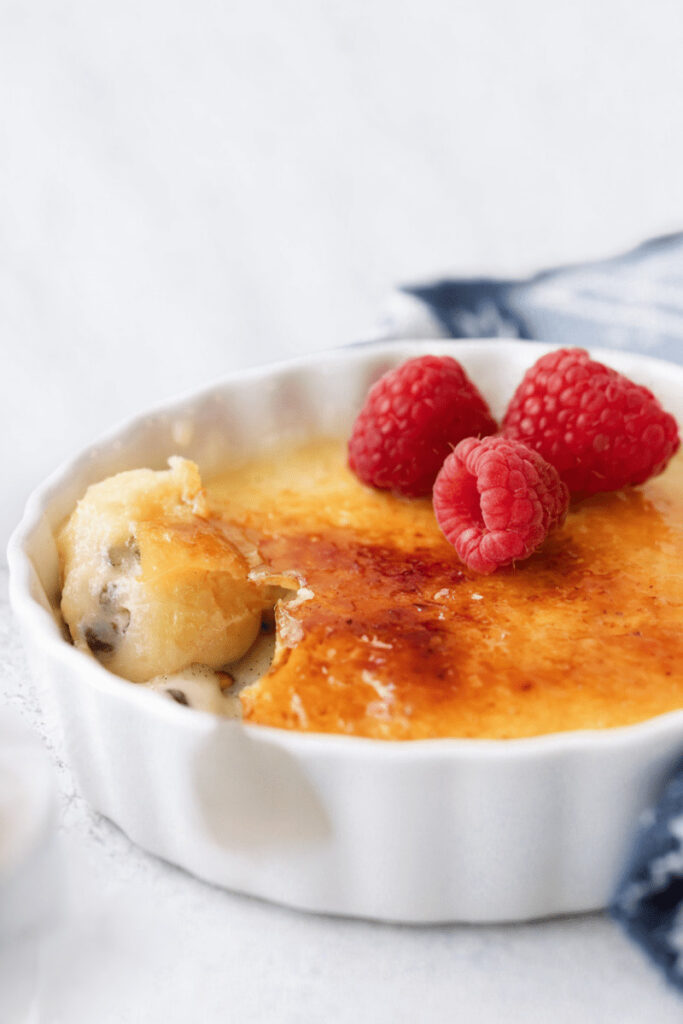
Finally, let the ramekins cool at room temperature before refrigerating them for at least four hours or until fully set, and when ready to serve sprinkle an even layer of sugar on top and caramelize it carefully with a kitchen torch or broiler until golden and crisp, allowing the topping to harden for a few minutes before cracking into the creamy dessert beneath.
Kitchen Equipment Needed :
To make this Recipe, you’ll need:
- Medium saucepan
- Mixing bowls
- Whisk
- Wooden spoon or silicone spatula
- Measuring cups and spoons
- Fine mesh strainer optional, for extra smooth custard
- Ramekins or small dessert cups
- Kitchen torch or oven broiler
- Refrigerator
Serving Suggestion
I like making this easy no-bake crème brûlée when I want a dessert that feels elegant without turning on the oven. It’s perfect for family dinners or when guests come over and I want something that looks impressive but stays stress-free. I usually serve it chilled, and it pairs nicely with coffee, a fresh fruit smoothie, or a simple milkshake. Creamy, smooth, and surprisingly easy, this dessert always feels like a little treat made with care.
Frequently Asked Questions
How long does it take to set in the fridge ?
It needs at least 4 hours to fully set, but leaving it overnight will give you the best texture.
Why is my custard not thickening ?
It may need more cooking time on low heat, or you may not have stirred it constantly enough while it was cooking.
Can I use flavored extracts instead of vanilla ?
Yes, you can try almond, coconut, or even orange extract for a fun flavor twist.
How long will leftovers last ?
Leftovers can be stored in the refrigerator for up to 3 days if covered tightly.
Can I freeze crème brûlée ?
It is not recommended because freezing changes the texture and can make it watery when thawed.
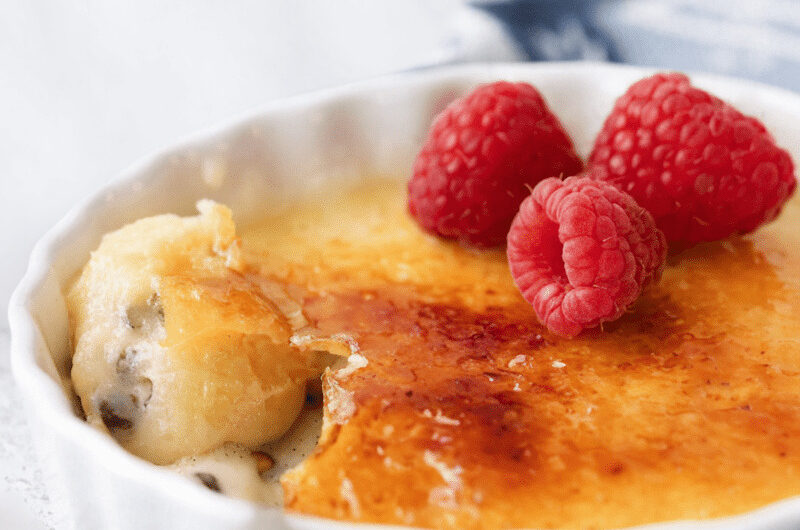
Easy No-Bake Crème Brûlée
Course: DessertCuisine: FrenchDifficulty: Easy4
servings15
minutes12
minutes320
kcal4
hours30
minutesEasy No-Bake Crème Brûlée is a rich and creamy vanilla custard that sets in the refrigerator instead of the oven and is topped with a crisp, golden caramelized sugar layer that cracks beautifully when tapped with a spoon.
Ingredients
2 cups heavy cream
1 cup whole milk
½ cup granulated sugar
3 tablespoons cornstarch
4 large egg yolks
2 teaspoons pure vanilla extract
4–6 tablespoons sugar for the caramelized topping
Directions
- First, pour the heavy cream and whole milk into a medium saucepan and warm them slowly over medium heat, stirring gently from time to time so the mixture heats evenly and does not burn on the bottom, and continue heating just until you see small bubbles forming around the edges without allowing the liquid to come to a full boil.
- While the cream is warming, whisk together the egg yolks, sugar, and cornstarch in a separate bowl until the mixture becomes smooth, slightly thick, and pale in color, making sure there are no lumps because this step helps create a silky and creamy custard texture later.
- Next, carefully temper the eggs by slowly pouring a small amount of the warm cream mixture into the egg mixture while whisking constantly, continuing this gradual process until about half of the warm liquid has been added so the eggs gently warm up without scrambling.
- After tempering, pour everything back into the saucepan and cook over medium-low heat while stirring continuously and scraping along the bottom and sides of the pan, allowing the mixture to slowly thicken until it reaches a pudding-like consistency that coats the back of a spoon.
- Once thickened, remove the custard from the heat and stir in the vanilla extract until fully combined, then strain the mixture through a fine mesh sieve if desired for extra smoothness before pouring it evenly into ramekins and smoothing the tops with a spoon.
- Finally, let the ramekins cool at room temperature before refrigerating them for at least four hours or until fully set, and when ready to serve sprinkle an even layer of sugar on top and caramelize it carefully with a kitchen torch or broiler until golden and crisp, allowing the topping to harden for a few minutes before cracking into the creamy dessert beneath.
Notes
- Heat the cream gently and never let it boil, because boiling can affect the smooth texture of the custard.
- Always whisk the egg yolks, sugar, and cornstarch thoroughly so there are no lumps before adding warm cream.
- Tap the ramekins gently on the counter to remove small air bubbles before chilling.
- Chill for at least 4 hours, but overnight chilling gives the best firm and creamy result.
You can add this post to your favorite Pinterest board!