Mini Easter Egg Cakes

Mini Easter Egg Cakes are small, colorful, egg-shaped treats made from soft cake and sweet frosting. They look just like painted Easter eggs but taste like delicious, fluffy cupcakes. Kids love them because they’re tiny, cute, and full of bright colors. Grown ups love them because they’re easy to make, especially when you use simple tools like a mini cake pan or even a muffin tin. These cakes are perfect for Easter celebrations, spring parties, or just a fun baking day at home.
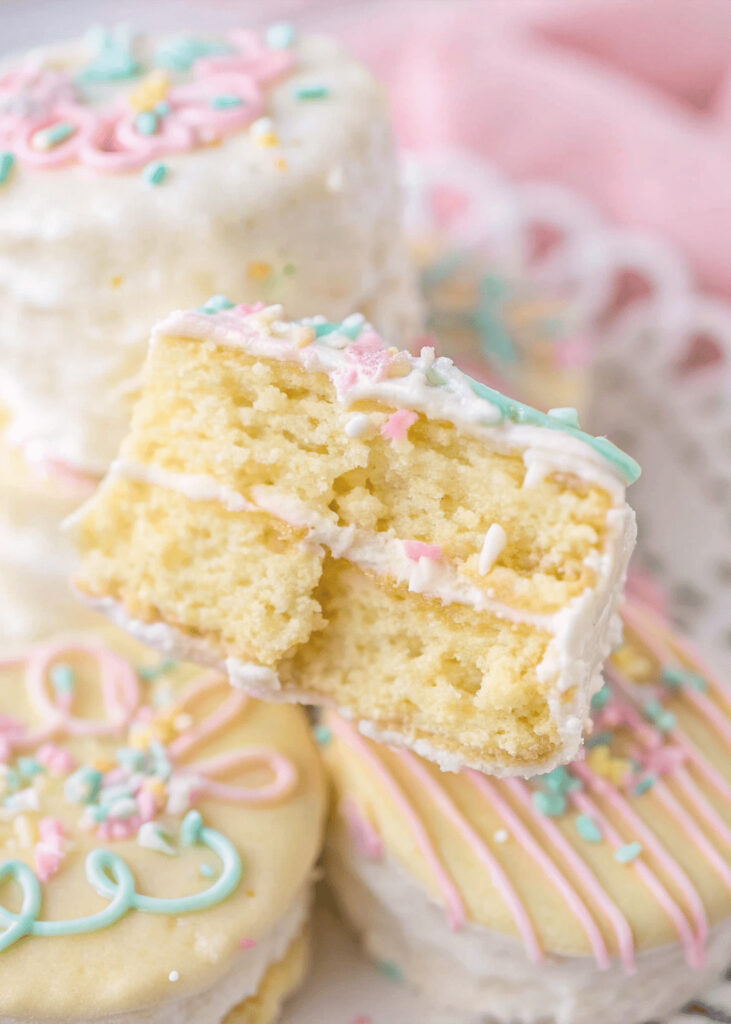
Each cake can be decorated with pastel icing, sprinkles, or even chocolate drizzle. They’re great for gifting too! Fun fact: Mini Easter Egg Cakes are often easier to bake than large cakes because they cook quickly and don’t require complicated decorating skills. Even a beginner baker or a 10 year-old helper can make them shine.
Why You Should Try Mini Easter Egg Cakes
You should try making Mini Easter Egg Cakes because they’re super fun and don’t take too long to bake. They’re perfect if you want a treat that looks impressive but doesn’t need a lot of advanced baking skills. You can get creative with the decorations, trying different shapes, patterns, and colors, just like decorating real Easter eggs. Kids enjoy piping the frosting, adding sprinkles, and giving each little cake its own personality.
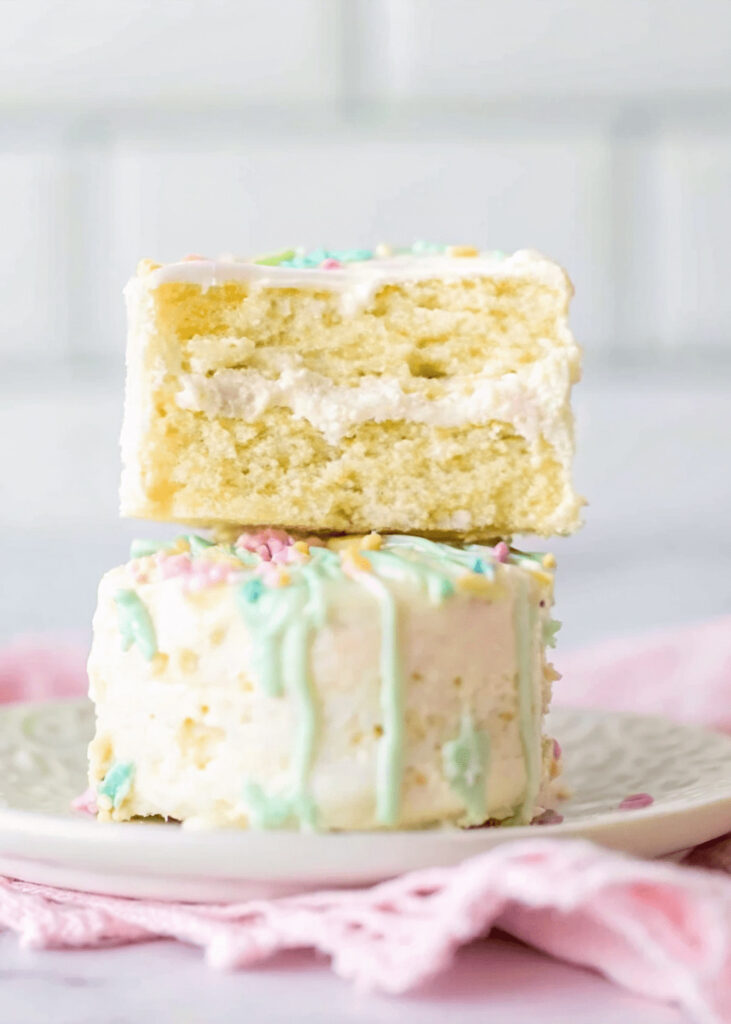
These mini cakes are also great for sharing with friends and family. You can make a whole batch in different colors and pack them into cute baskets. They’re soft, sweet, and festive and best of all, you can customize them however you want. Want chocolate cake inside? Go for it. Vanilla or lemon? That works, too! It’s your Easter, your way.
Table of Contents
Ingredients for Mini Easter Egg Cakes
Here’s everything you’ll need to make this Mini Easter Egg Cakes
- 1 ½ cups all purpose flour
- 1 cup sugar
- 1 teaspoon baking powder
- ½ teaspoon baking soda
- ½ teaspoon salt
- ½ cup unsalted butter, softened
- 2 large eggs
- 1 teaspoon vanilla extract
- ½ cup milk
- Food coloring pastel colors like pink, yellow, blue, green
- Sprinkles or candy decorations
- Frosting store bought or homemade
How to Make Mini Easter Egg Cakes
Step One
First, preheat your oven to 177°C (350°F). Lightly grease a small egg-shaped pan or a muffin tin if you don’t have an egg-shaped pan.
Step Two
Then, in a large bowl, combine the dry ingredients flour, sugar, baking powder, baking soda, and salt. Stir gently to avoid spilling.
Step Three
Add the wet ingredients butter, eggs, vanilla, and milk to the bowl. Use a hand mixer or whisk to blend everything until you have a smooth batter. The batter should be thick and pourable. Next, add color by dividing the batter into small bowls and mixing in a drop or two of pastel food coloring. This will make each cake pop bright and festive.
Step Four
Pour the batter into the pan, filling each cavity about halfway. This helps the cakes hold their shape without overflowing. then Bake for 12–15 minutes, or until a toothpick inserted into the center comes out clean. Let them cool in the pan for 5 minutes, then transfer them to a cooling rack to prevent them from becoming soggy.
Step Five
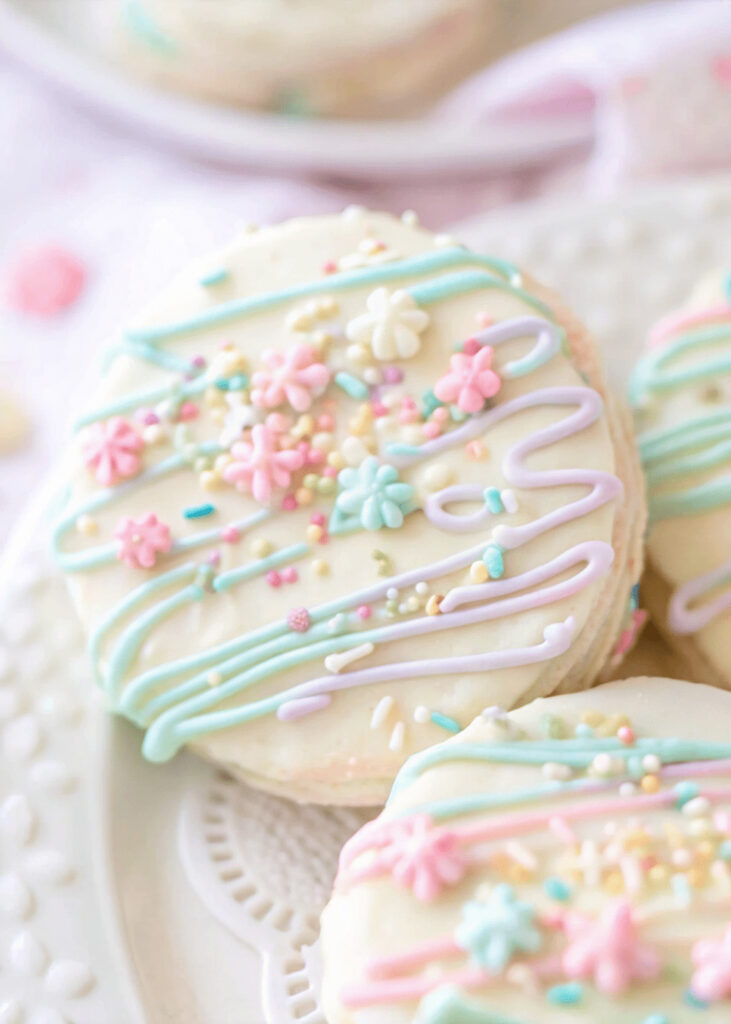
Now it’s time to decorate: Once the cakes have cooled, pipe the frosting onto the cakes, either directly or using a piping bag. Then add sprinkles, drizzles, zigzags, or dots. You can also dip the cakes in melted white chocolate for a glossy, icing-like finish.
Step Six
Finally: Let the frosting dry for at least 10 minutes before serving. This helps the frosting set and keeps your hands clean.
Kitchen Equipment Needed :
To make this Recipe, you’ll need:
- Mini egg shaped cake pan or muffin tin
- Large mixing bowl
- Small bowls for dividing batter
- Whisk or electric mixer
- Measuring cups and spoons
- Cooling rack
- Rubber spatula
- Piping bags or plastic sandwich bags for decorating
- Toothpick for testing doneness
Tips for Making Perfect Mini Easter Egg Cakes
Don’t overmix the batter; this keeps the cakes fluffy.
Add only a tiny bit of food coloring because pastel shades look best for Easter.
Freeze the cakes for 10 minutes before decorating if they feel too soft this makes them easier to frost.
Use a muffin tin if you can’t find an egg shaped mold. Just trim the tops slightly to make them more egg-like.
Serving Suggestion
I like to serve these cakes with delicious drinks like milkshakes, fruit juice, or other beverages. For my younger children, I like to serve them with milk or chocolate cocoa so they can enjoy it after a meal.
Frequently Asked Question
Can I use chocolate cake batter instead of vanilla ?
Absolutely! Chocolate, strawberry, lemon, or even funfetti cake batter works perfectly.
How do I keep the cakes from sticking to the pan ?
Make sure to lightly grease your pan with butter or non stick spray, and dust it with flour if needed.
Can I decorate the cakes without piping bags ?
Yes! Use a small spoon, butter knife, or fill a plastic sandwich bag and snip off the corner.
Can I freeze the cakes with frosting on them ?
It’s better to freeze them without frosting. Decorate after thawing for the best results.
Mini Easter Egg Cakes
Course: DessertCuisine: AmericanDifficulty: Easy18
servings15
minutes15
minutes170
kcal30
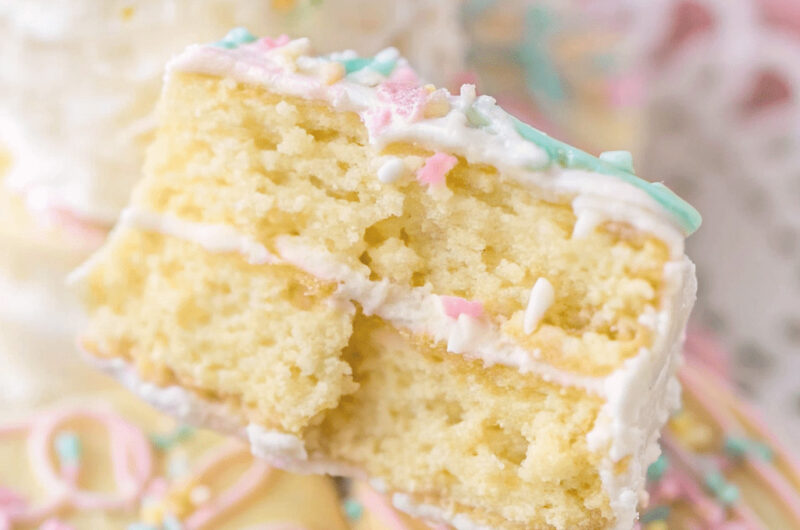
minutesMini Easter Egg Cakes are adorable, bite size treats shaped like colorful Easter eggs. They’re made from soft, fluffy cake and decorated with pastel frosting and sprinkles. This easy recipe is perfect for kids, holiday parties, and fun spring baking activities.
Ingredients
1 ½ cups all purpose flour
1 cup sugar
1 teaspoon baking powder
½ teaspoon baking soda
½ teaspoon salt
½ cup unsalted butter, softened
2 large eggs
1 teaspoon vanilla extract
½ cup milk
Food coloring pastel colors like pink, yellow, blue, green
Sprinkles or candy decorations
Frosting store bought or homemade
Directions
- First, preheat your oven to 177°C (350°F). Lightly grease a small egg-shaped pan or a muffin tin if you don't have an egg-shaped pan.
- Then, in a large bowl, combine the dry ingredients flour, sugar, baking powder, baking soda, and salt. Stir gently to avoid spilling.
- Add the wet ingredients butter, eggs, vanilla, and milk to the bowl. Use a hand mixer or whisk to blend everything until you have a smooth batter. The batter should be thick and pourable. Next, add color by dividing the batter into small bowls and mixing in a drop or two of pastel food coloring. This will make each cake pop bright and festive.
- Pour the batter into the pan, filling each cavity about halfway. This helps the cakes hold their shape without overflowing. then Bake for 12–15 minutes, or until a toothpick inserted into the center comes out clean. Let them cool in the pan for 5 minutes, then transfer them to a cooling rack to prevent them from becoming soggy.
- Now it's time to decorate: Once the cakes have cooled, pipe the frosting onto the cakes, either directly or using a piping bag. Then add sprinkles, drizzles, zigzags, or dots. You can also dip the cakes in melted white chocolate for a glossy, icing-like finish.
- Finally: Let the frosting dry for at least 10 minutes before serving. This helps the frosting set and keeps your hands clean.
Notes
- Grease the pan well to make sure the cakes pop out easily without breaking.
- Avoid overmixing the batter to keep the cakes light and fluffy.
- Let the cakes cool completely before decorating to prevent frosting from melting.
- Add flavors like lemon zest, vanilla bean, or almond for a twist.
You can add this post to your favorite Pinterest board!